Anyone who is willing to trust me with their information, if we can find a way of getting this to me, can have a link to the new blog I am setting up.
Unfortunately, if the person who attacked me is following you, I will have to block you !
Gill
Anyone who is willing to trust me with their information, if we can find a way of getting this to me, can have a link to the new blog I am setting up.
Unfortunately, if the person who attacked me is following you, I will have to block you !
Gill
Sadly, I have to wrap up this blog, this time permanently.
It’s been wonderful to have this community, most of the time; unfortunately, my tormentor follows many of you now and, despite me blocking him, he may find his way back to me through your interactions.
What happened in 2018 is still very painful to me and I cannot risk a repeat of the abuse I have suffered.
Goodbye guys, I wish the good souls well
Gill x
I know my layout and blocks are all out. Stuff has changed since 2020. Bear with me whilst I get back into blogging.
Also, I have blocked the person who slandered and defamed me and almost killed my blog in 2018; and, sadly, I will have to block anyone that they follow for the sake of my own peace of mind.
This gallery contains 2 photos.
Many moons ago, I bought two colonial style fans from UK ebay. One was white with a vile ’80’s gold design on it. So the Autentico chalk paints and one of my classic stencil and transfer books came out. Voila, … Continue reading
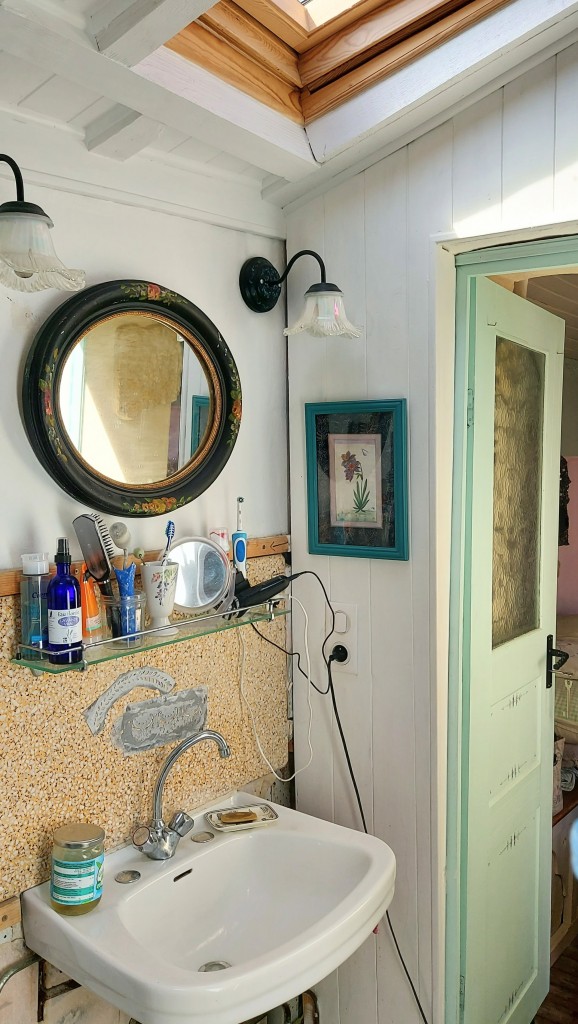
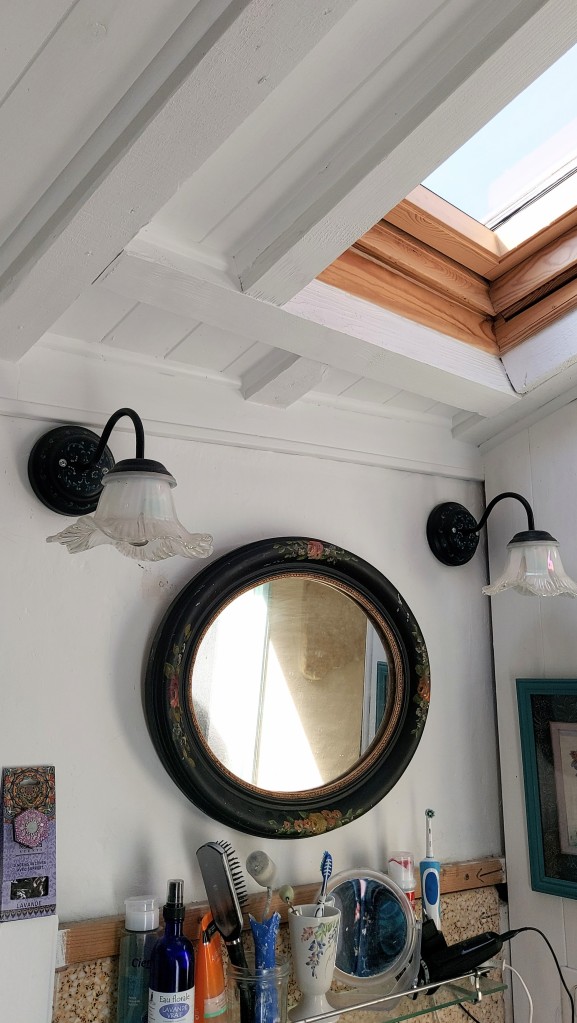
Rainbow lustre vintage glass shades.
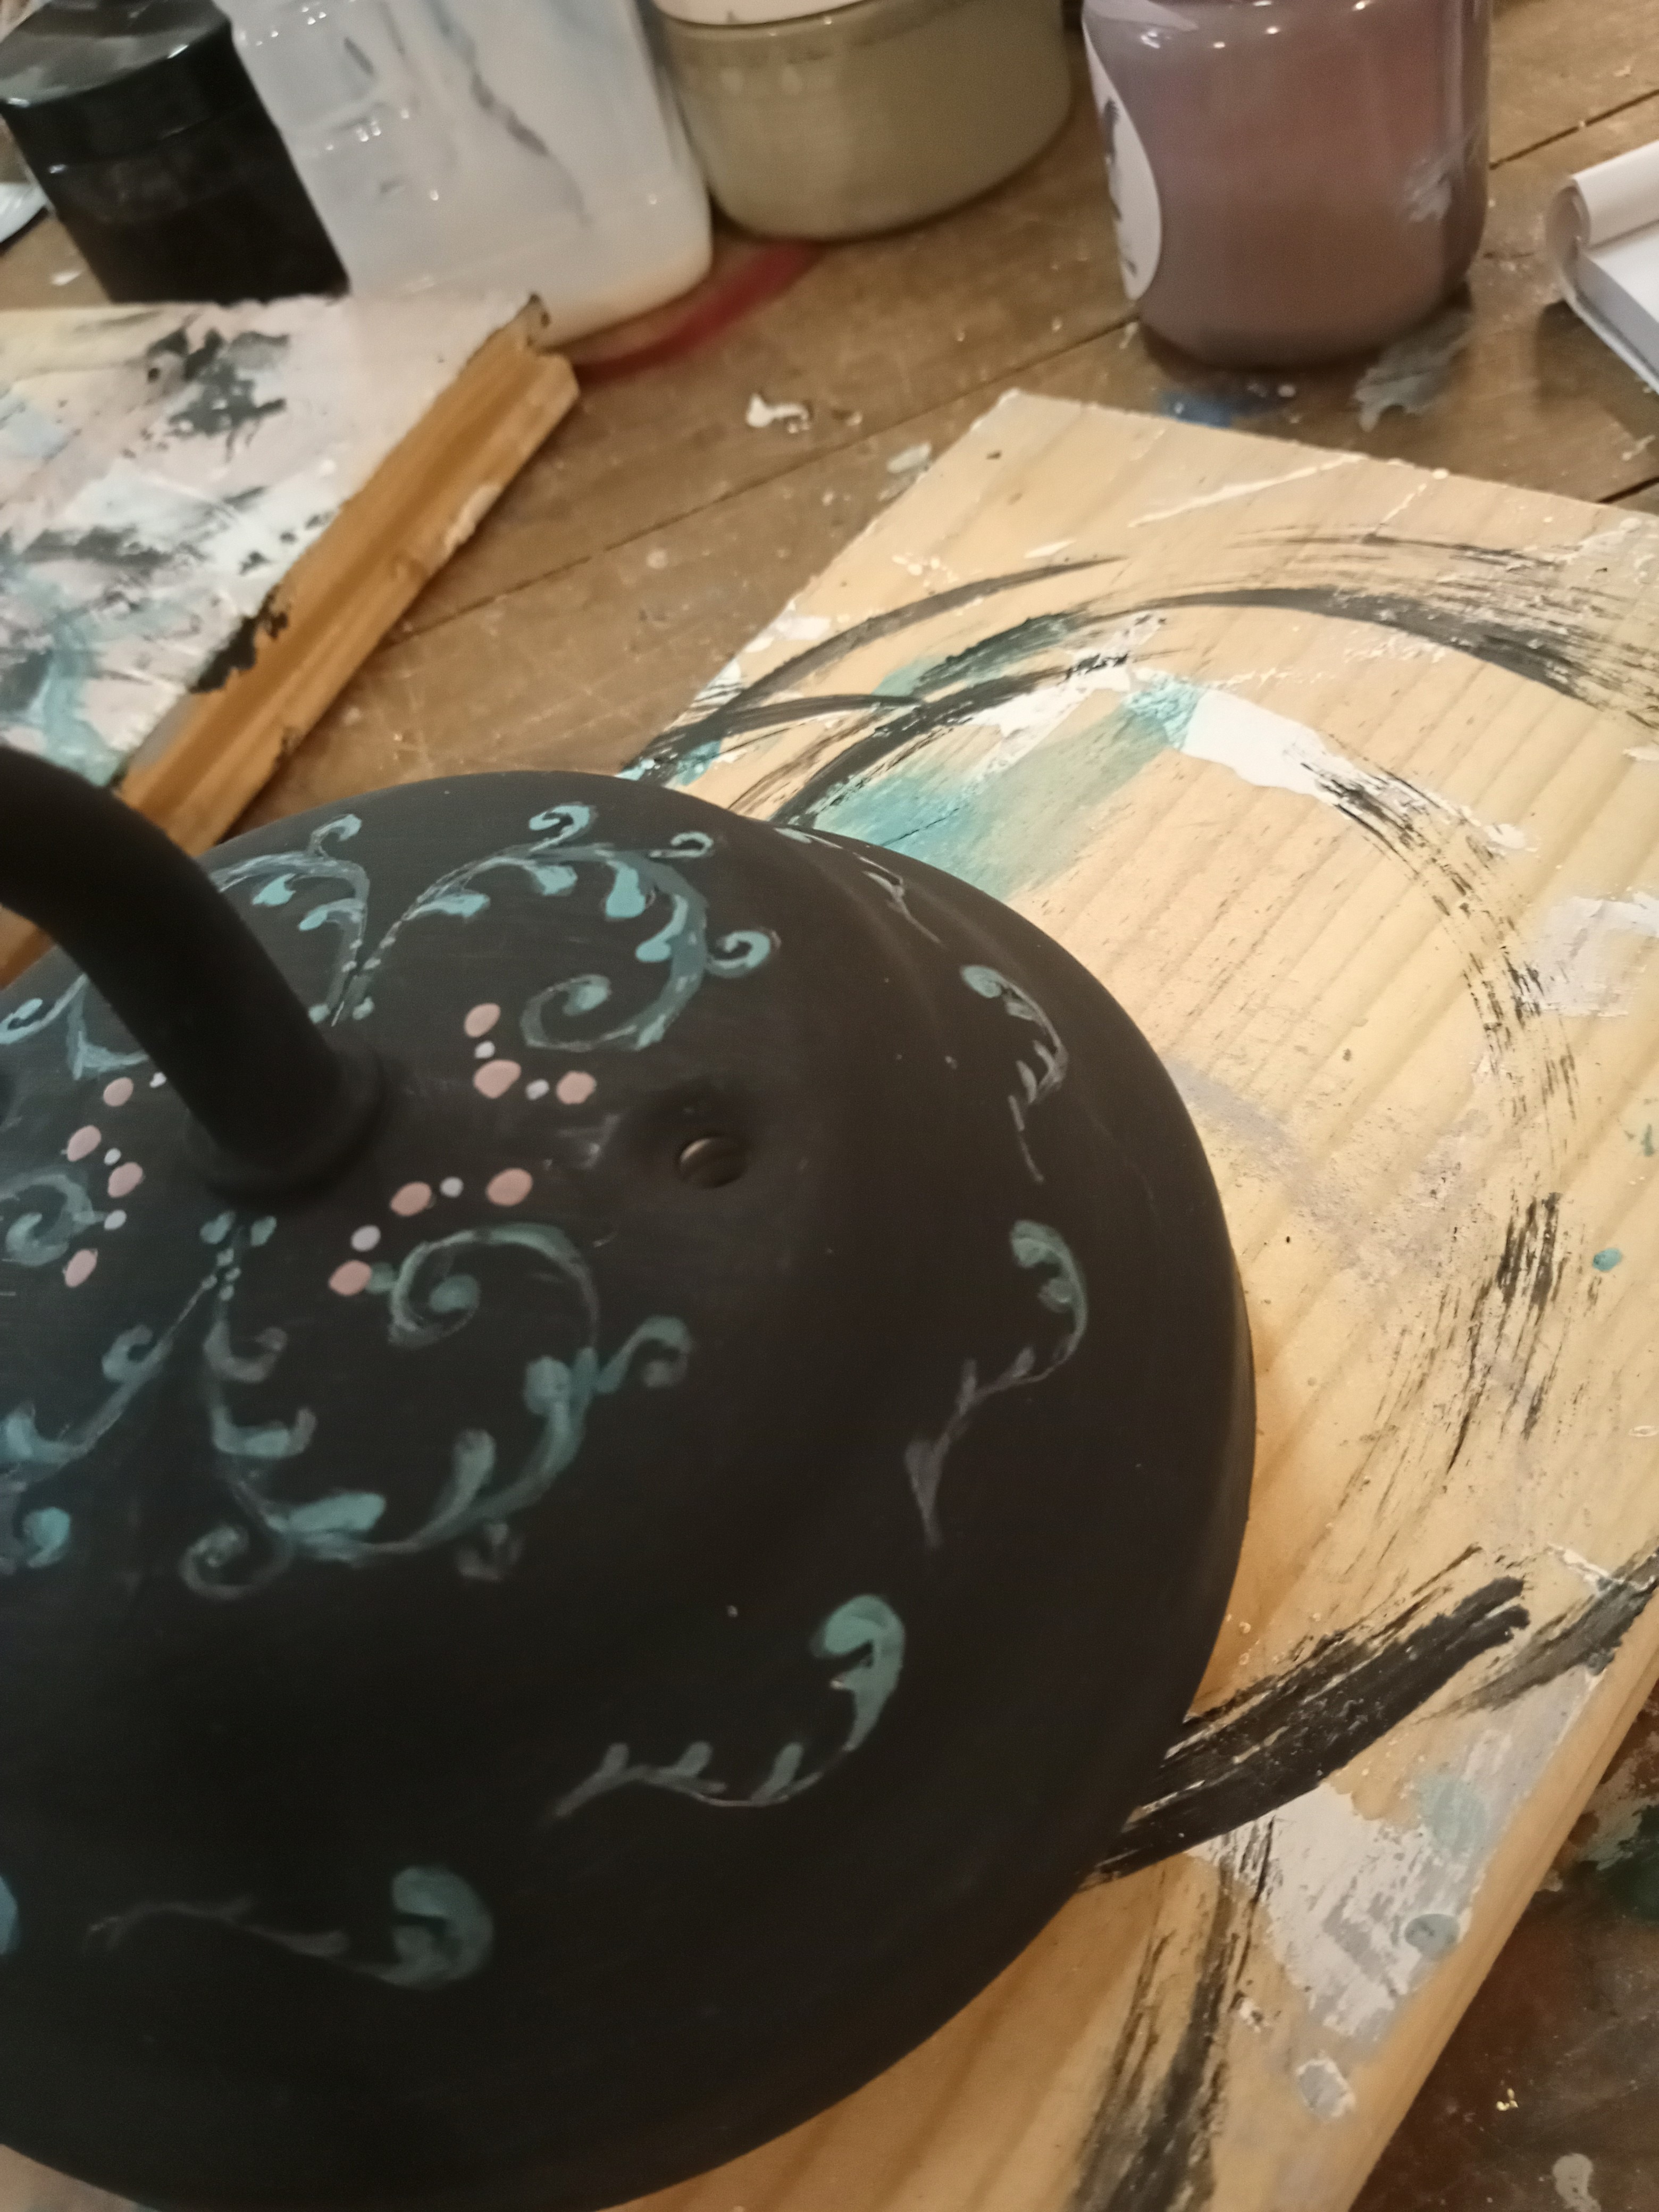
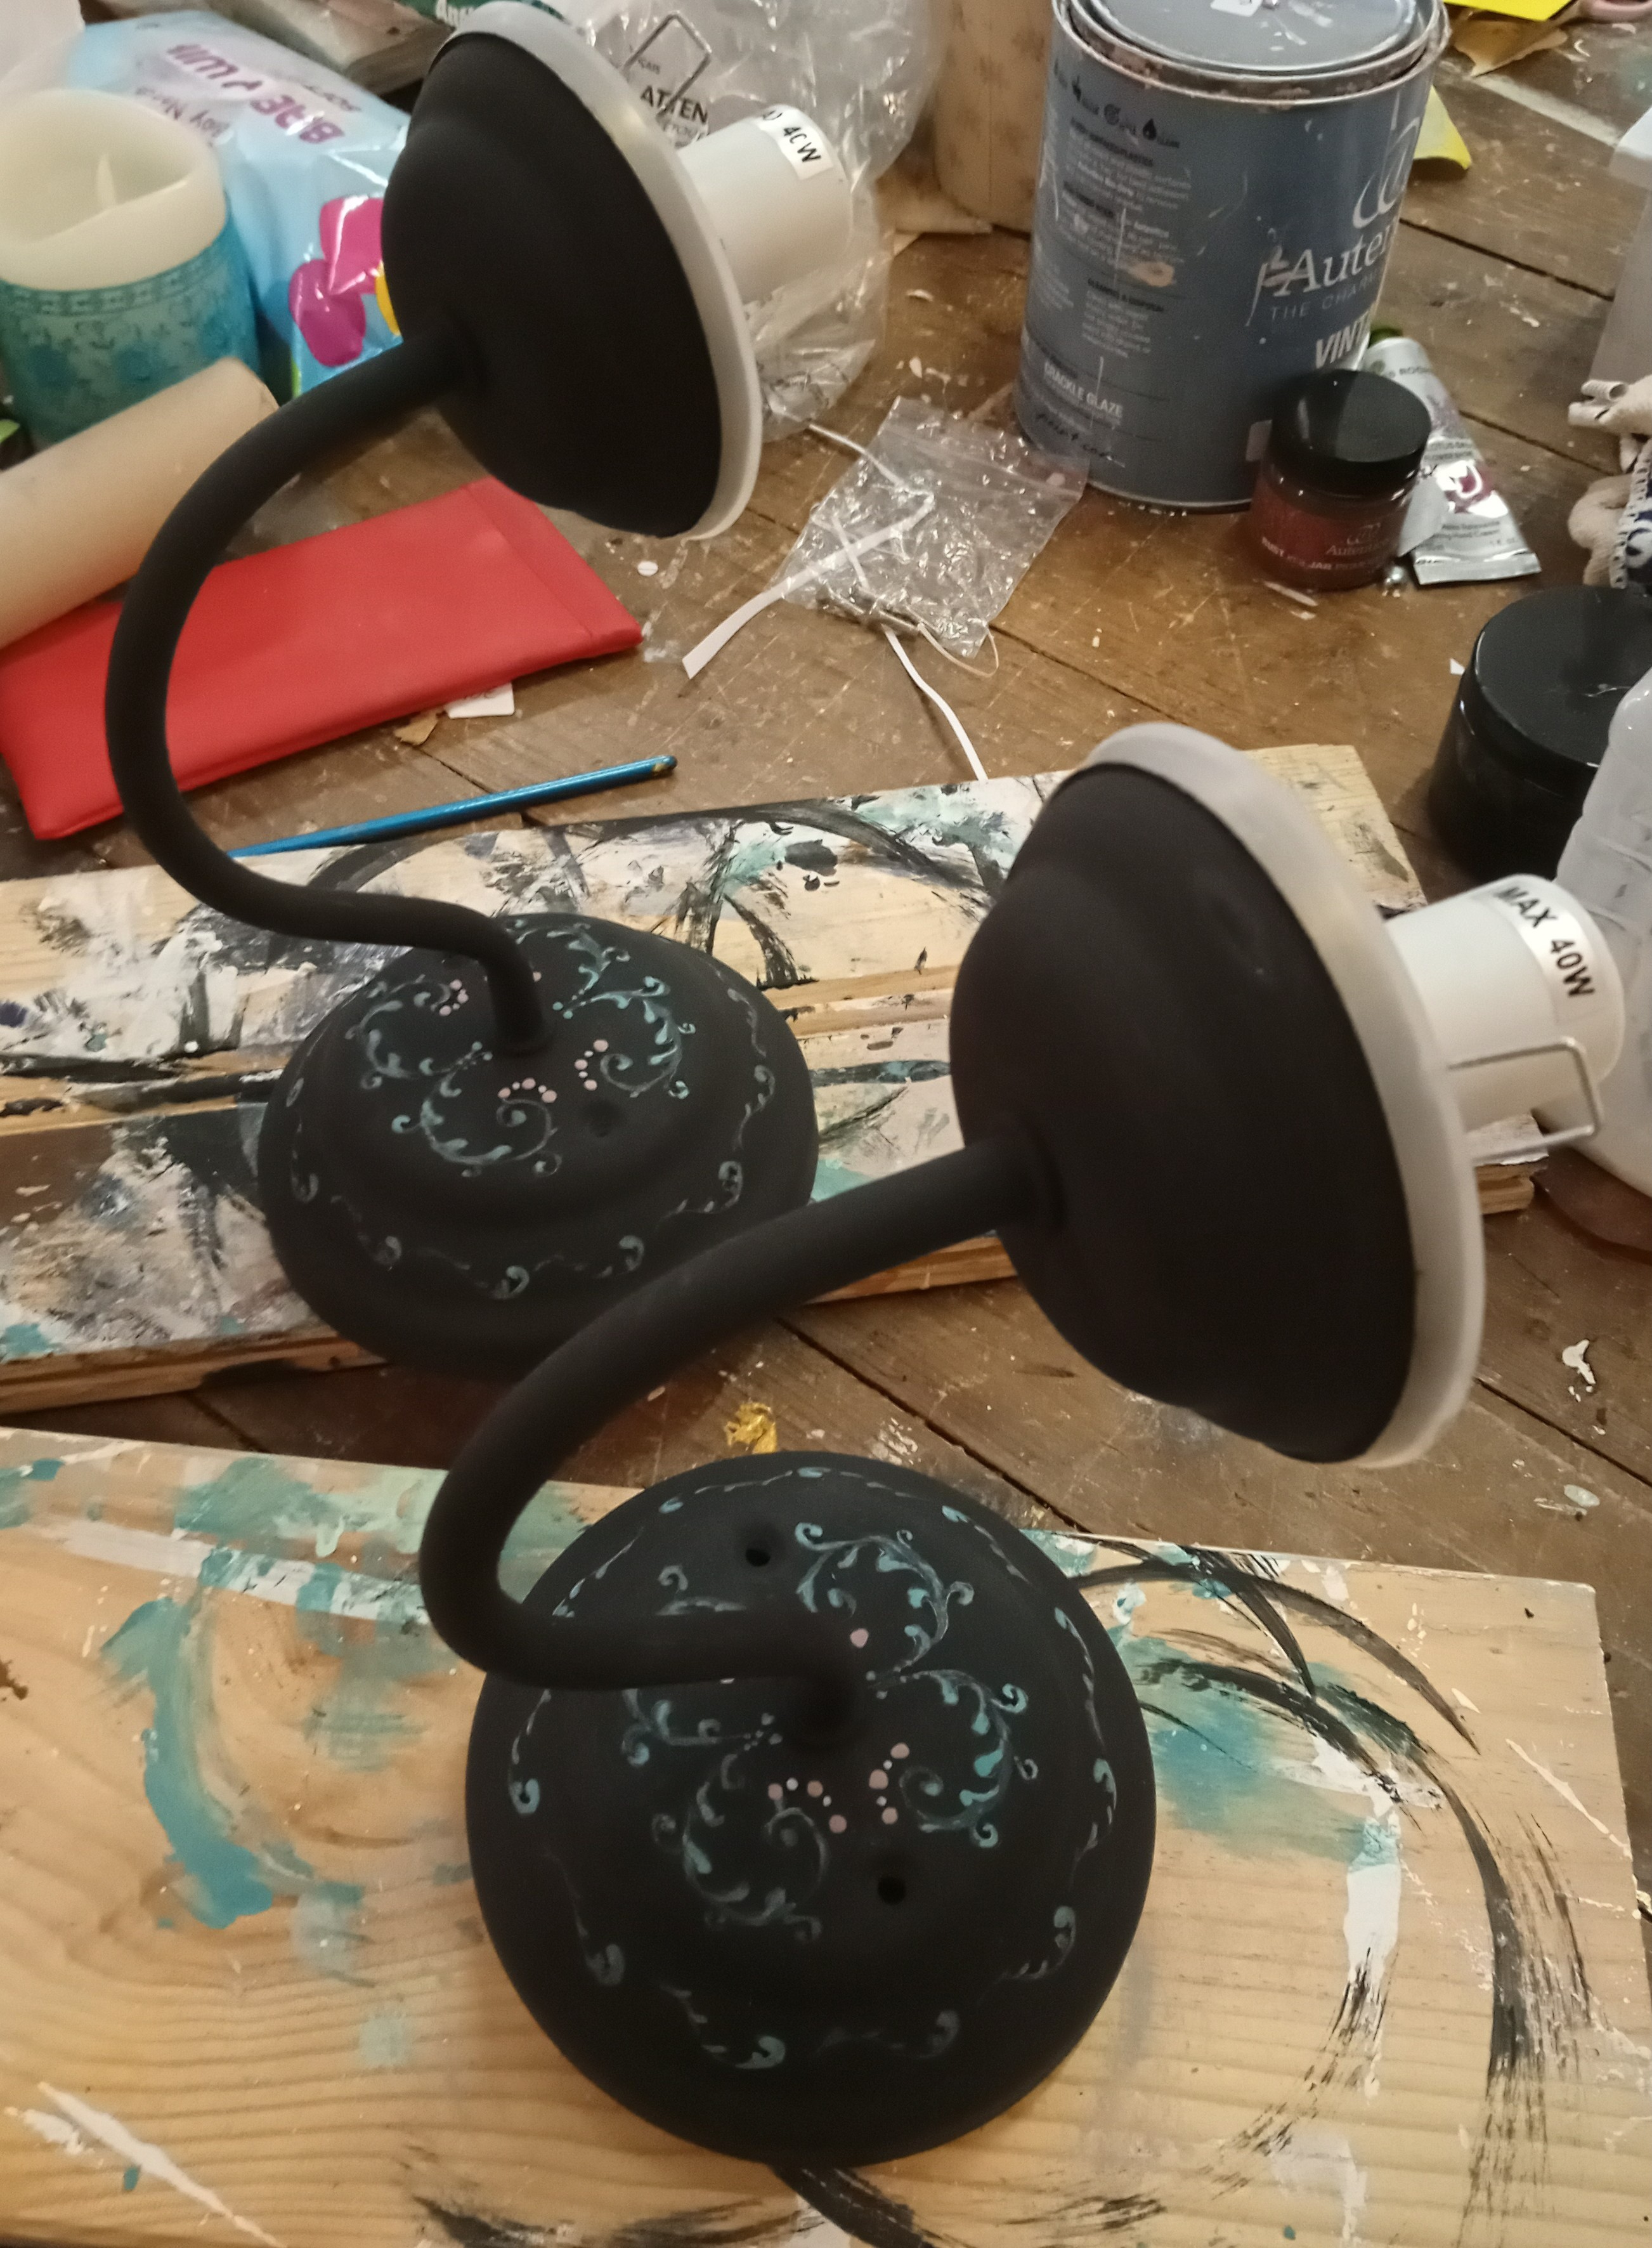
Good old IKEA chrome wall lights , primed and then painted with Autentico chalk paints
Sealed with matt varnish…the amount of eye rolling my electrician does is quite phenomenal.
He prefers electrical fittings that are brand new, in a box, with a leaflet. Just wait, Jonathan, till you see all those antique and vintage fittings I have that need COMPLETE rewiring.


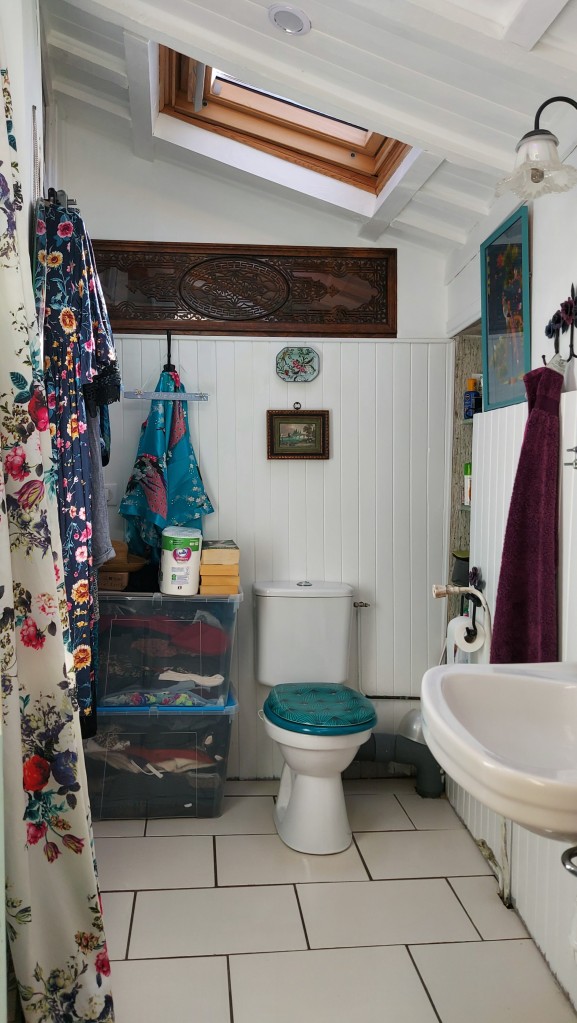
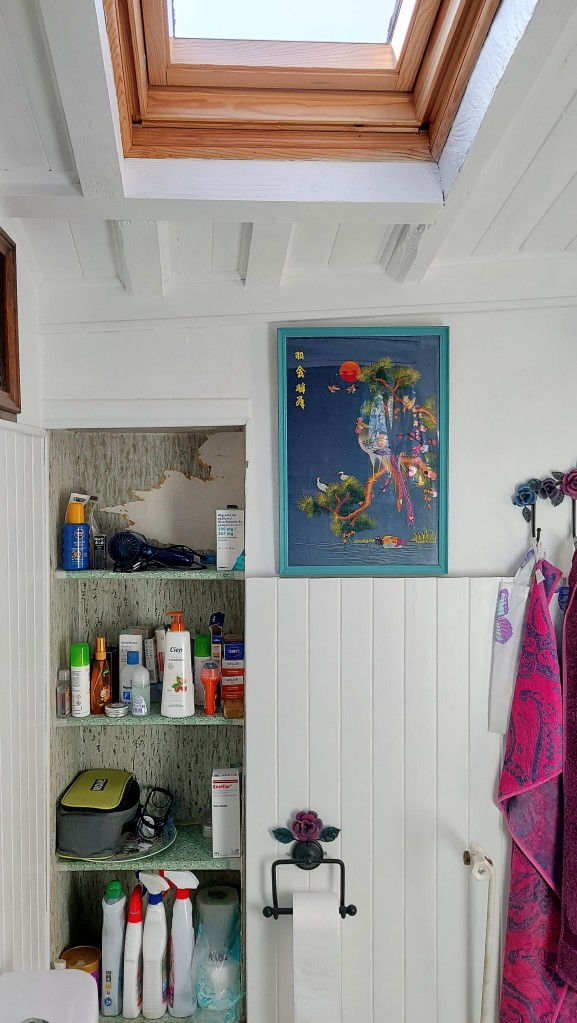
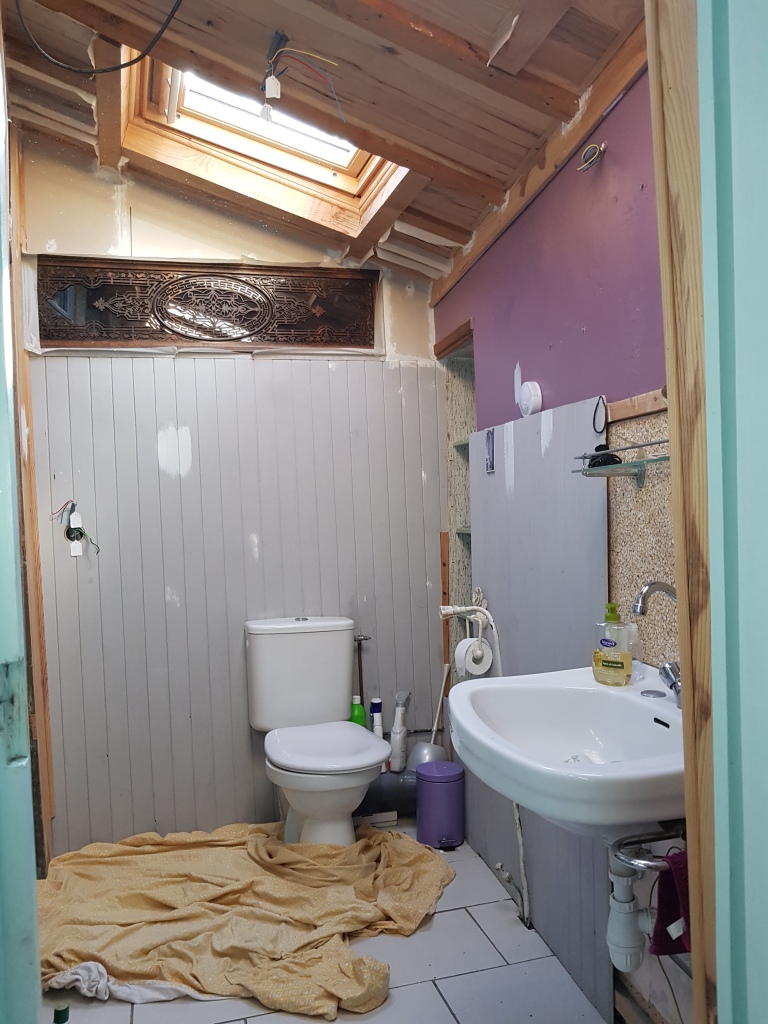
So, I decided against fig and grey.
Too much going on in here with other accent colours- celadon, navy blue, magenta, violet ….
I used Autentico Versante matt on the plastered walls and Versante eggshell on the wooden panelling and beams/joists.
Colour is “White Cliff”
A little more panelling and some touching up, then the reclaimed terrazzo skirtings go on.
Basin and tap and shower assemblies all to be replaced.
Jury still out on what vanity or sink cupboard we are having; mainly because the cabinet that exists in my head does not exist in reality


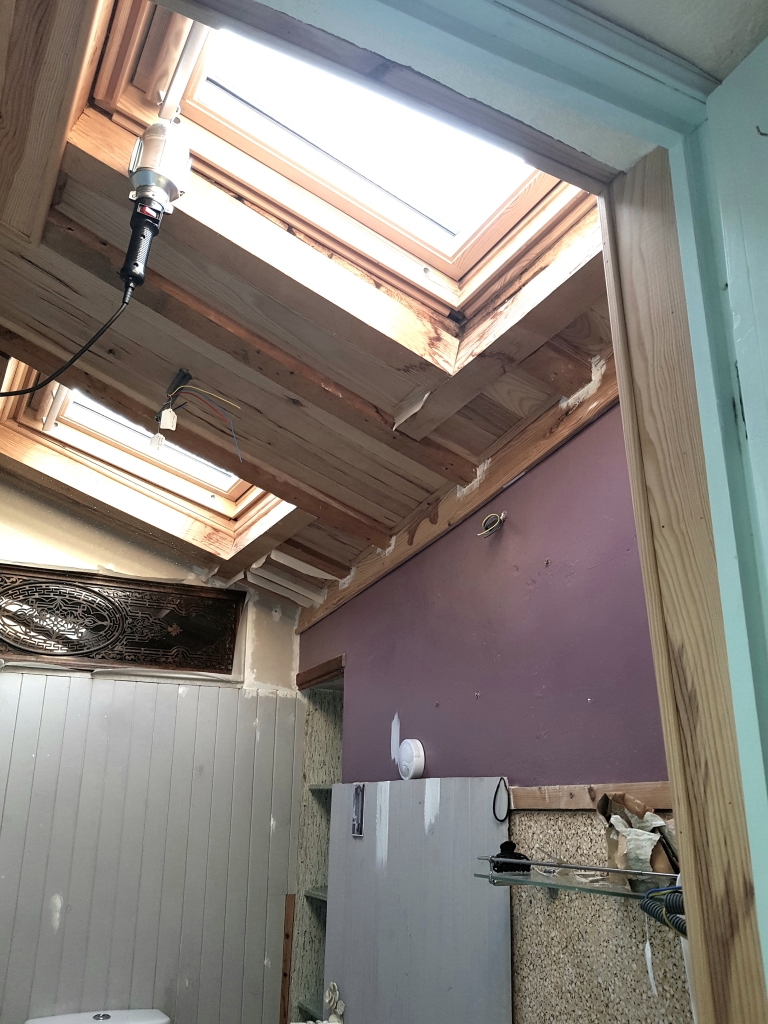
So, the mystery leak from one of the velux windows in our shower room…
The original French builder is not interested . I take back anything kind I ever said about him. I do not wish him a happy retirement .
Three other supposedly expert roofers, Three!!!!….got up on this roof to look.
Eventually, a friend’s son came over.
He has been a farmer in France for over thirty years, but trained as a roofer in windy and wet Wales as a young man.
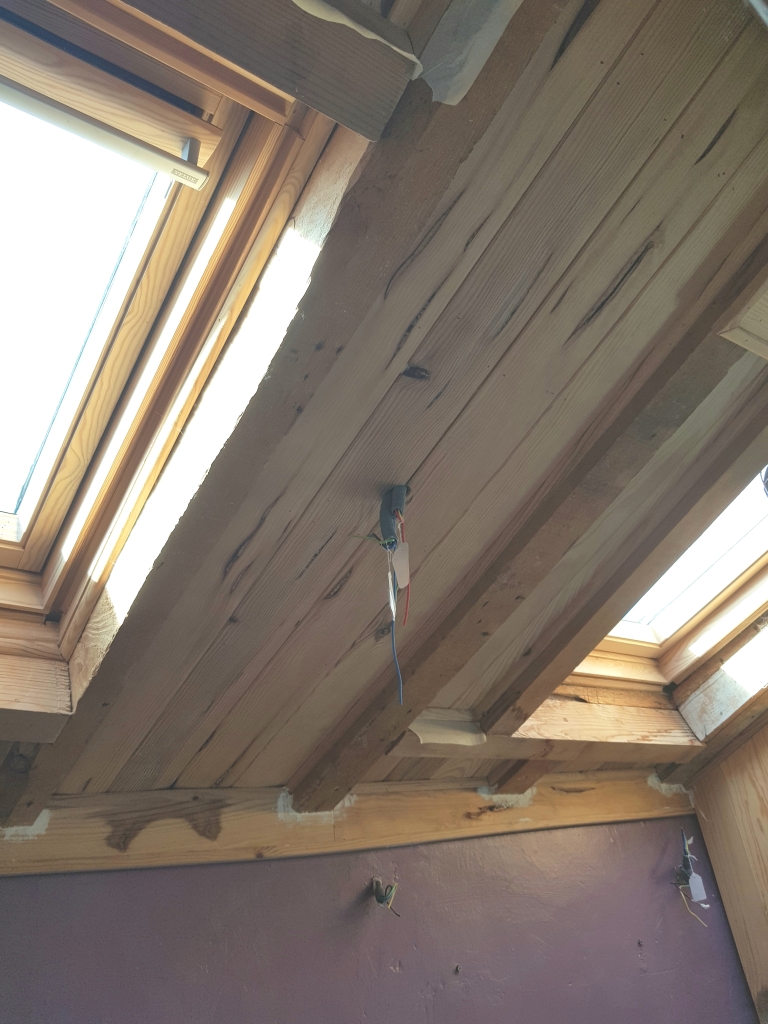
A five minute check identifued the problem. The original builder had matched the angle of the old roof when he installed the veluxes.
The right hand velux was placed at a particularly crazy pitch, and all the rain was pooling up in one corner! Of course!
So, Barny squeezed in two work trips between his demanding animals and equally demanding crops; the only time he could spare was very late evening.
For two nights he crawled carefully over our ancient roof, working by the light of a head torch (!) .
He removed all the crumbling tiles and rotting wood and built a new, level wooden structure to hold the velux as it should be. Carefully flashed and now sealed, we have not had a drop of water in since.
Now we can finally move on with electrics, insulating and panelling this ceiling
This autumn, he is going to cure leak number one in the terrace bedroom.
That has also enjoyed the attentions of three supposed roofers….
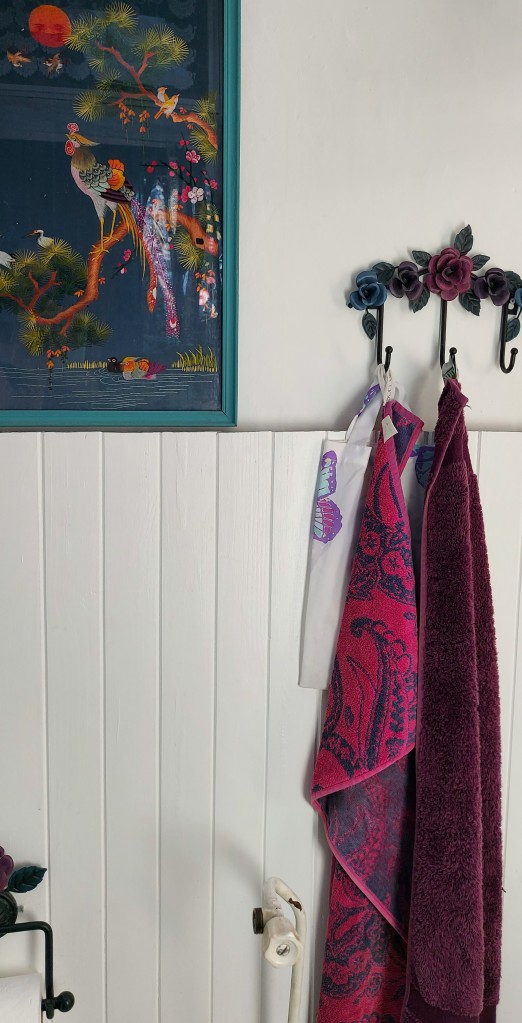
By the way, I have fallen out of love with the fig and grey palette in this room.
All change.

Ok, as I posted only sporadically between late Spring 2018 and late 2020, I think a little backtracking might be in order.
We survived the Covid 19 lockdown restrictions here in deepest France; continuing with projects on the house, where we had materials to work with as shopping (other than for essentials) was a no-no for a long time.
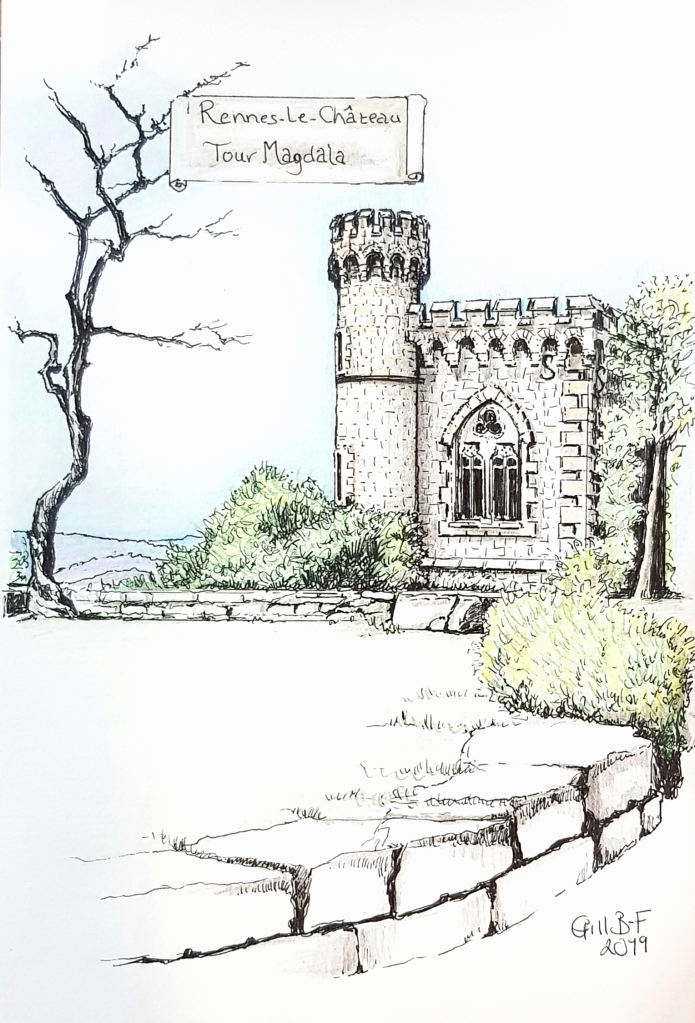
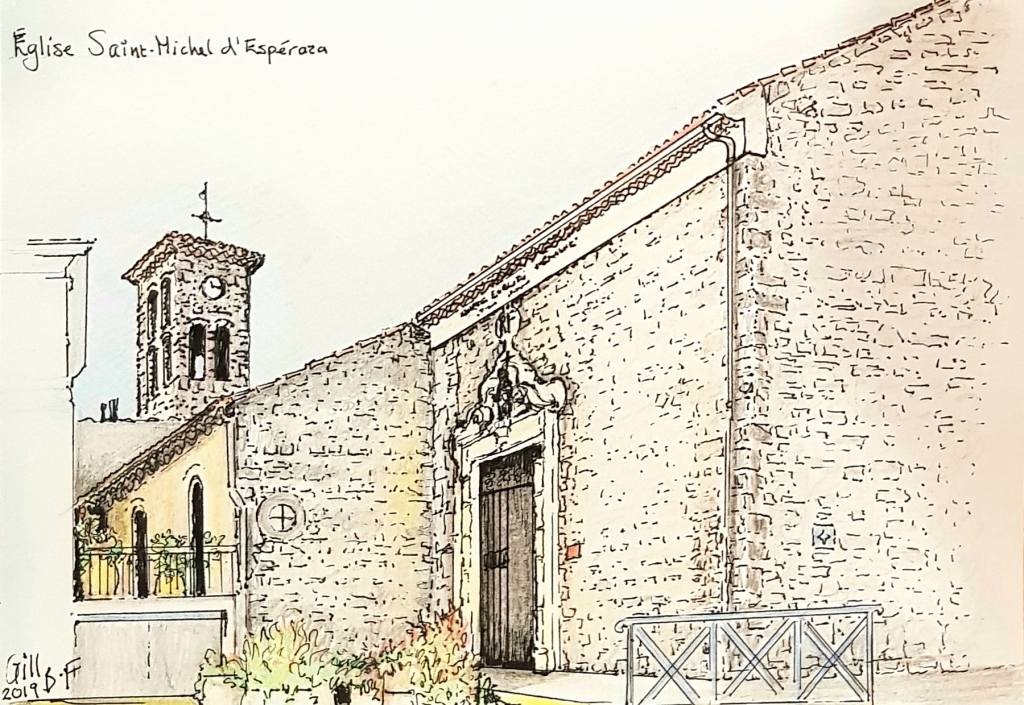
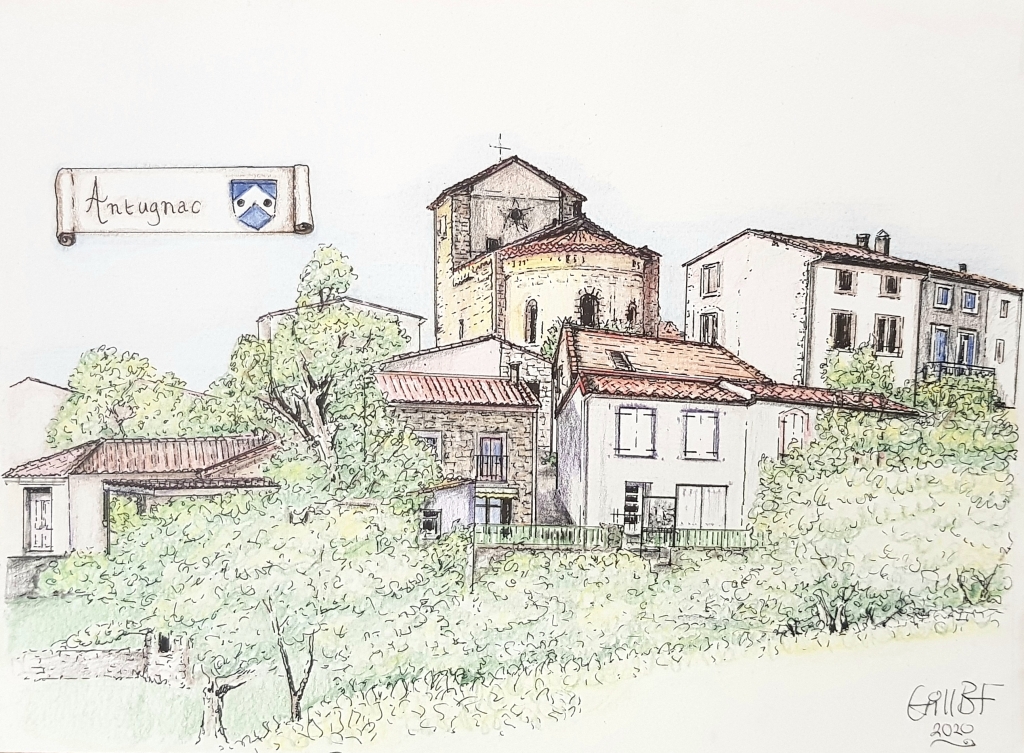
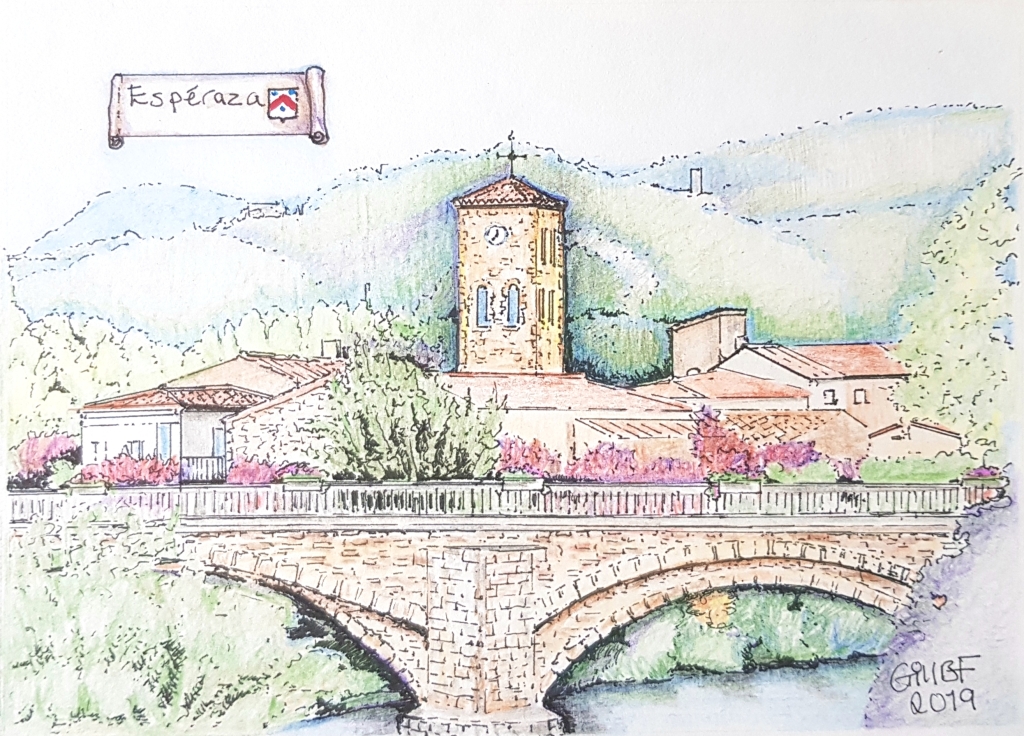
I had formulated the idea of creating a limited edition calendar with twelve local views, to sell by mail order and at the arts/crafts/brocante shop I had helped set up in September 2018; and which was now, naturally, closed for the duration.
I had a stock of photos taken after I recovered from my battle with this new sub-species in January/February 2020, so I had plenty to occupy myself.
This was a great distraction from remembering to breathe, as my lungs had been, at that point, the most obviously affected part of me.
I settled on Indian ink in a brown black shade, with coloured pencil .
The response was encouraging and I posted my first ever art calendars worldwide that November.

OK, after a three year gap, during which a whole heap of things happened, I am dipping my toe tentatively into the blogging pool again……
Where do I start?
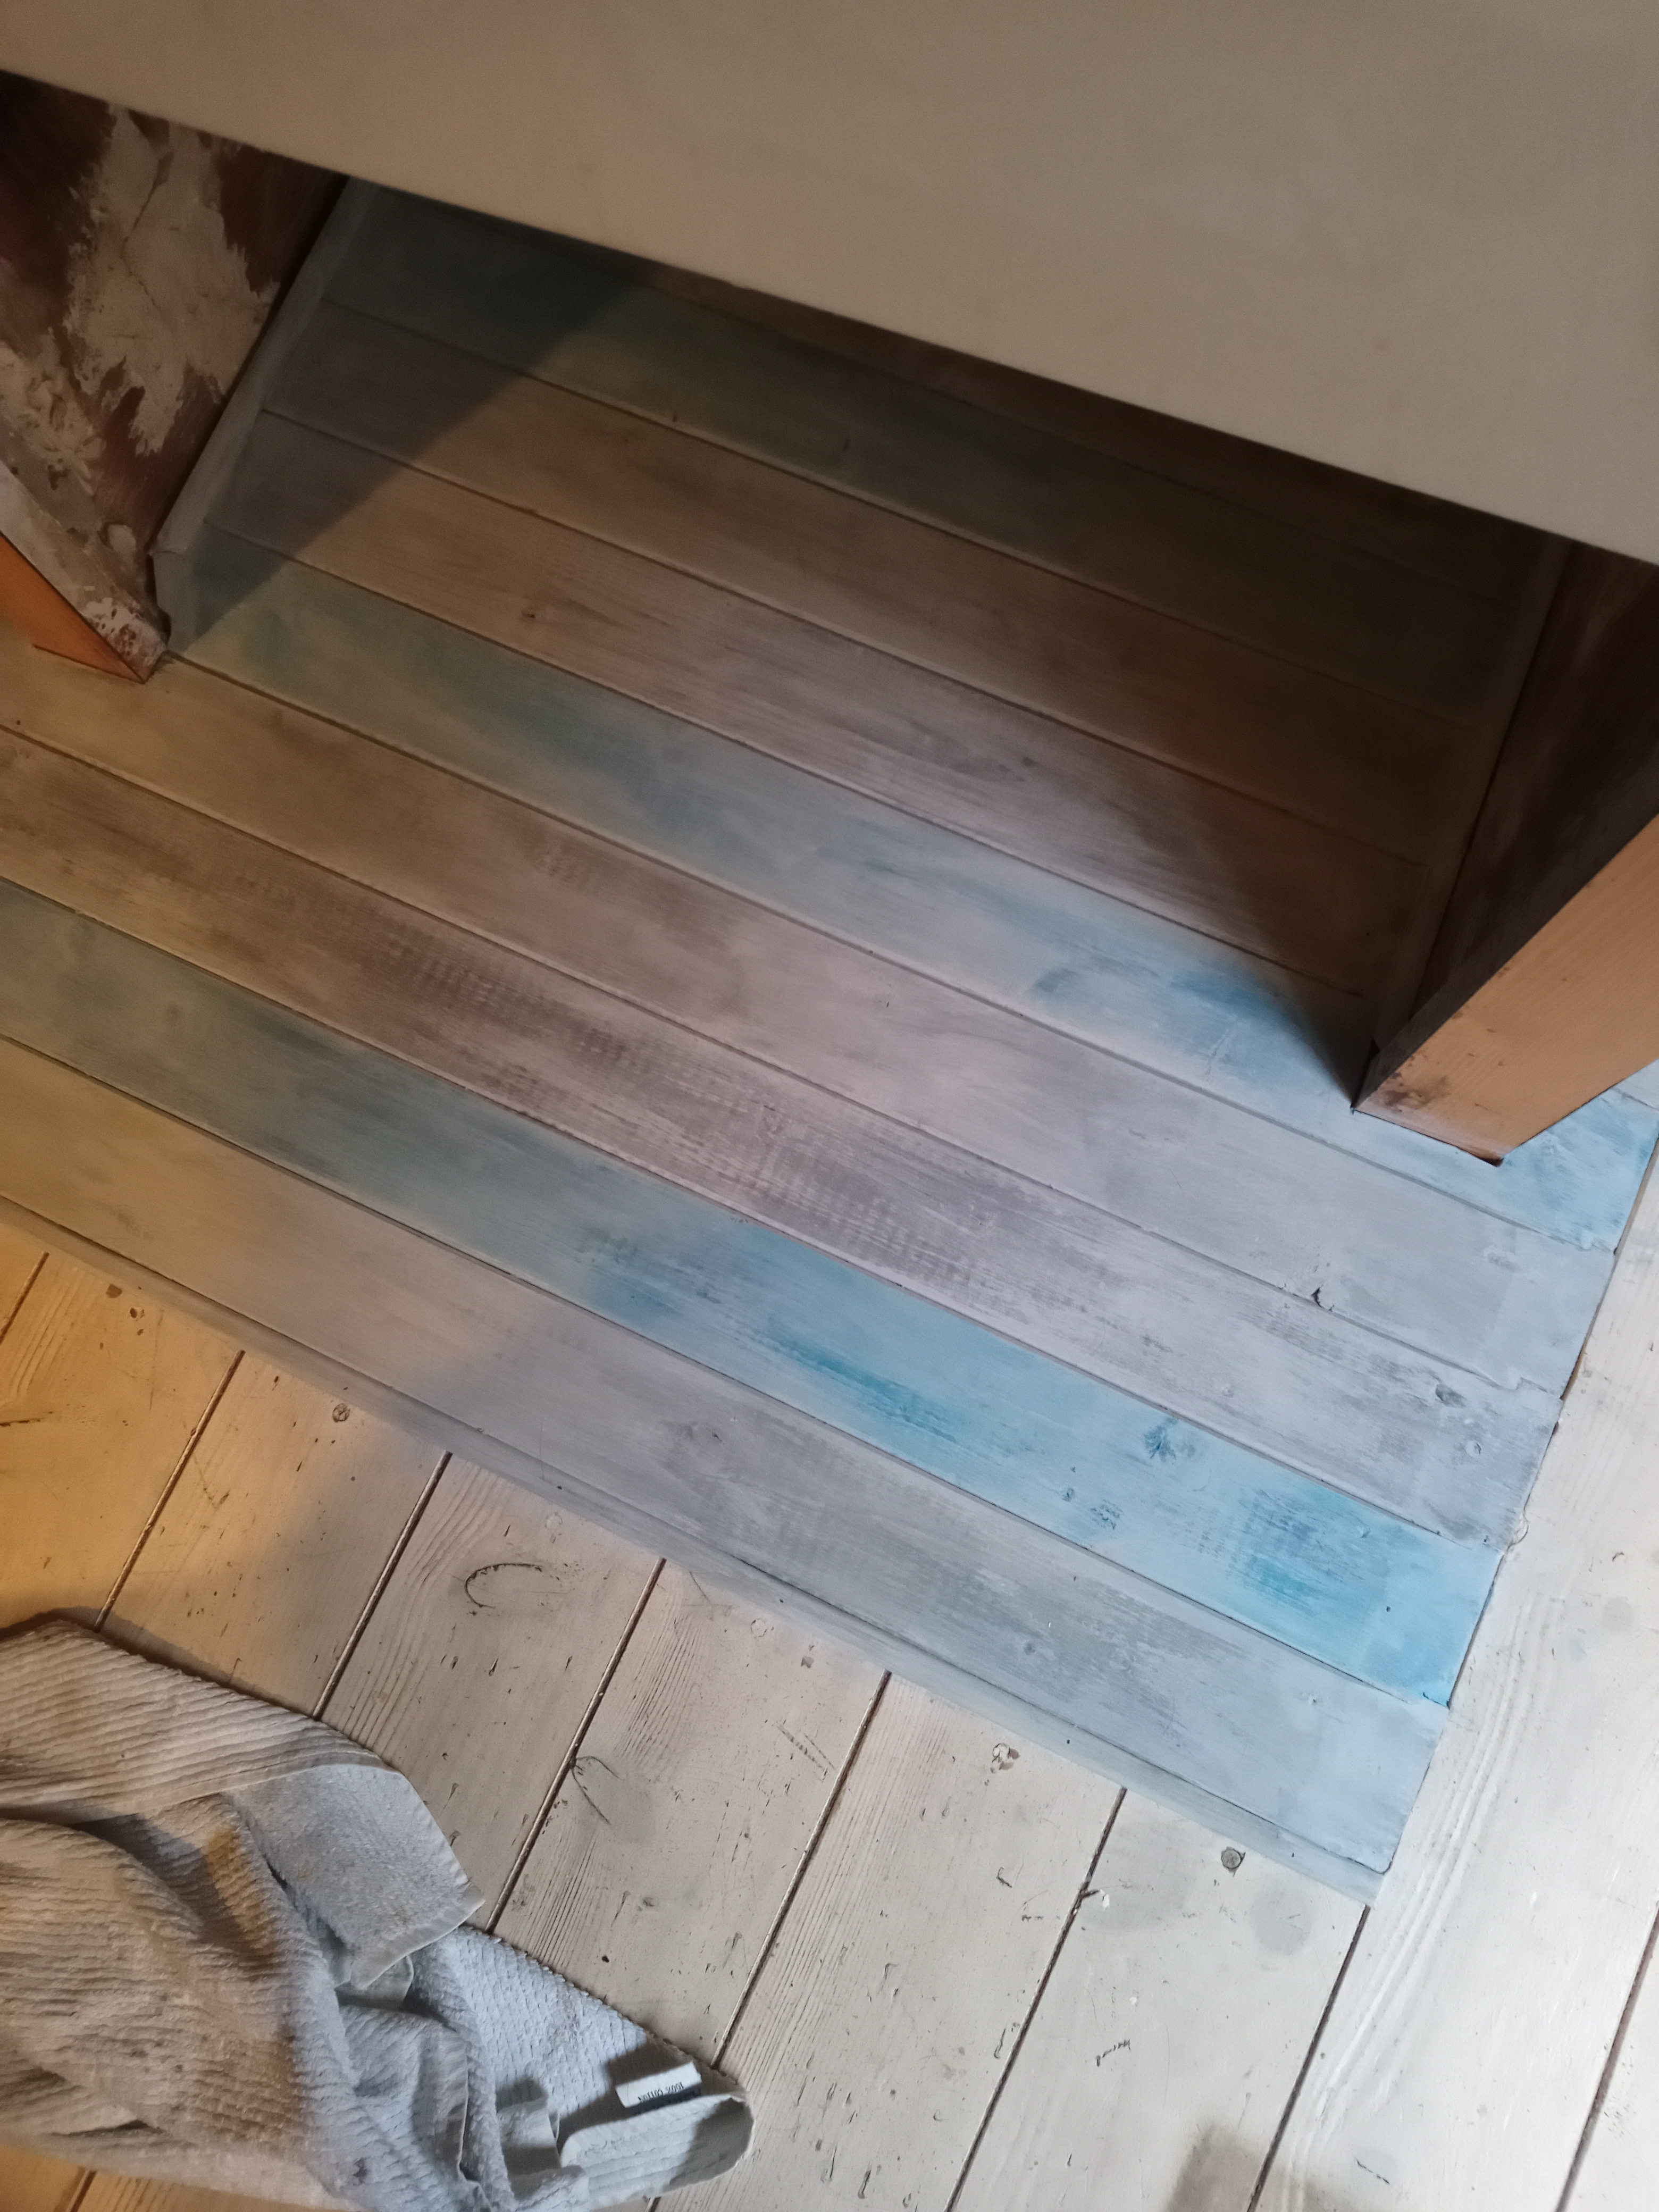
BLEACHED, FADED PAINT FINISH
At last, some time to work on our house!!
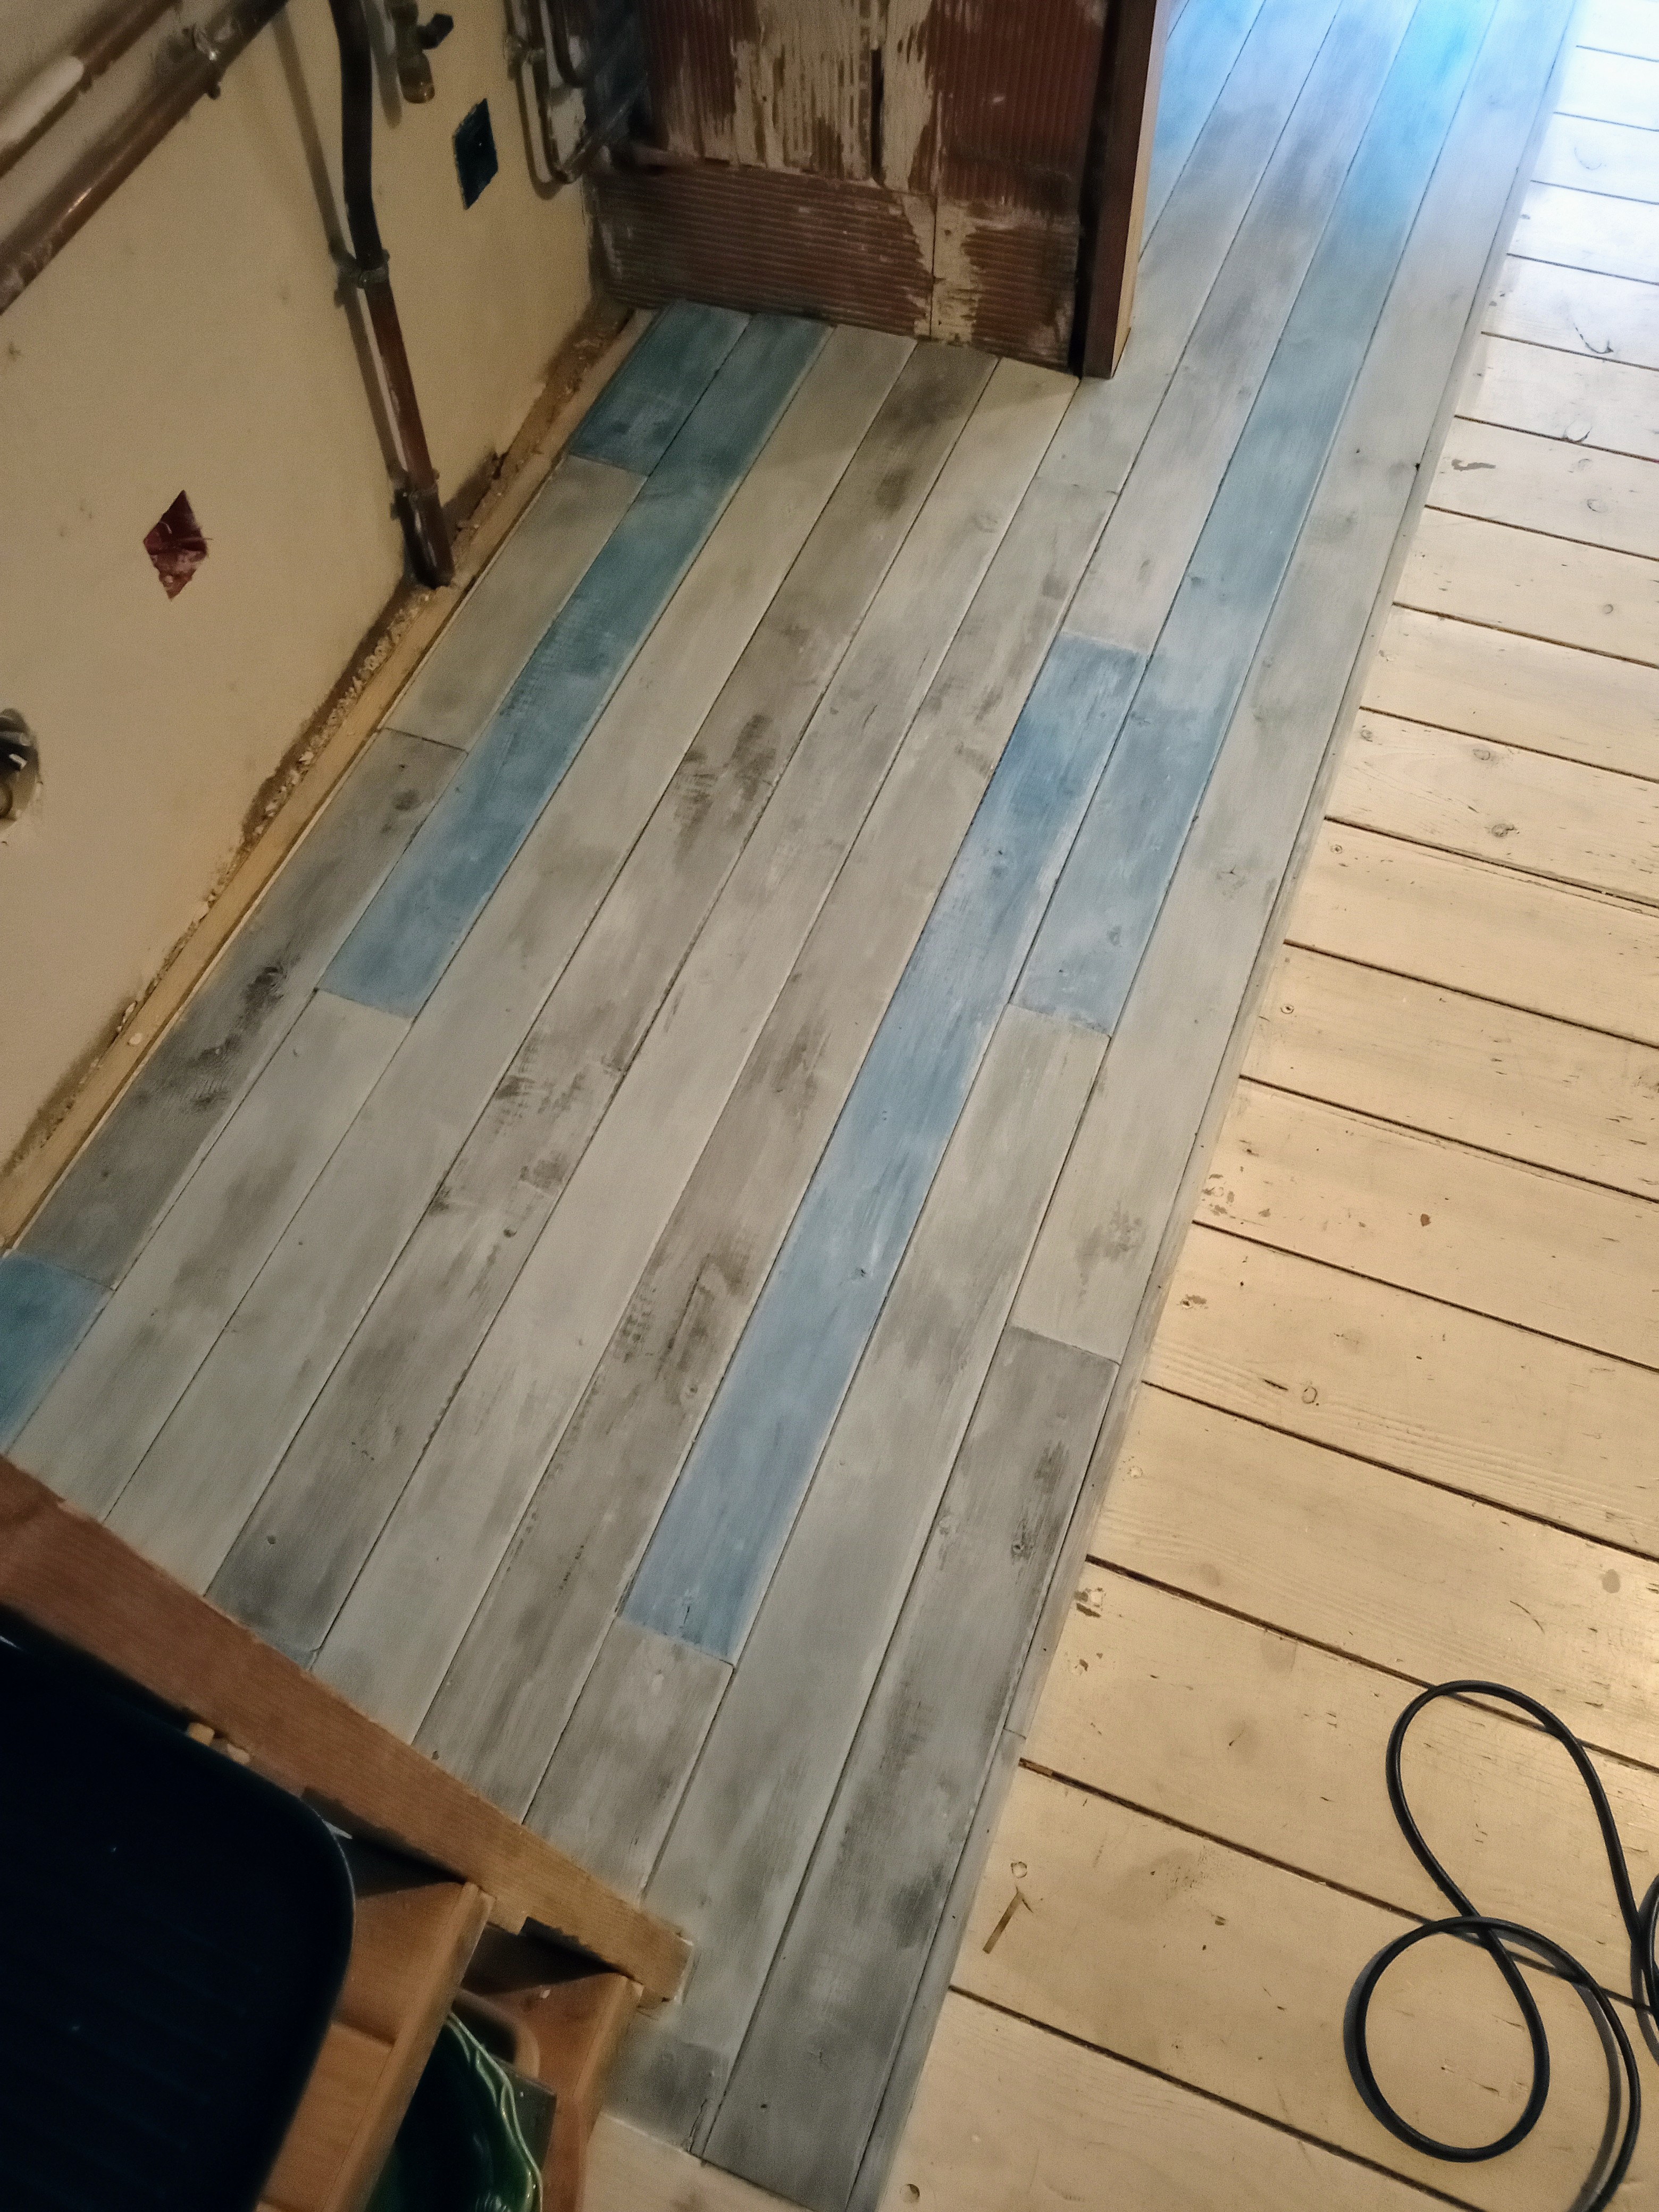
Our kitchen and sitting room are on the first floor.
Not unusual in village houses here, but it limits flooring options when your room is thirty feet (9.14 mtrs) long and old and your floor flexes slightly!!
We had tried tiling this three metre square area; where we are building traditional, simple open cabinetry and installing our built in oven and induction hob as a concession to 21st century life.
Tiles did not work, as there is minor movement in this floor. They developed hairline cracks!
To the right of this space we are keeping the basic block built sink cabinet, but will be losing the vile Formica and wrapping in painted wood panelling.
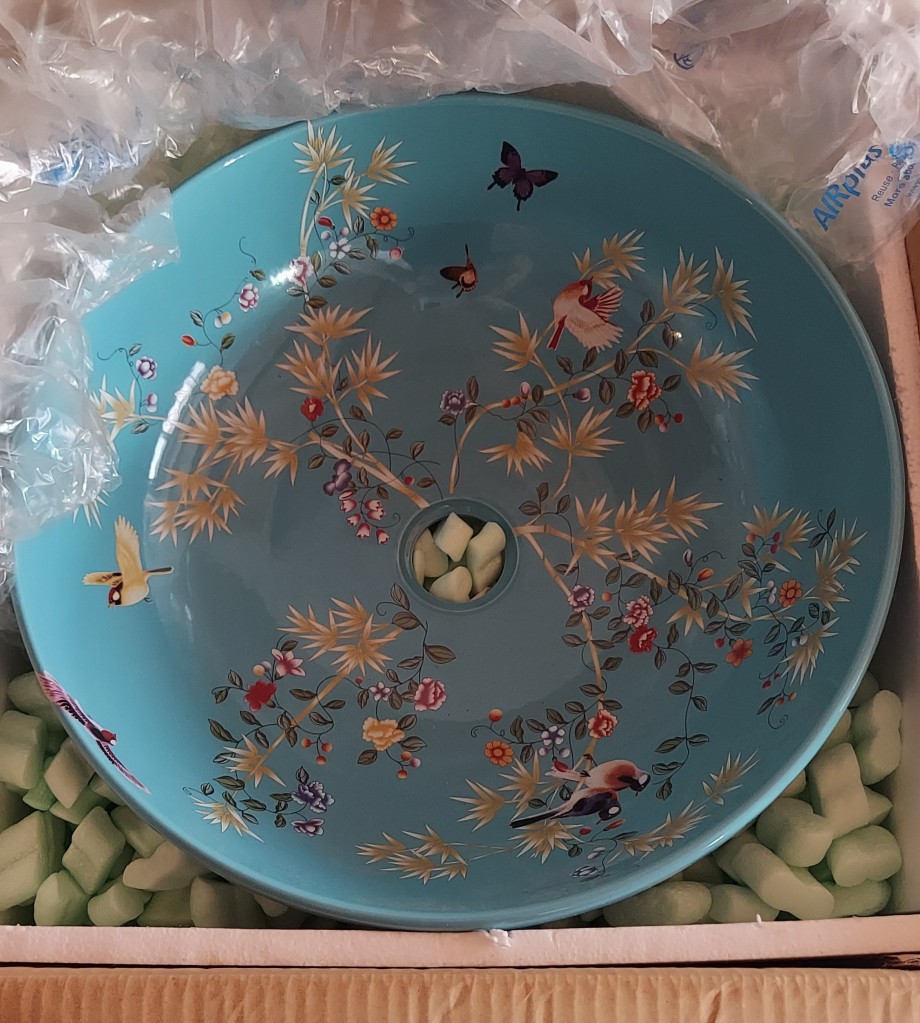
Blocks will be built-up to tall human worktop height ( we are tall family!) Topped with recycled wooden worktops and a new, ceramic sink from Spain.
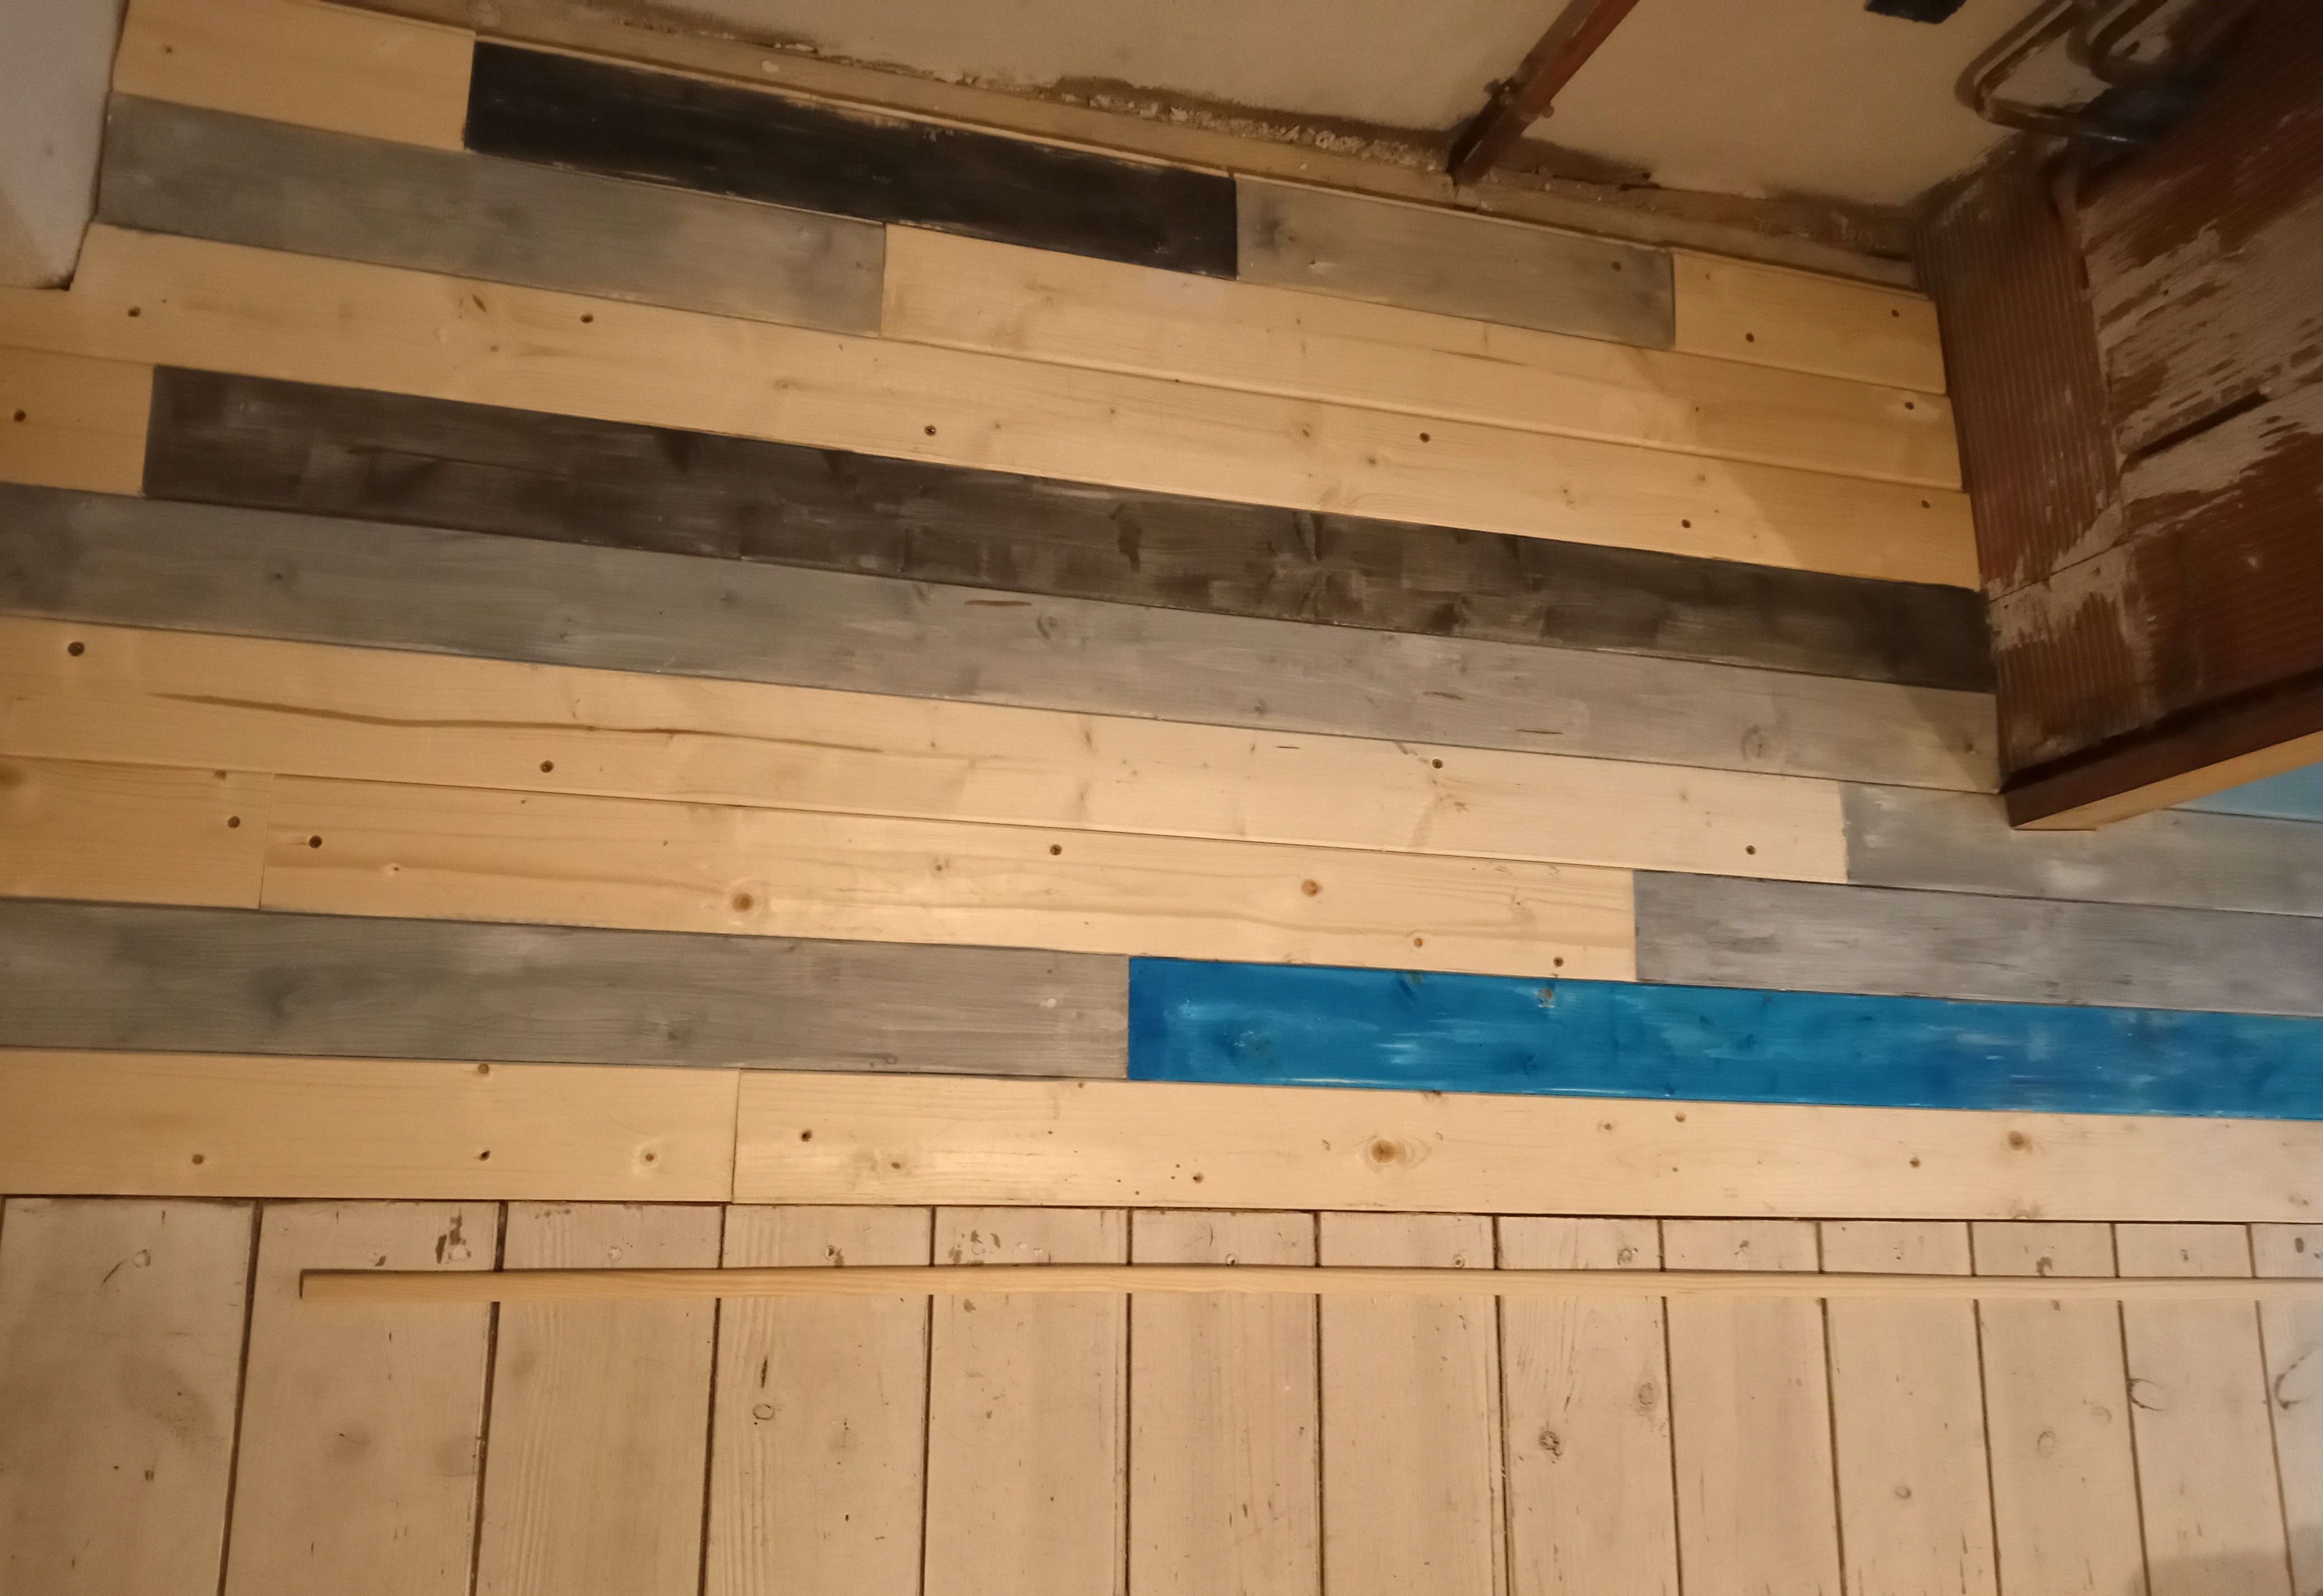
We took up the tiles and laid this two cm deep pine floor, running at right angles to rest of the wood floor in the room.
Most of our old wooden floors, with the exception of the tulip room floor, are pine.
Being a detail freak, I picked out pine with some interesting knots and colour variation and texture to keep things interesting.
Fixed down with steel screws.
A skinny, bevelled wooden trim was pinned on with air gun nailer to finish between the two floors.
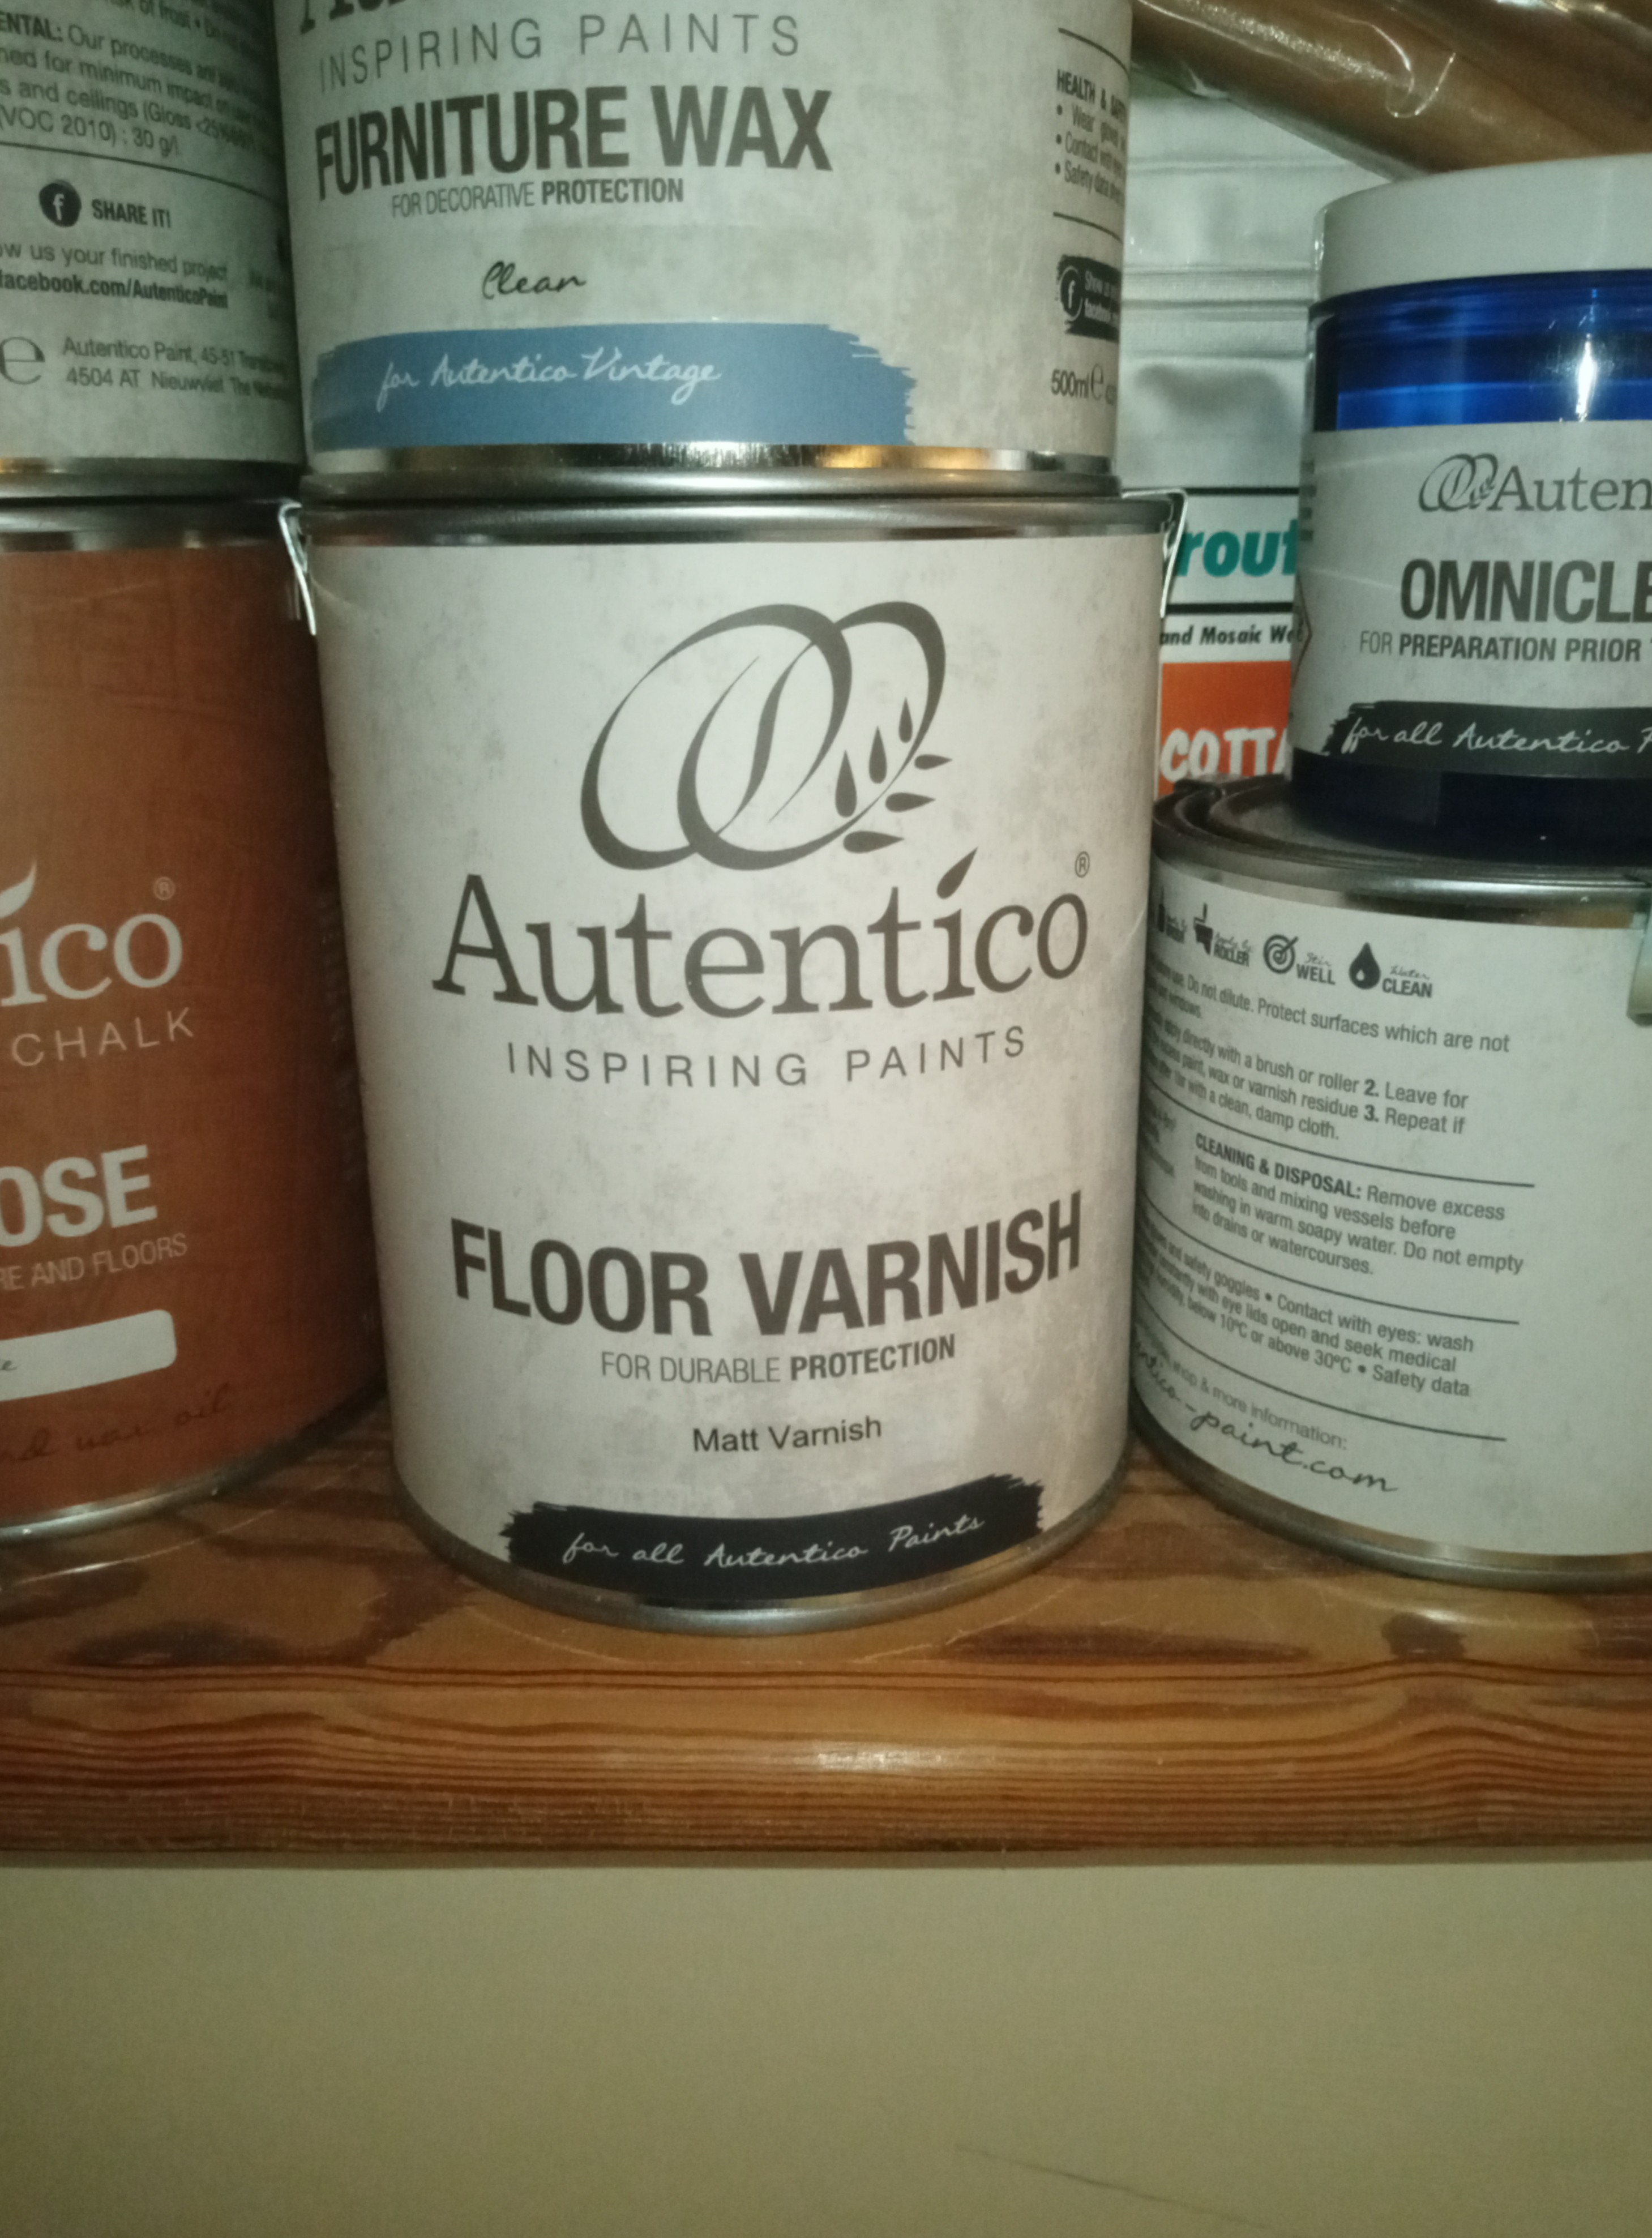
1.First , I washed the floor with diluted paint/water, 75%/25% mix.
Applied evenly with smooth strokes.
I used a flat one inch brush.
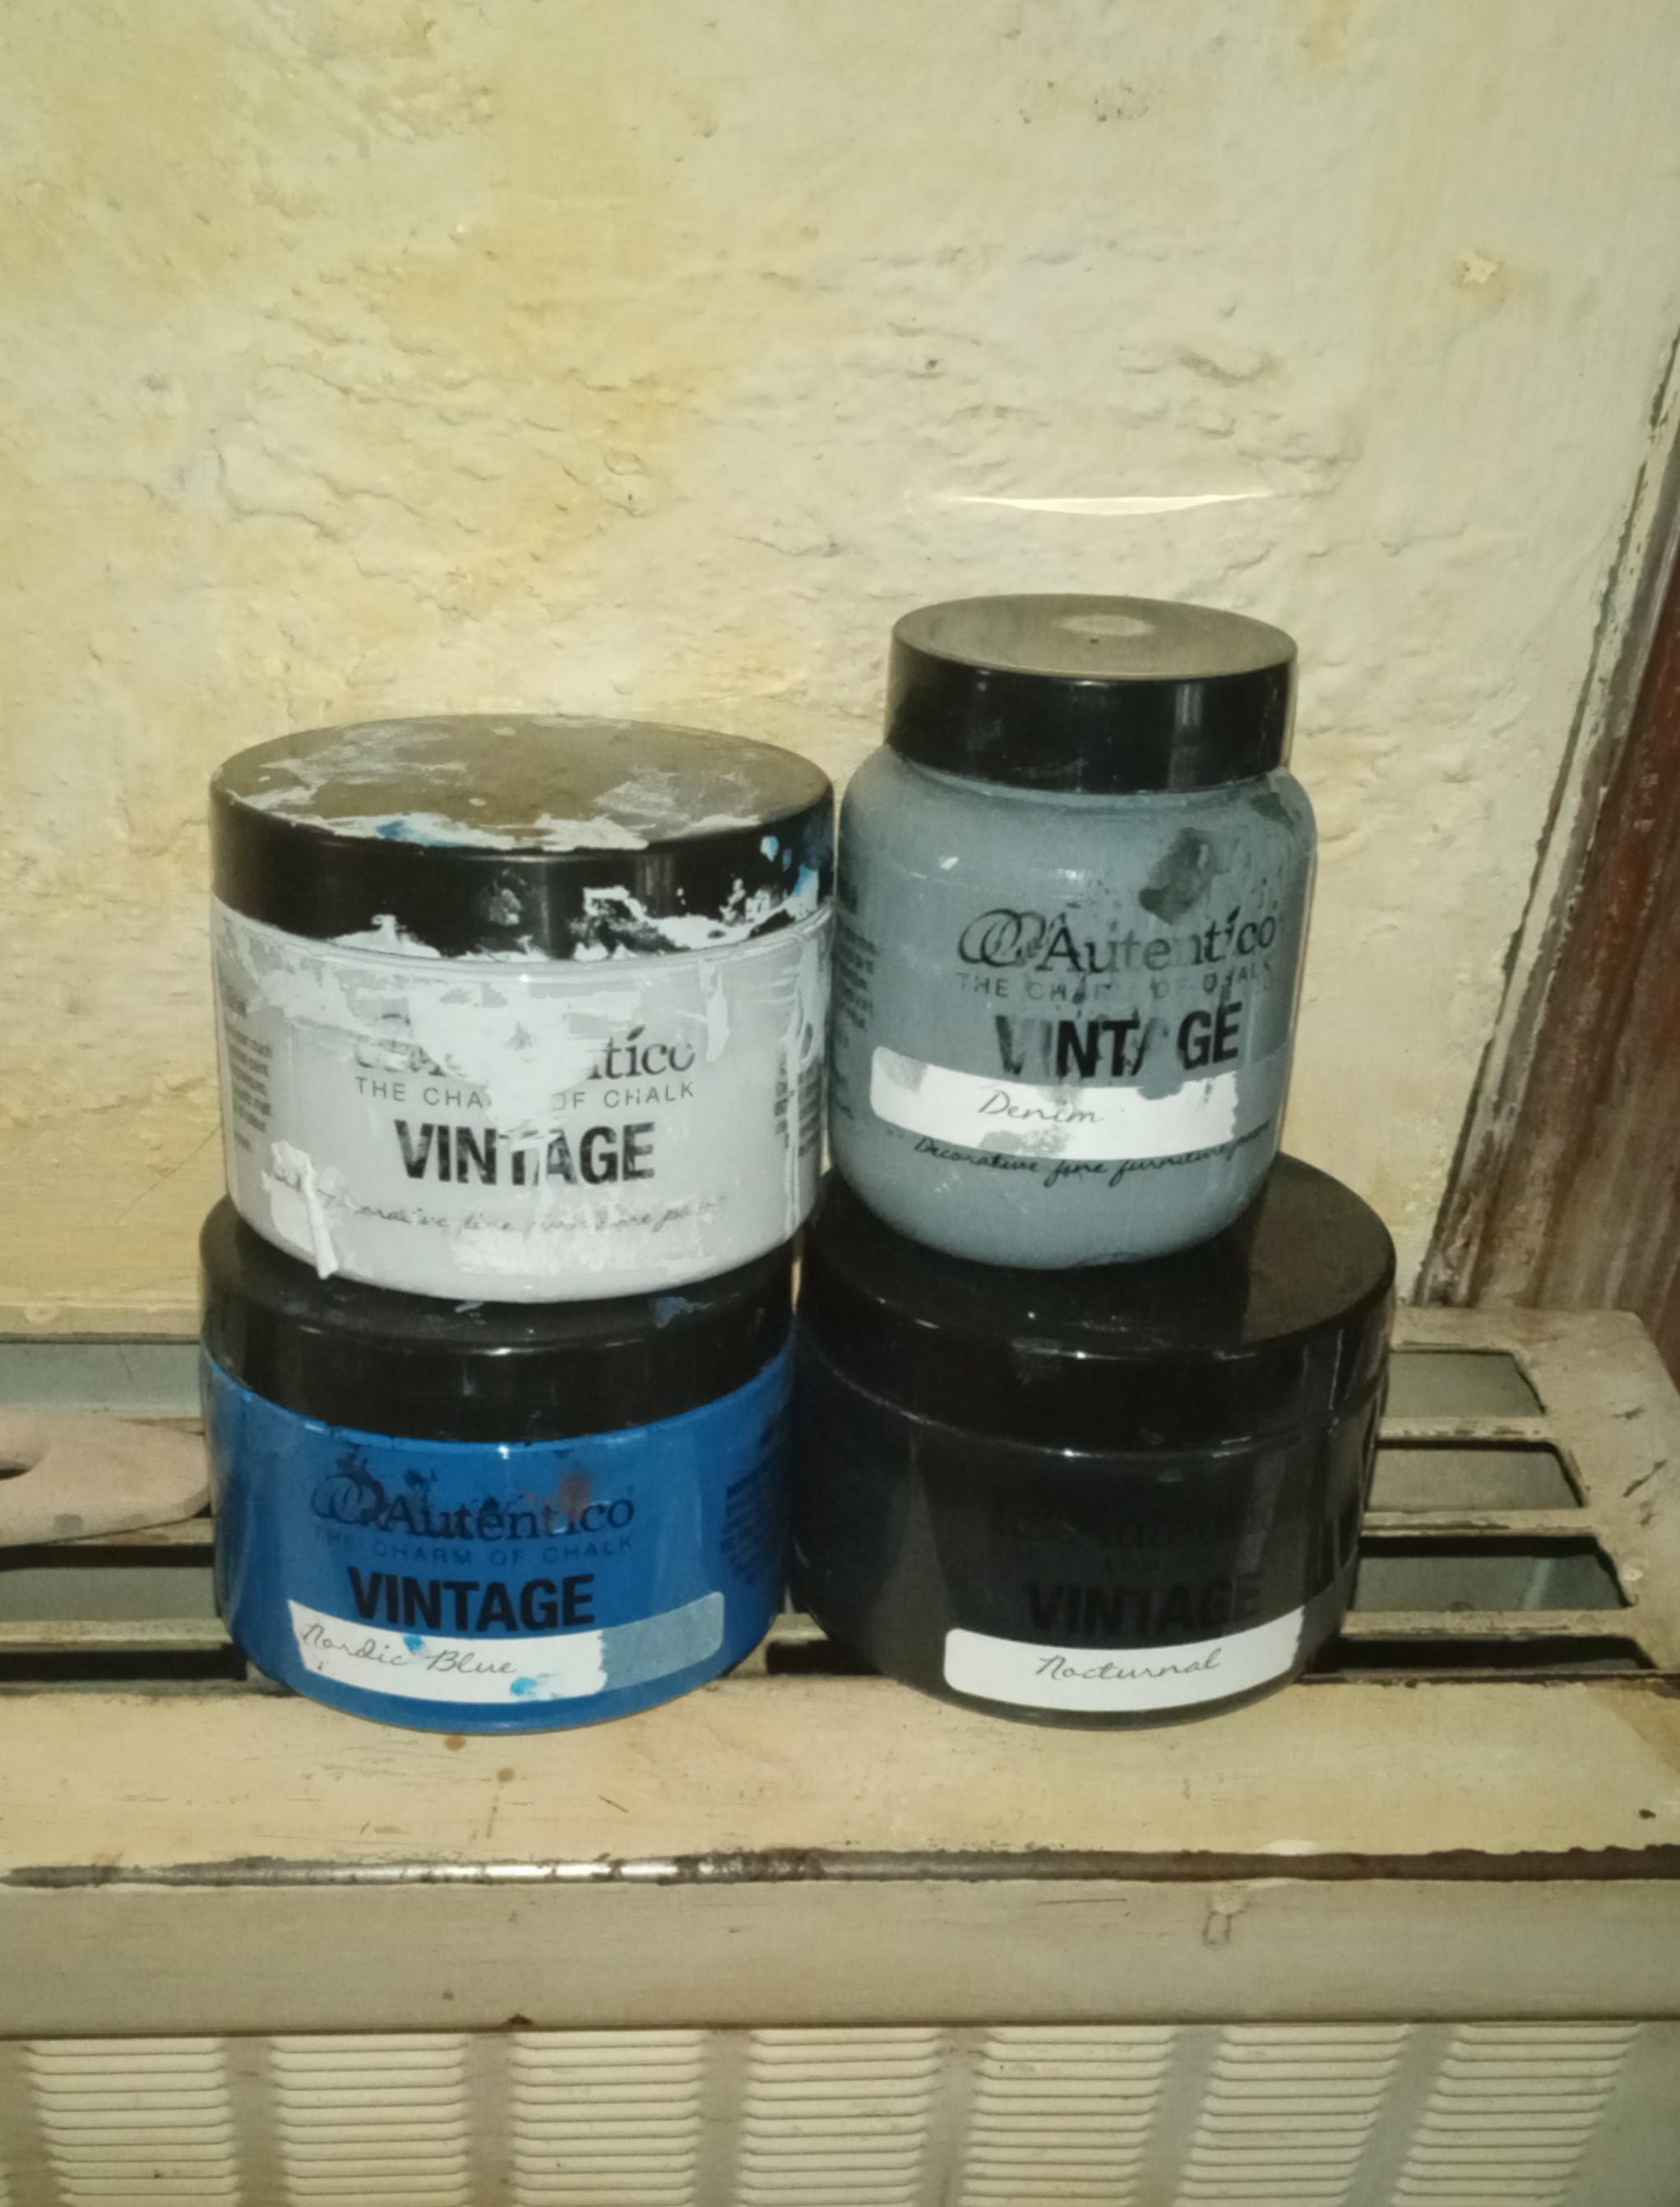
Nocturnal, Nordic blue and Denim shades of Vintage chalk paint.
Do not be alarmed at this stage , this is only the base colour!!
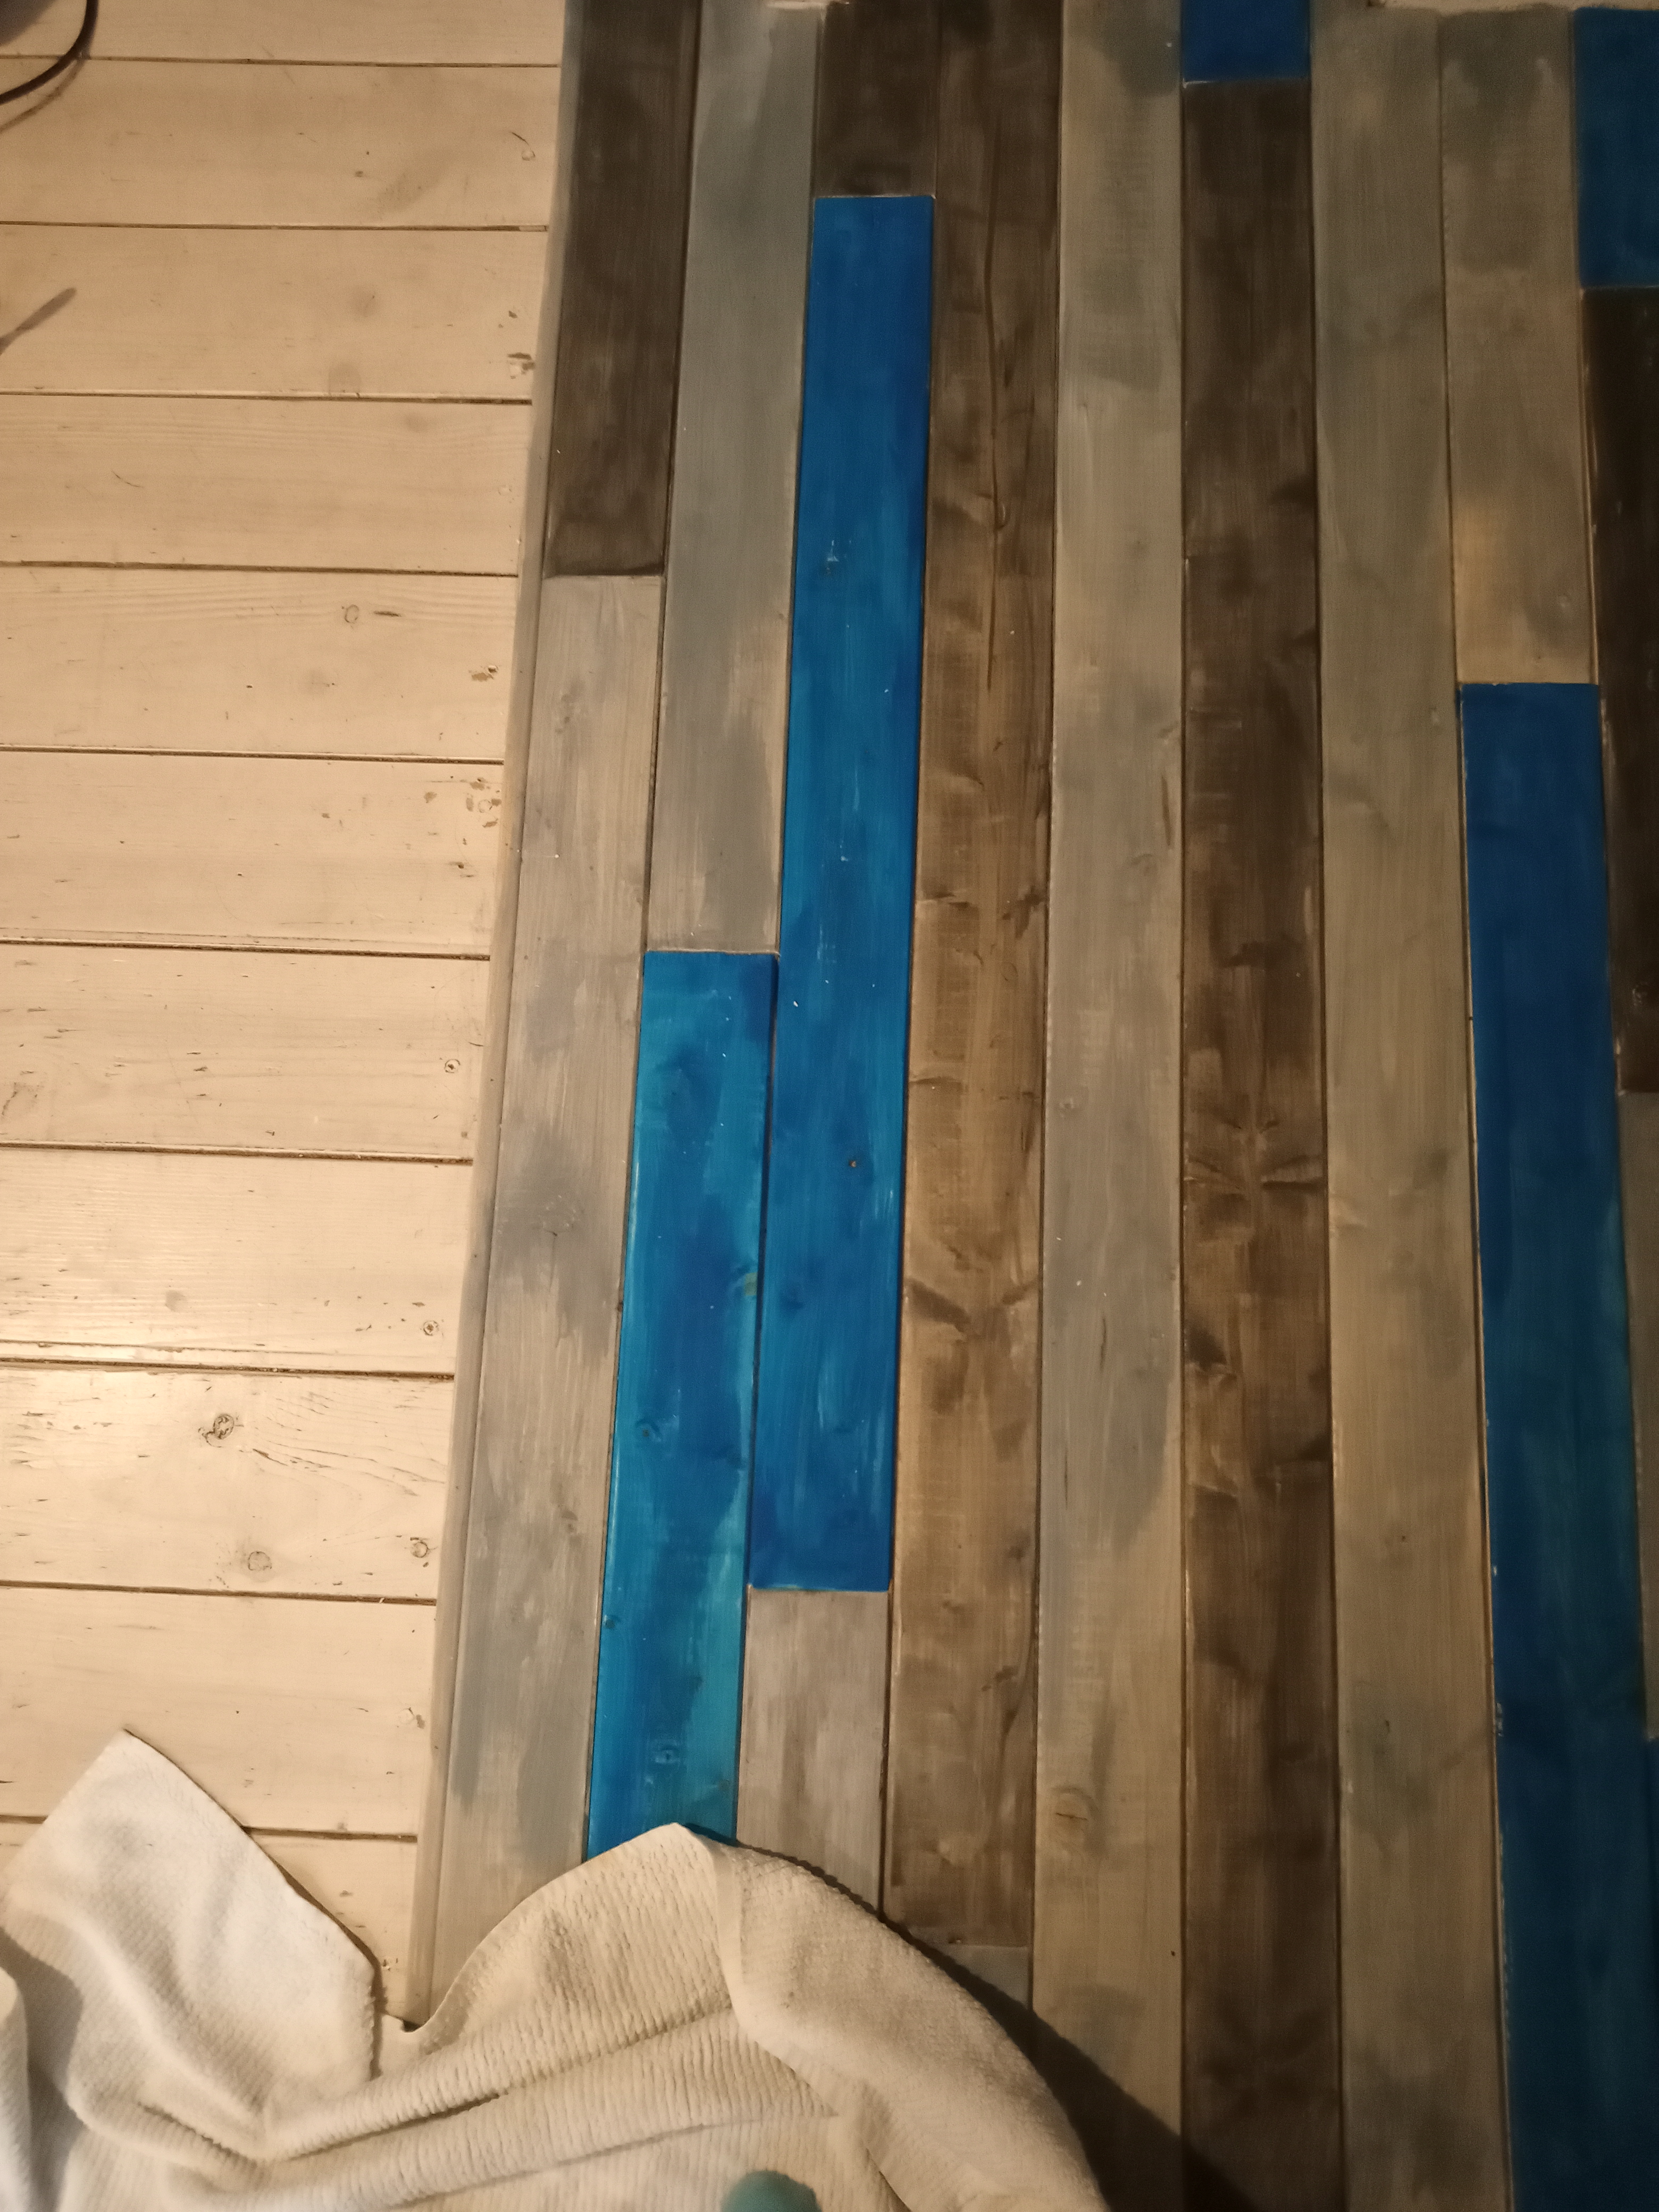
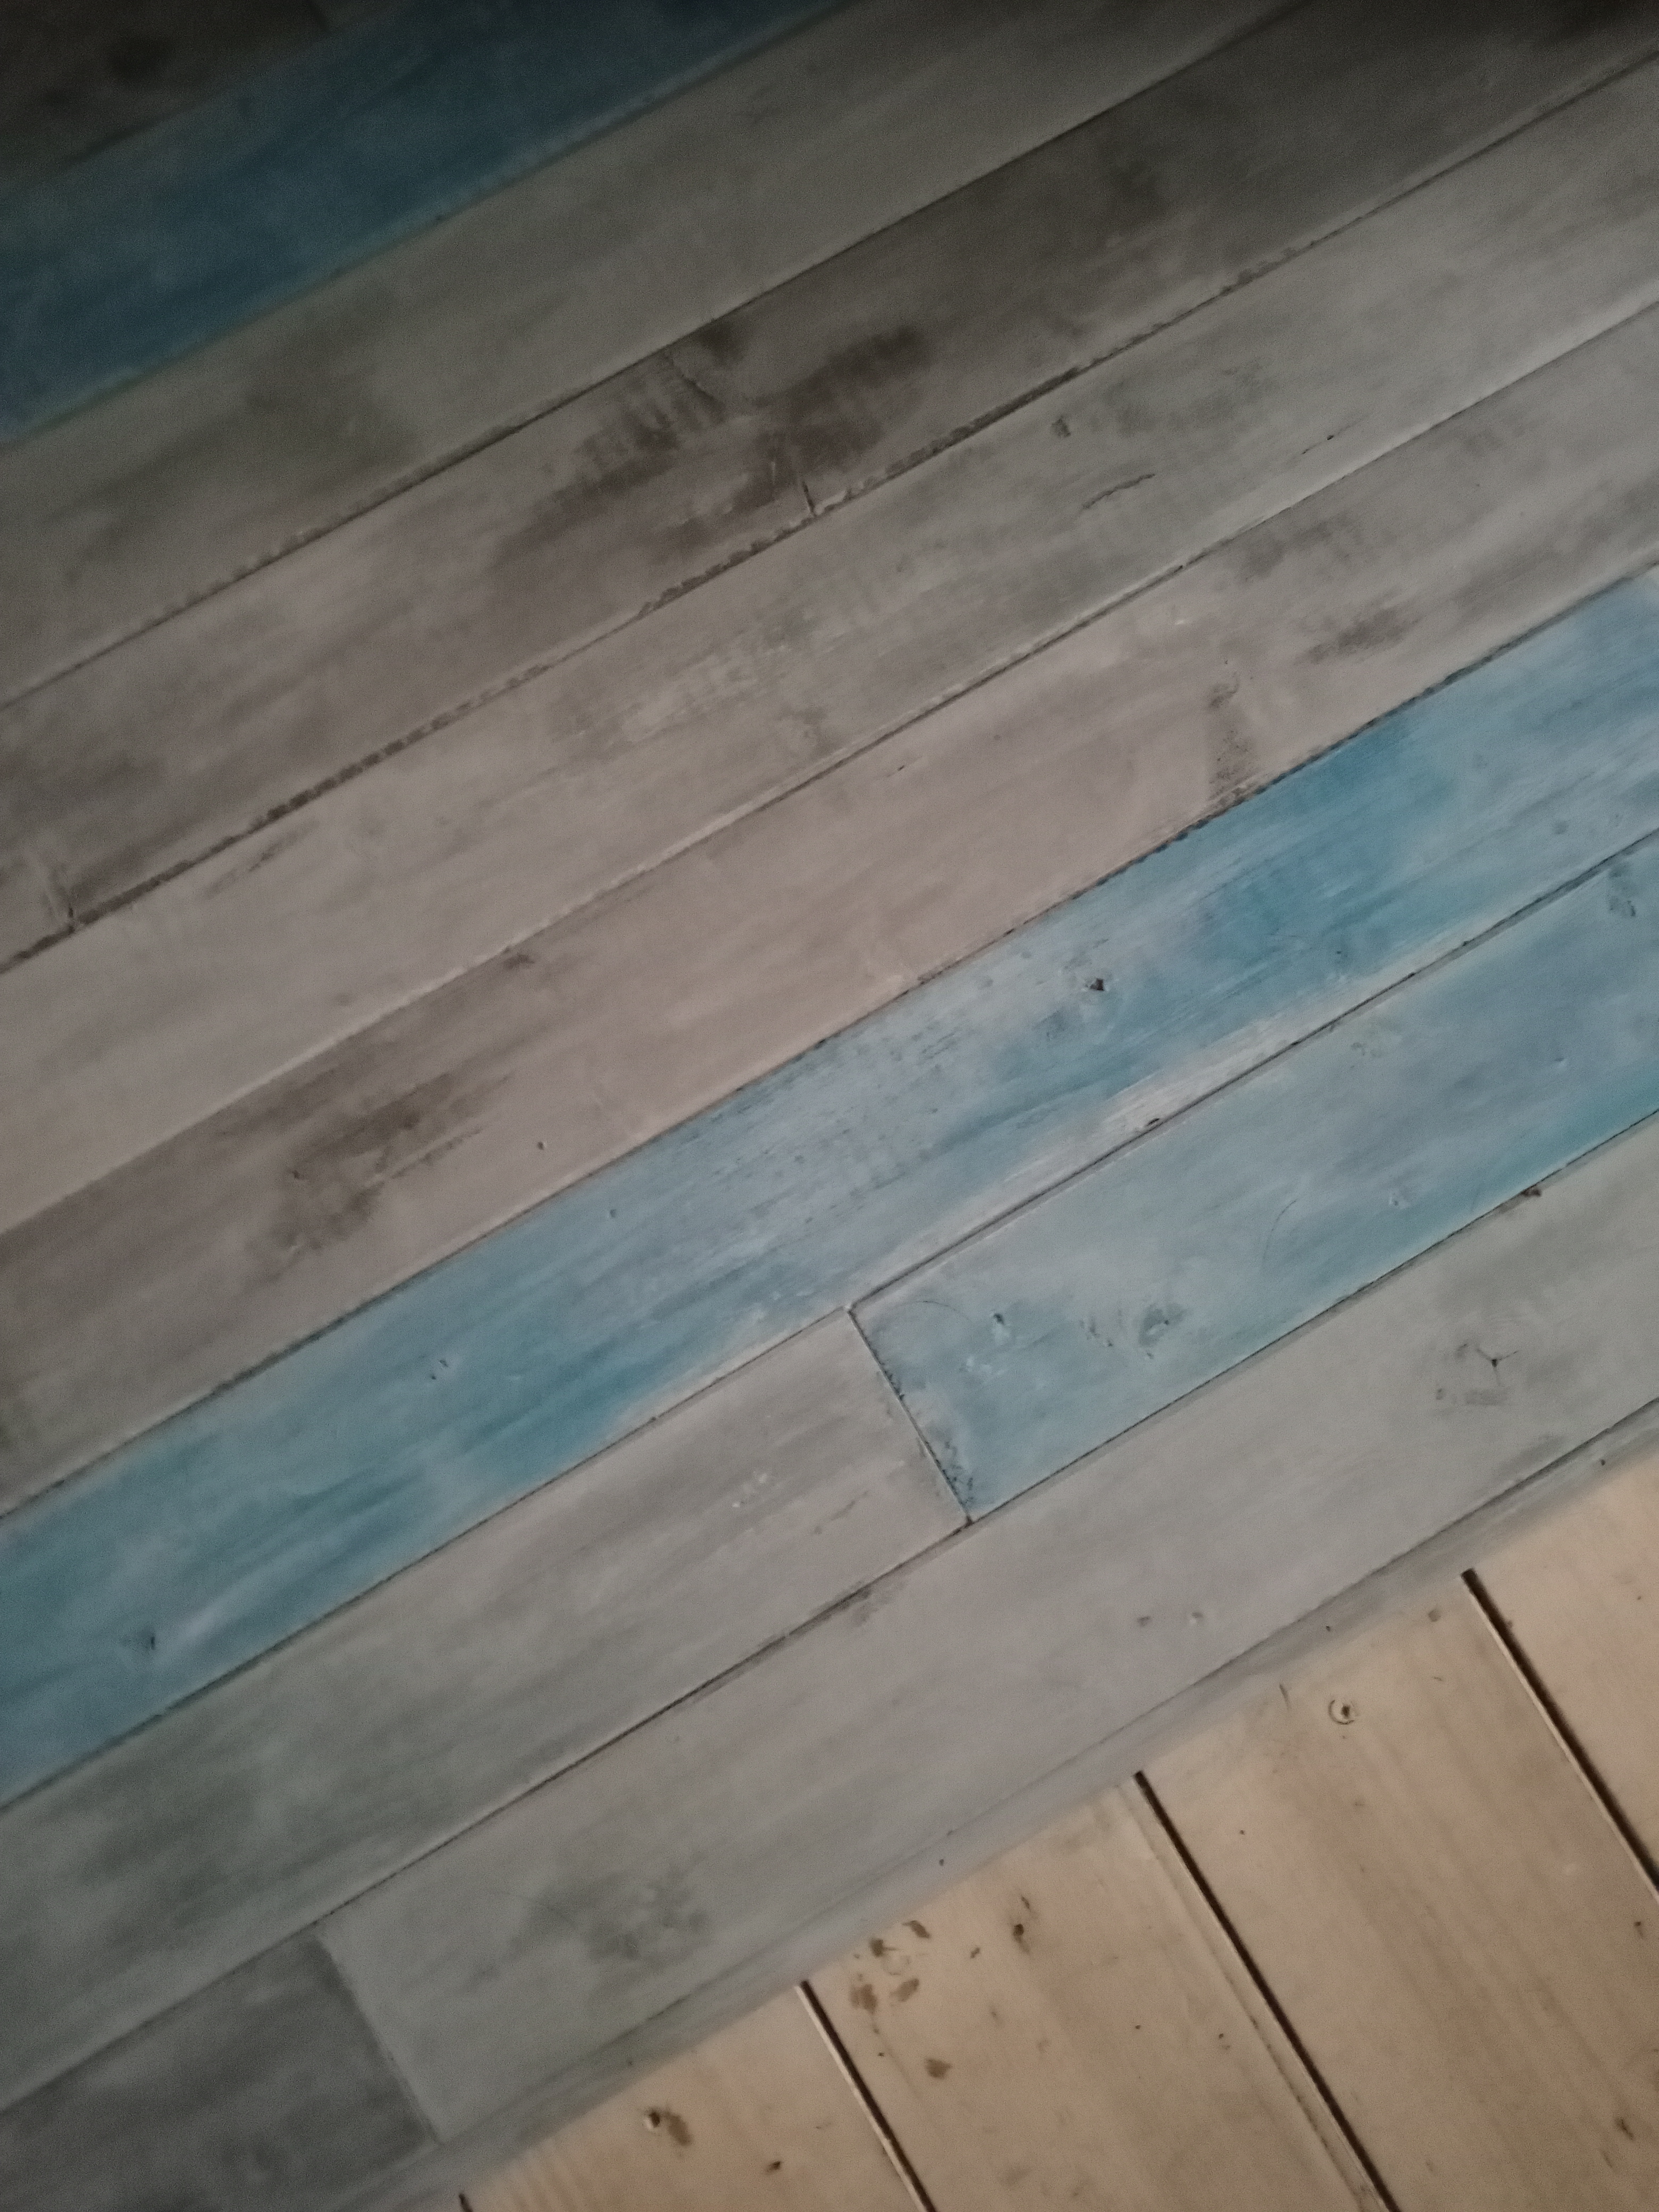
2. Then I made up a 50/50 mix of diluted chalk paint in Cement colour.
I painted this on, starting at the edge of the boards, in sections approximately 30cm long at a time.
Then I quickly wiped off each section with kitchen paper, leaving a subtle wash of this neutralising light grey behind.
3. Once dry, I went over each section of board individually and, using the Cement shade, I washed certain areas of the boards again; concentrating on the ends, the edges, any knots, areas of texture , and where the colour variations of the original wood still show through.
As in stage 2, I wiped off most of the paint with paper as I moved along.
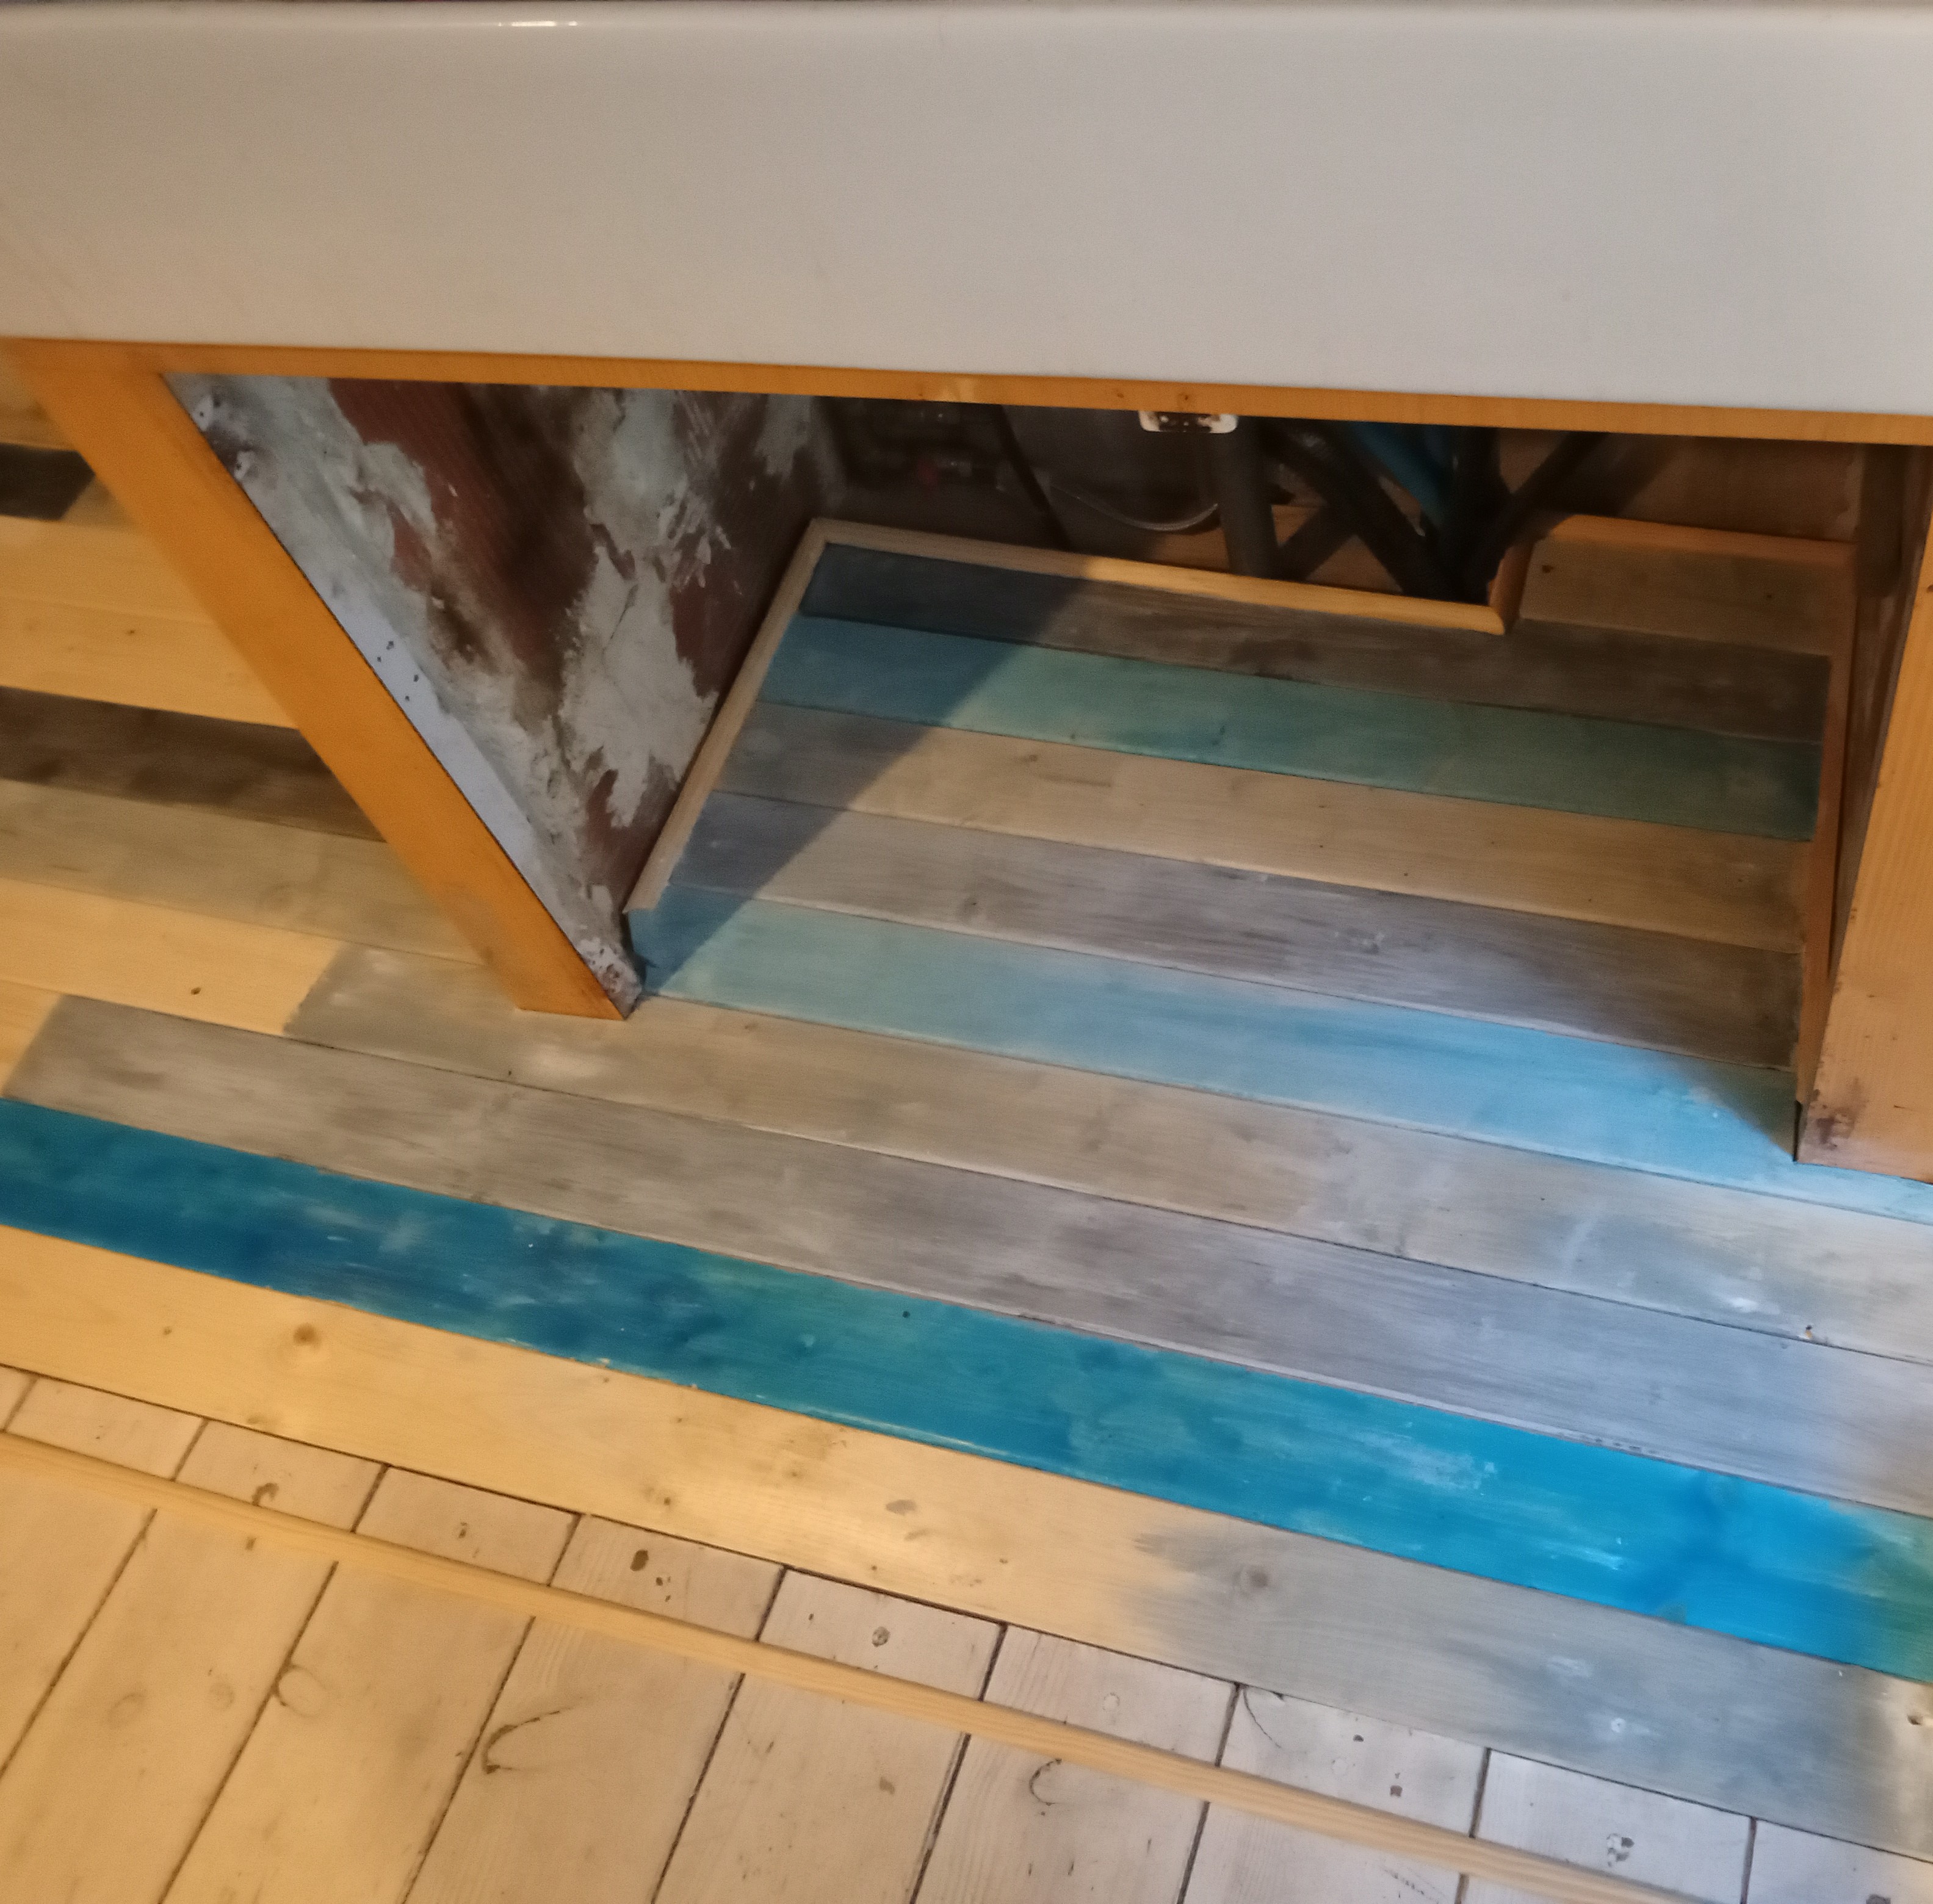
Stage 4 will be three coats of floor varnish.
Watch out for final result post here.

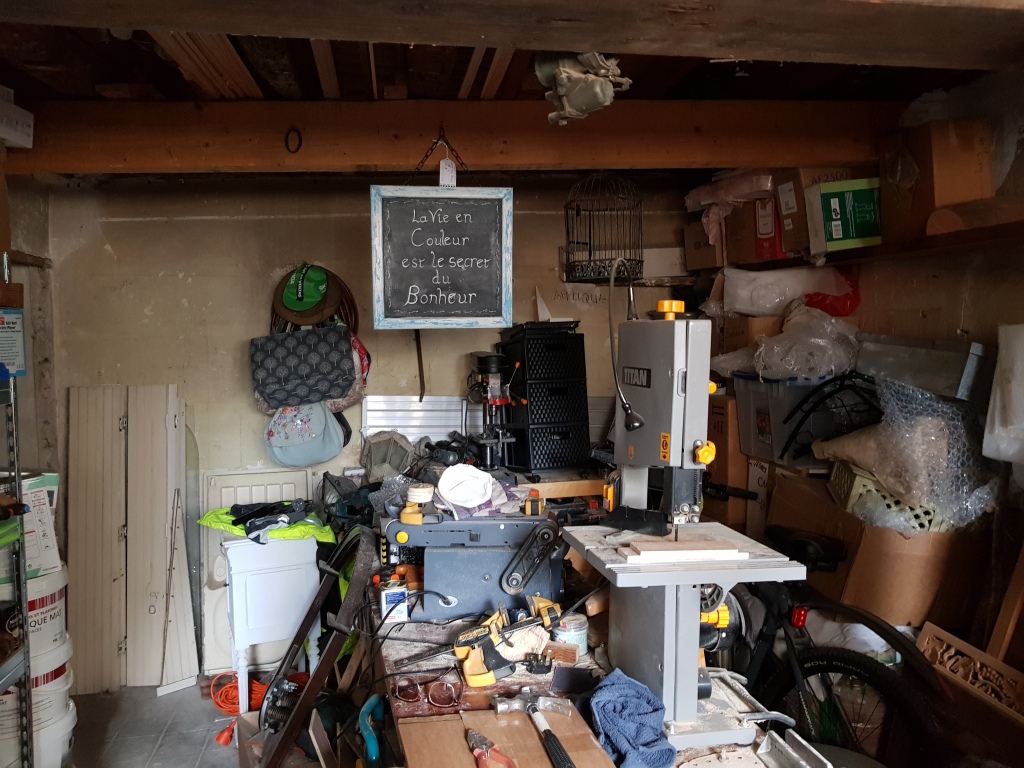
I have to do this in the cave….
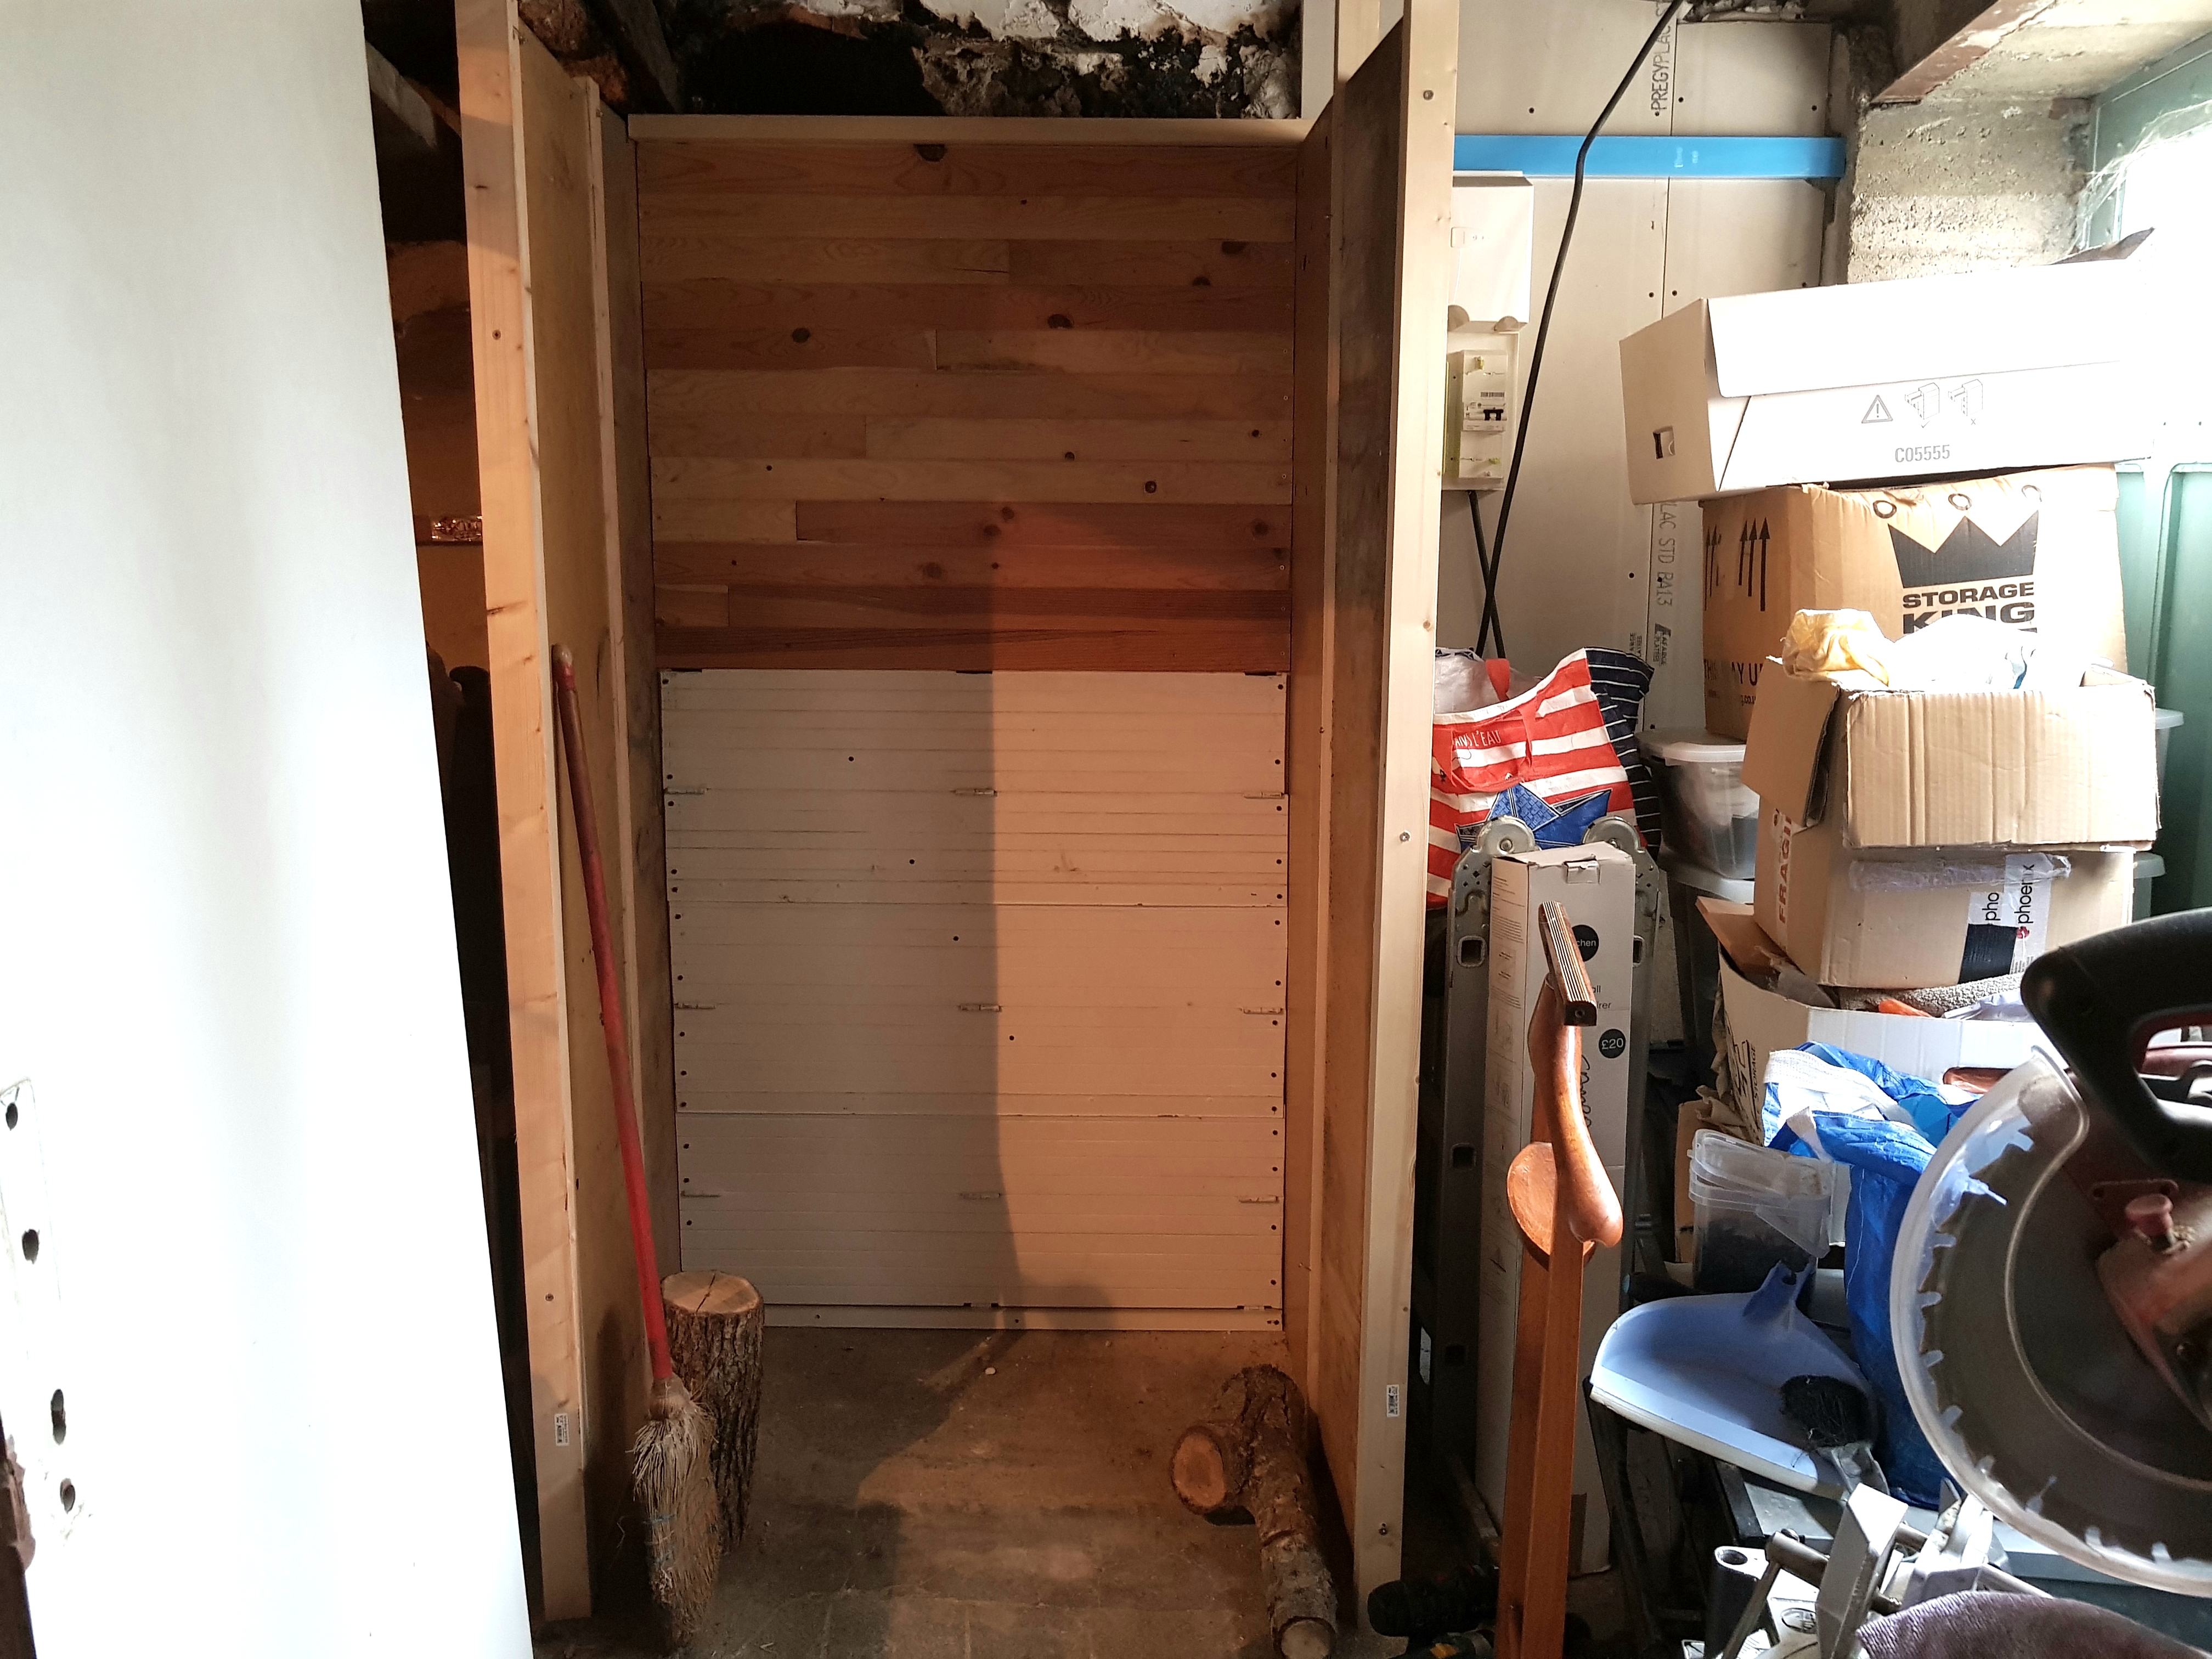
Trev built us a log store
The only new wood purchased were the battens.
Rest recycled from house junk and our friend’s old shutters.
Part of our plan to turn front of workshop into boot room and entry space.
Current tiny hall will be five or six times bigger.


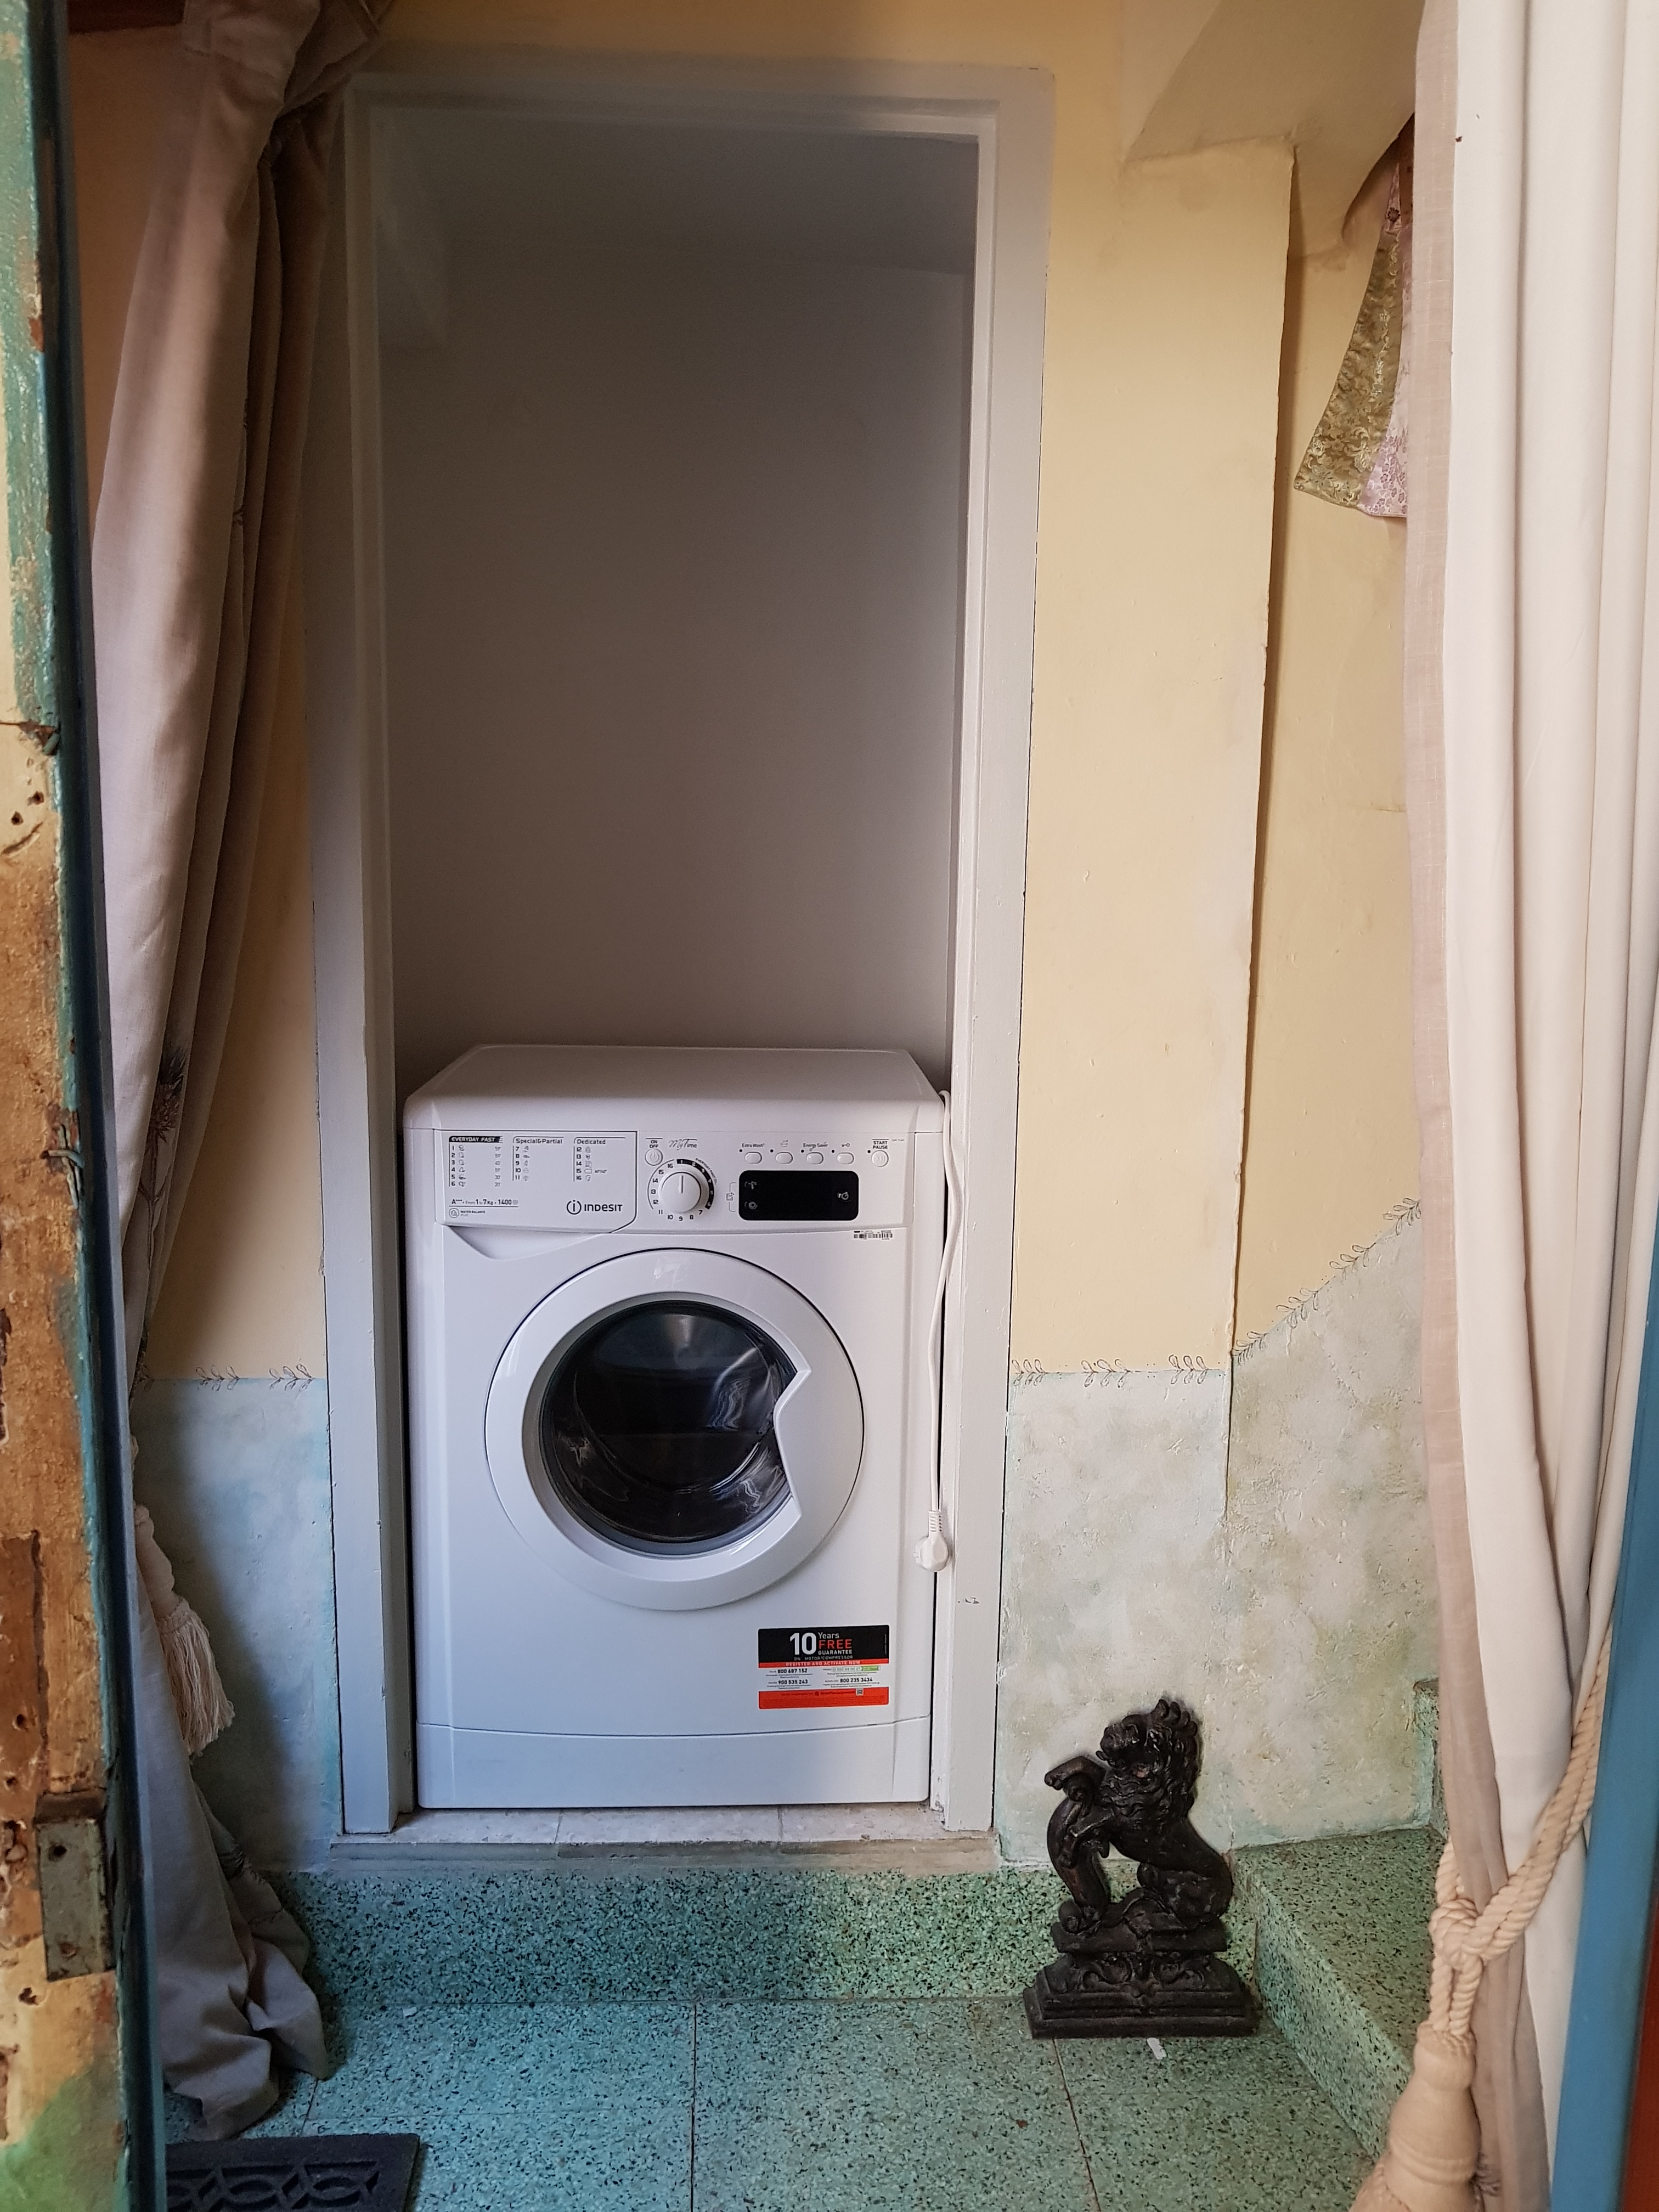
Perfect temperatures this afternoon (40°) to manhandle your new A+++ washing machine into your newly refurbished utility cupboard right by your south west facing front door.
( which was actually going to be the cloaks cupboard)
Suffice to say that, if Trev and I were actually married, one of us would now be filing for divorce…..
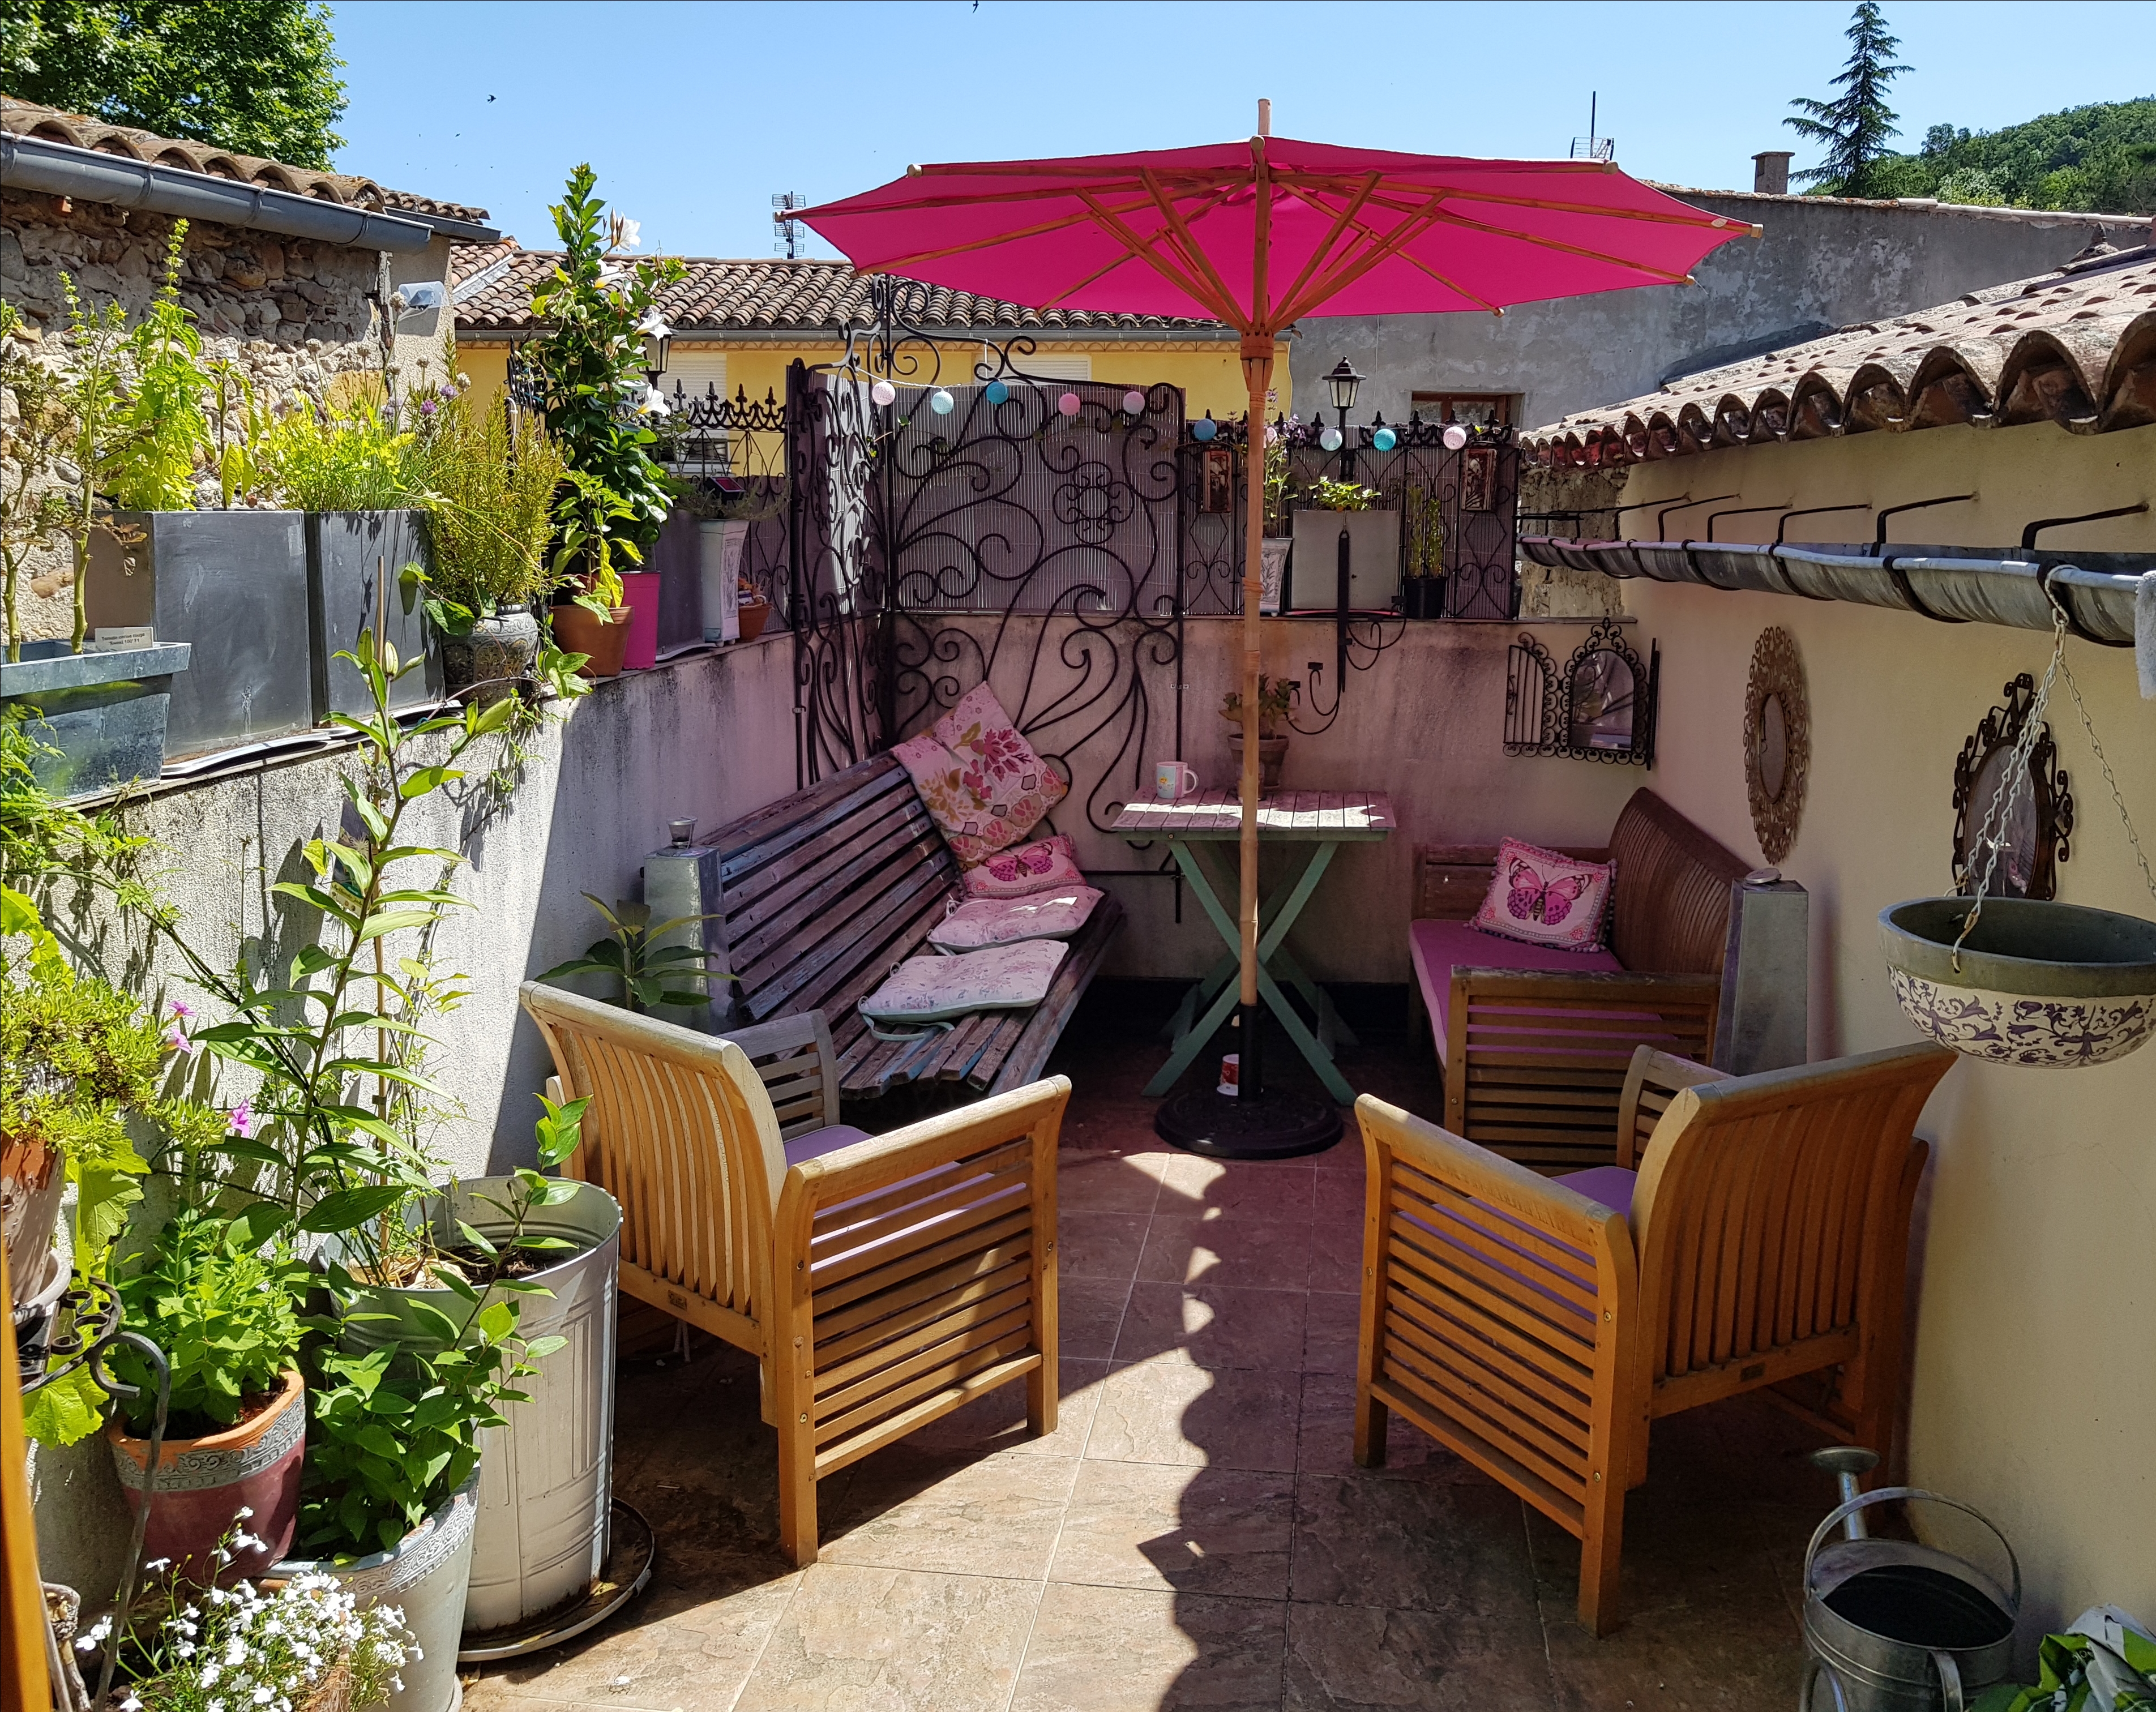
Gorgeous morning, but I really should have styled the terrace a bit better for this blog!
Culinary plants now include baby fig tree, avocado plant, lavender, chillies, sweet peppers, tomatoes, strawberries, sage, mint, rosemary, chives, basil, parsley and beets.
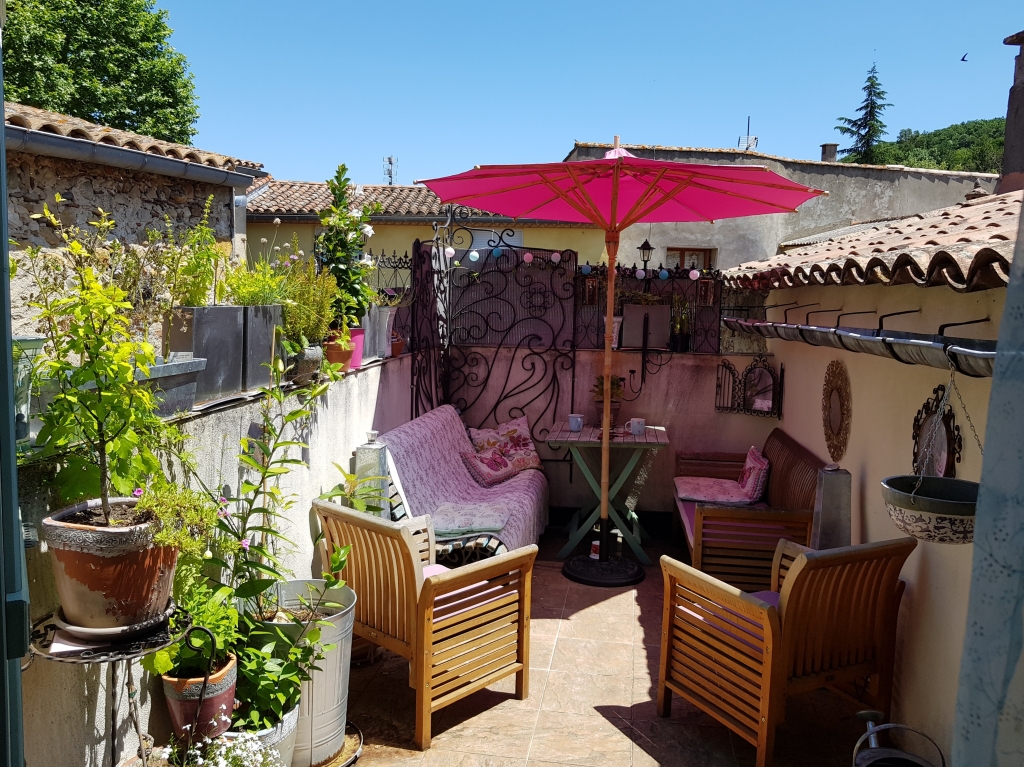
Better…………
Yes, it is many moons since I did one of these posts…
But it is Thursday, and here are three things that I never, in my wildest dreams, expected to find in the Troc in Carcassonne.

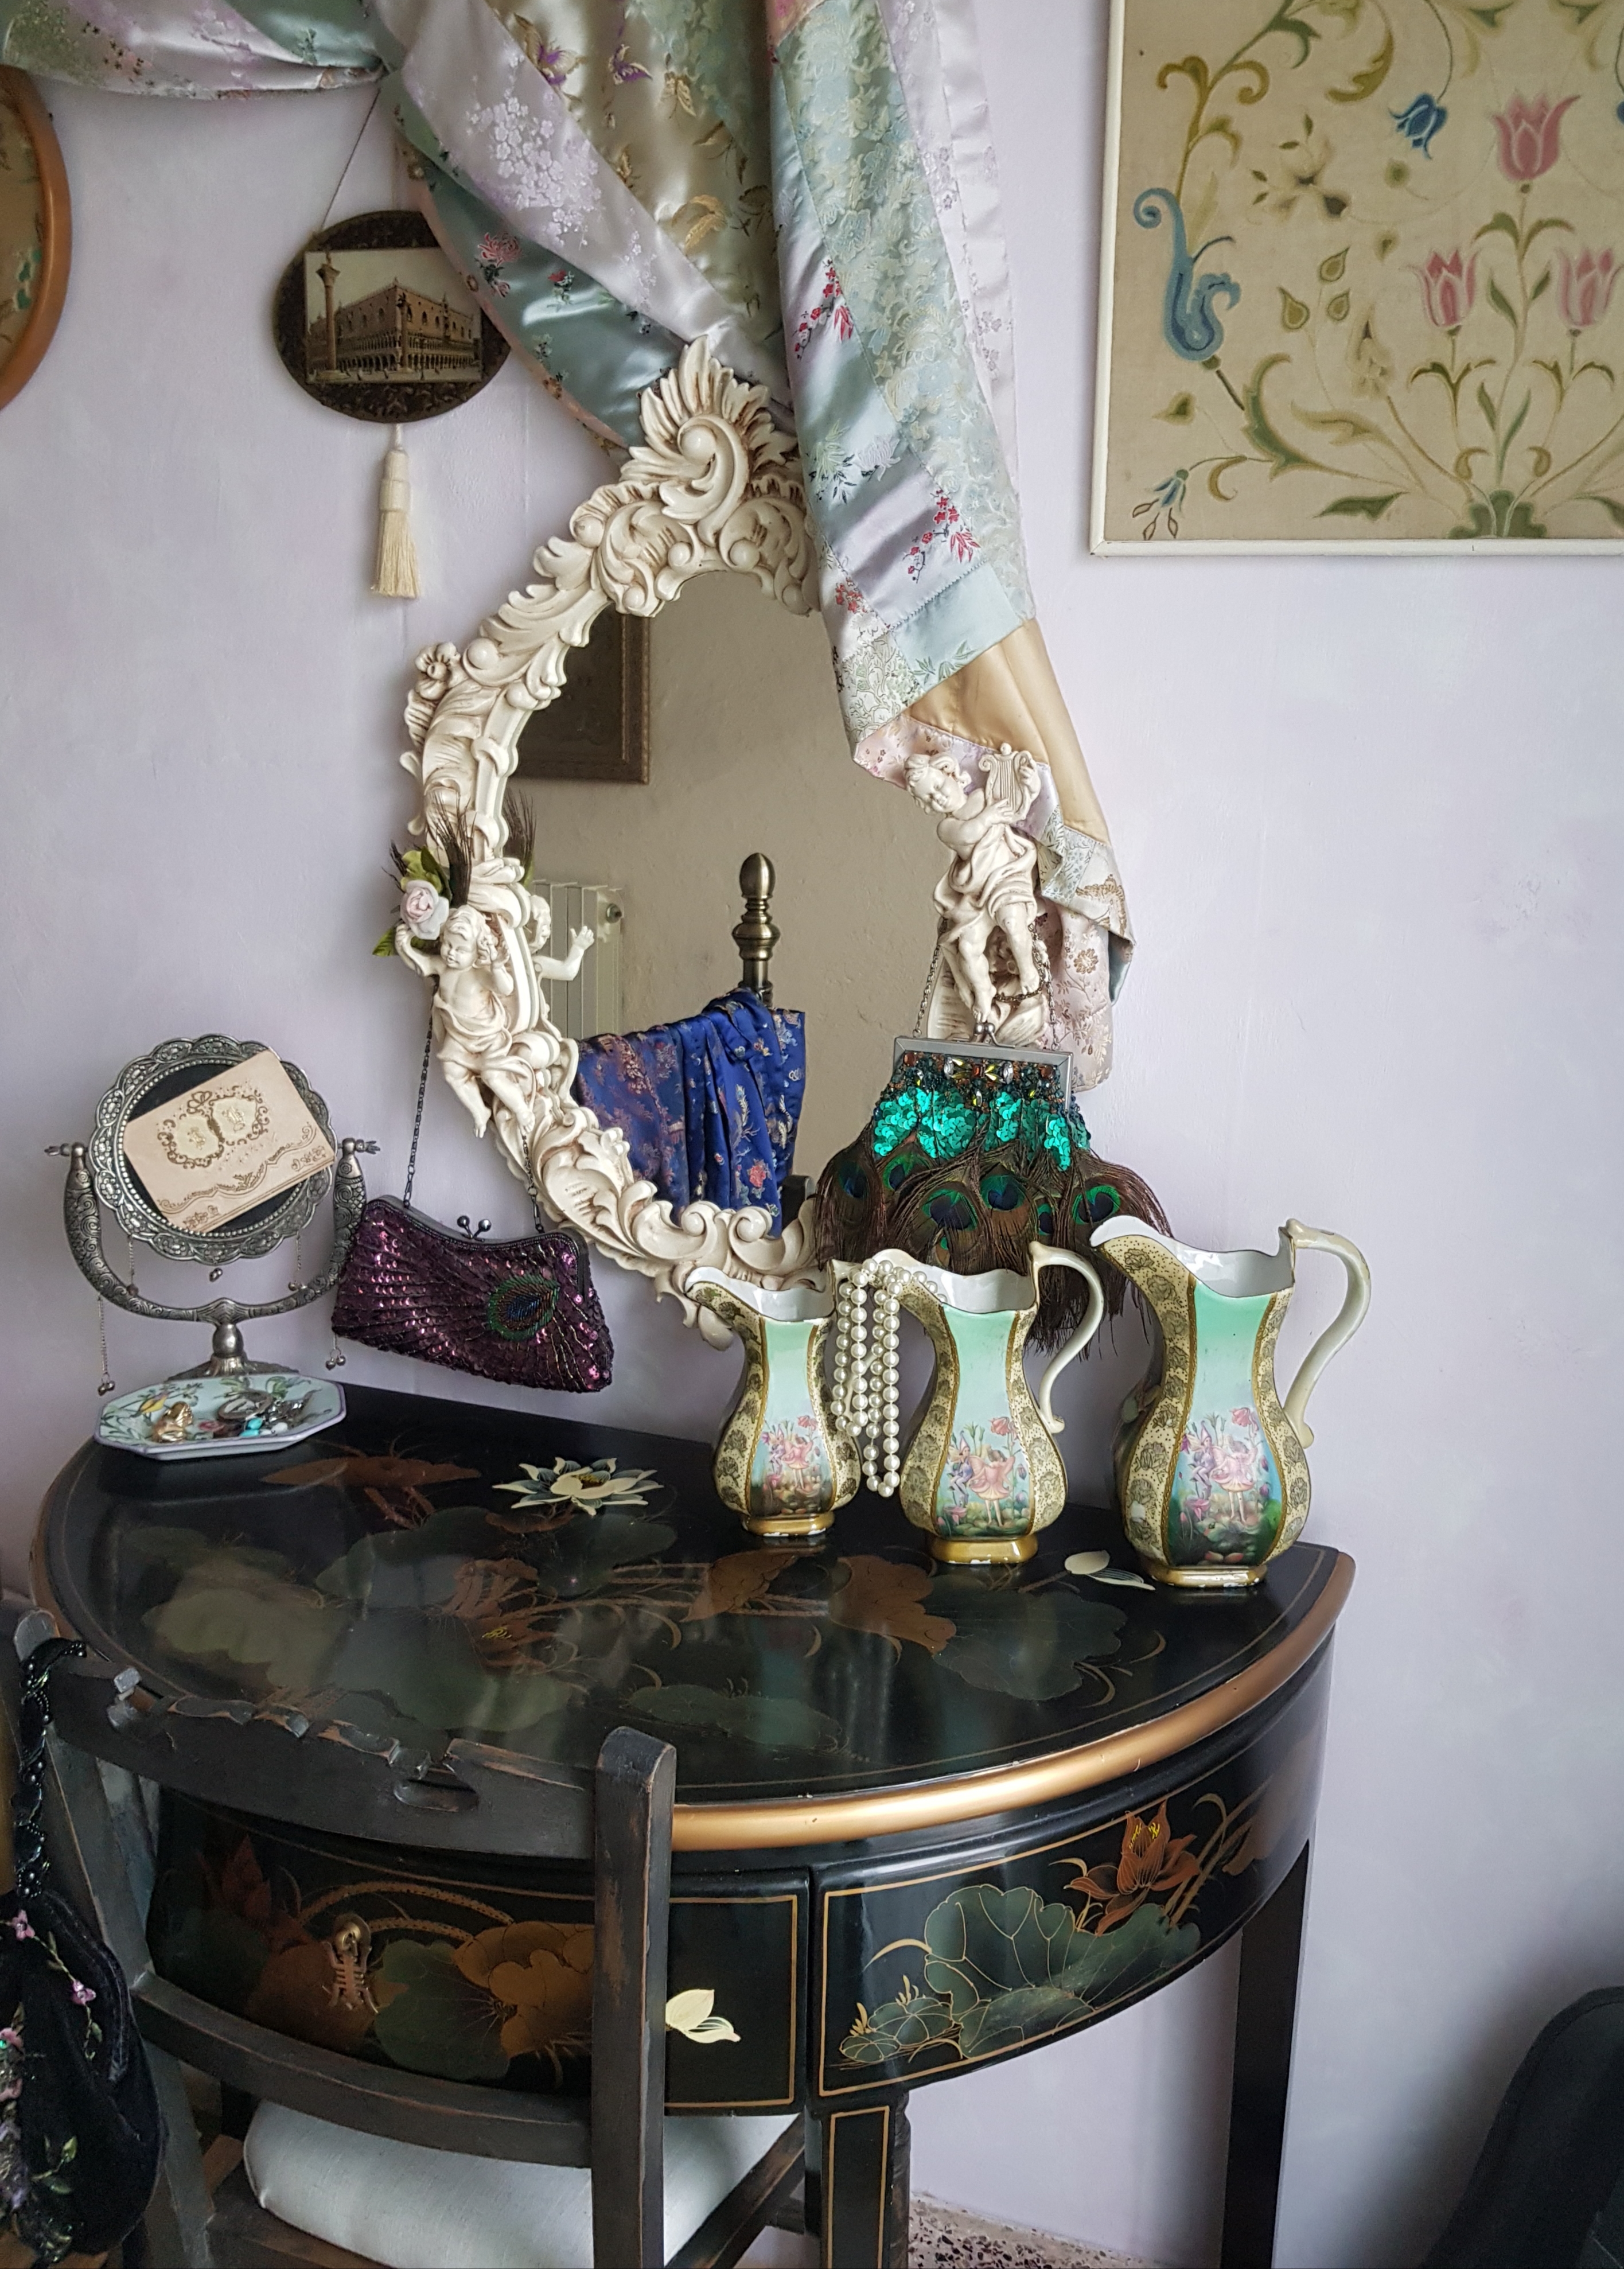
I have been looking for a set of these for forty years.
OK, there are three and not five, but, even so, it’s a hell of a find.
Could they be more perfect for my terrace bedroom, stylistically pitched as it is between 1890 and 1930?
Carltonware Fantasia fairy lustre jugs.
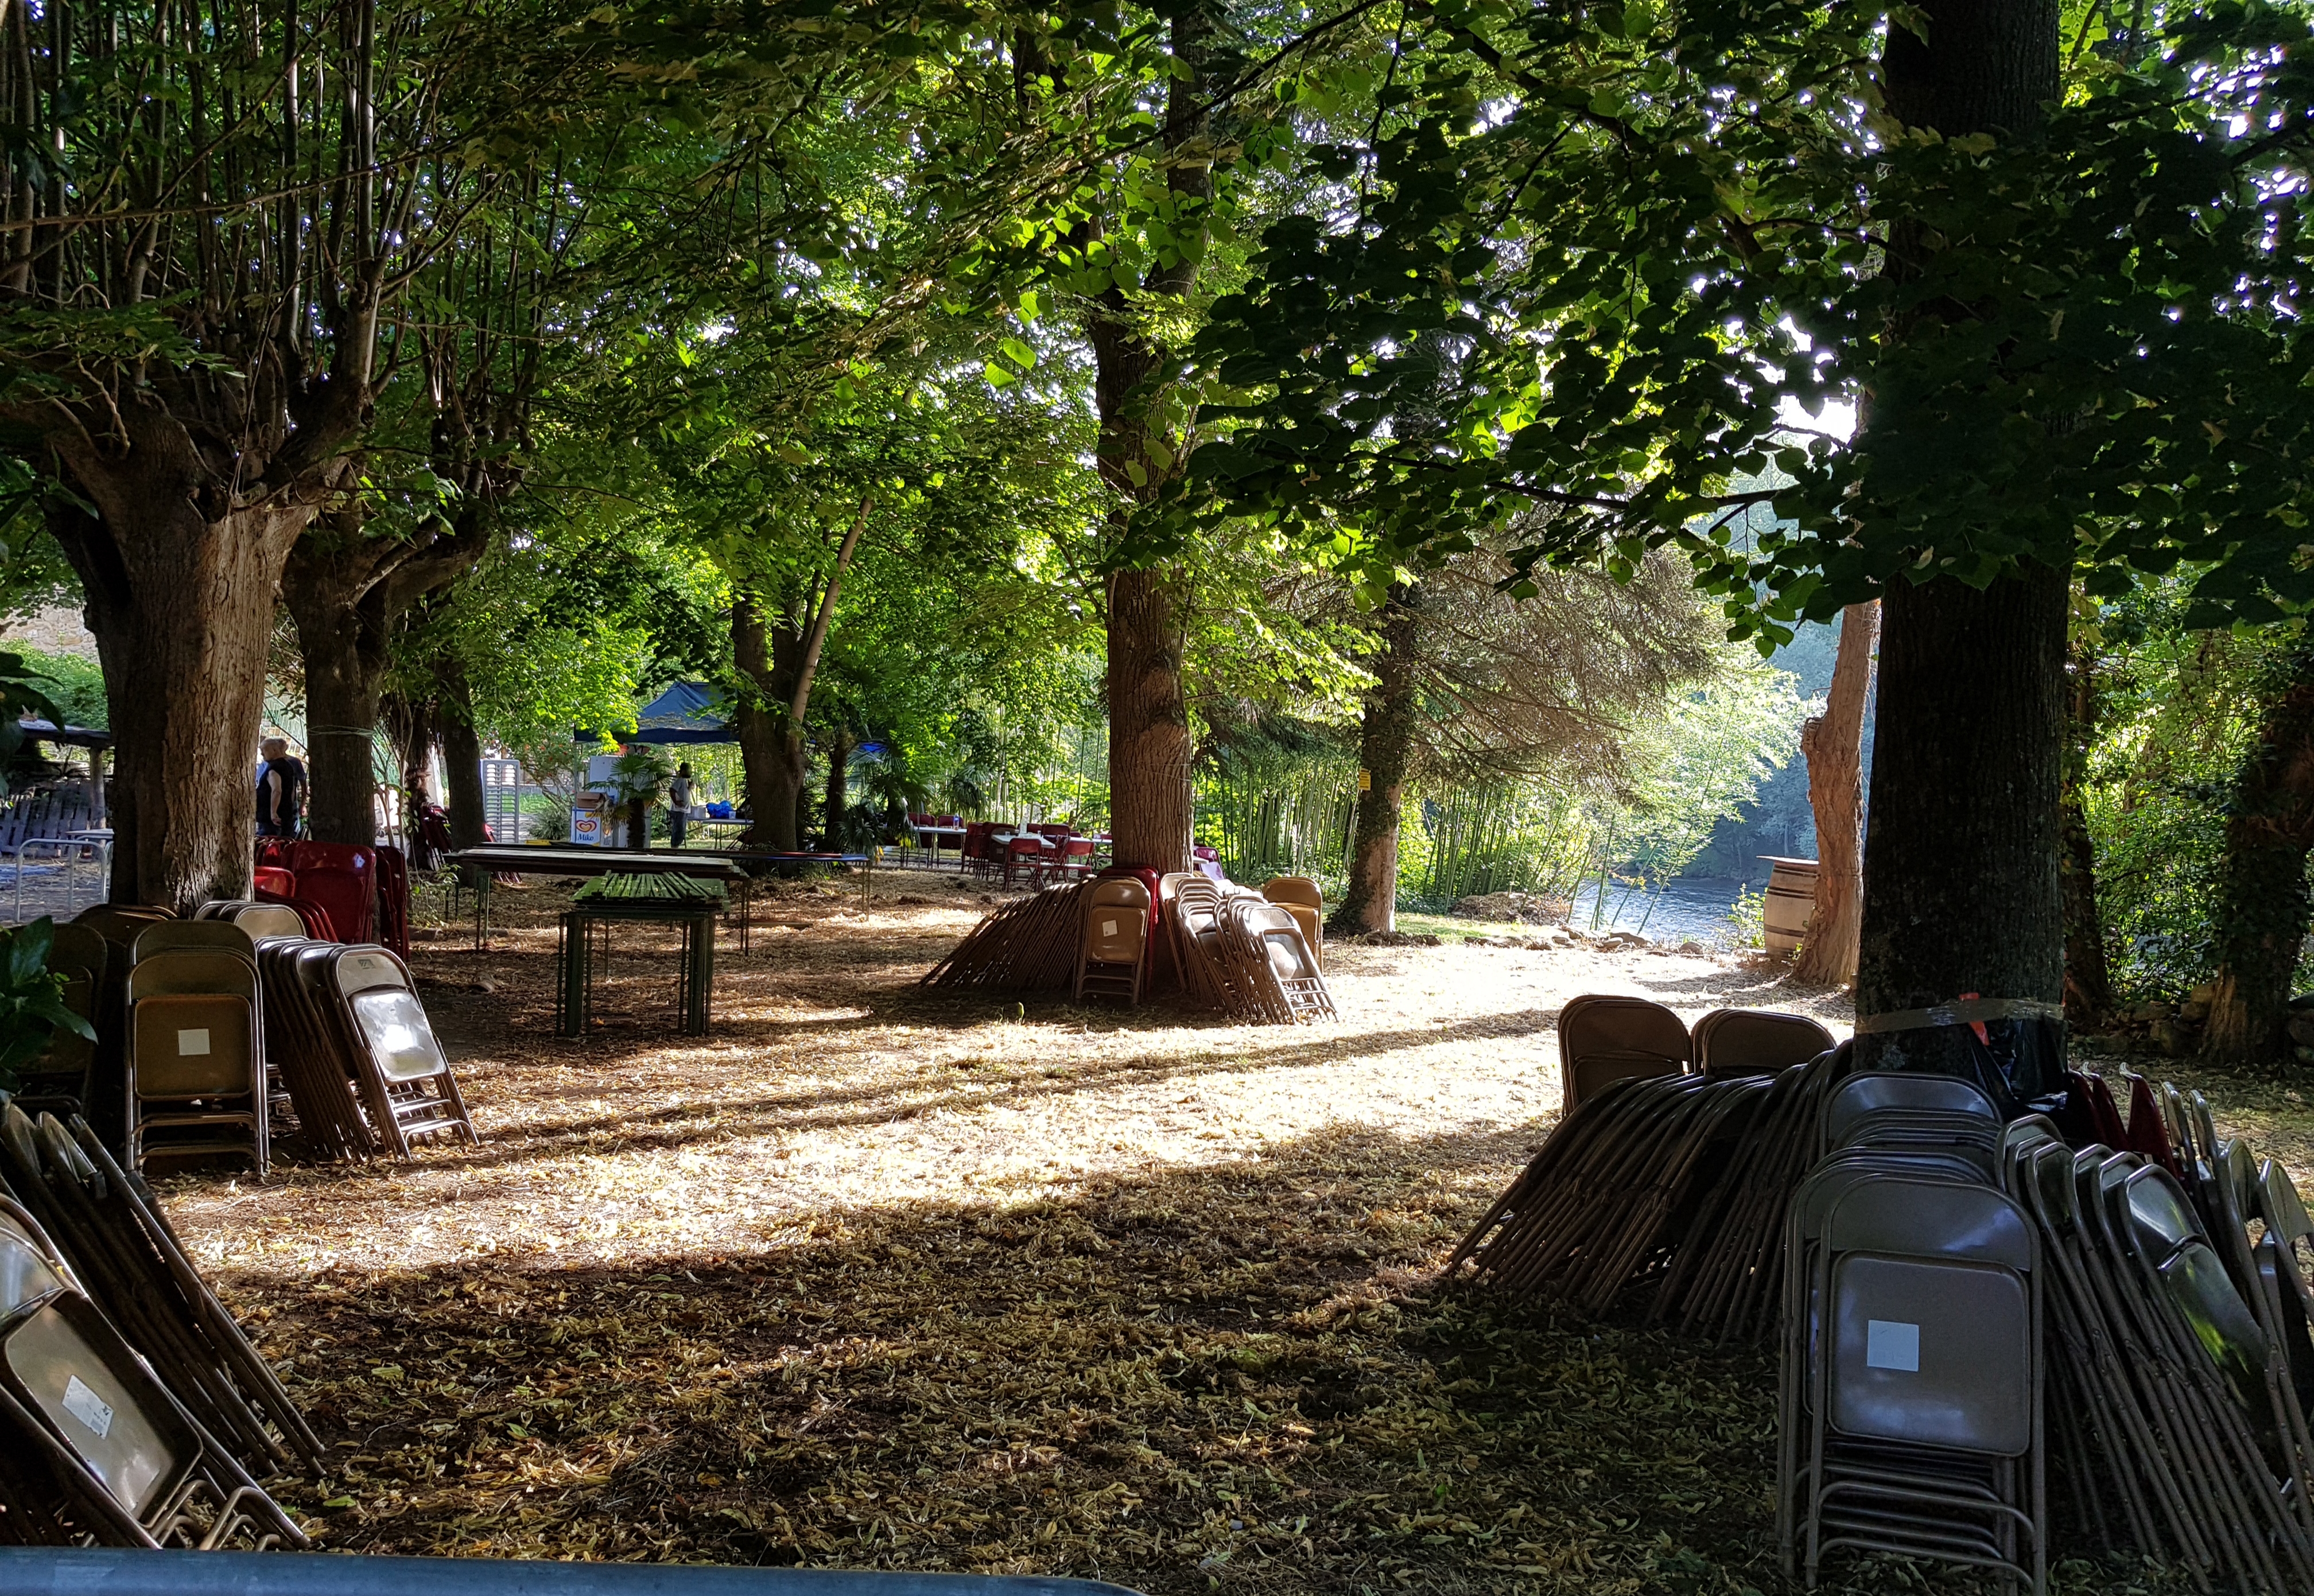
Comfortable but pig-ugly chairs.
Wine Dralon seats.
If you are familiar with that fabric, you will be sticking your fingers down your throat right now.
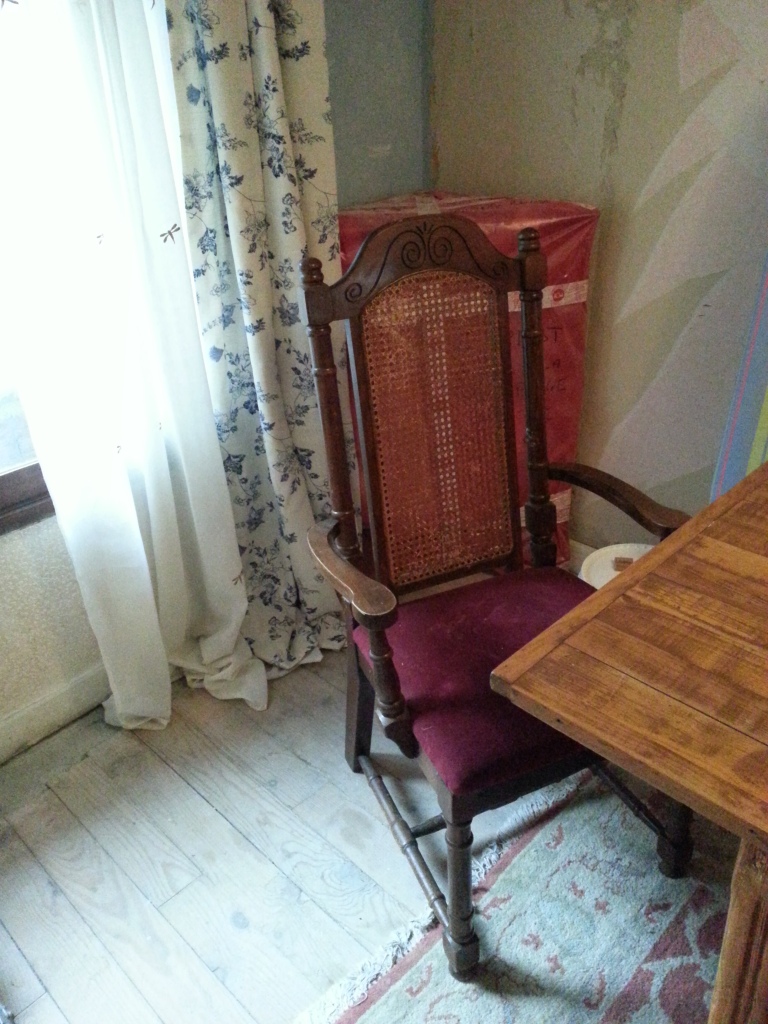
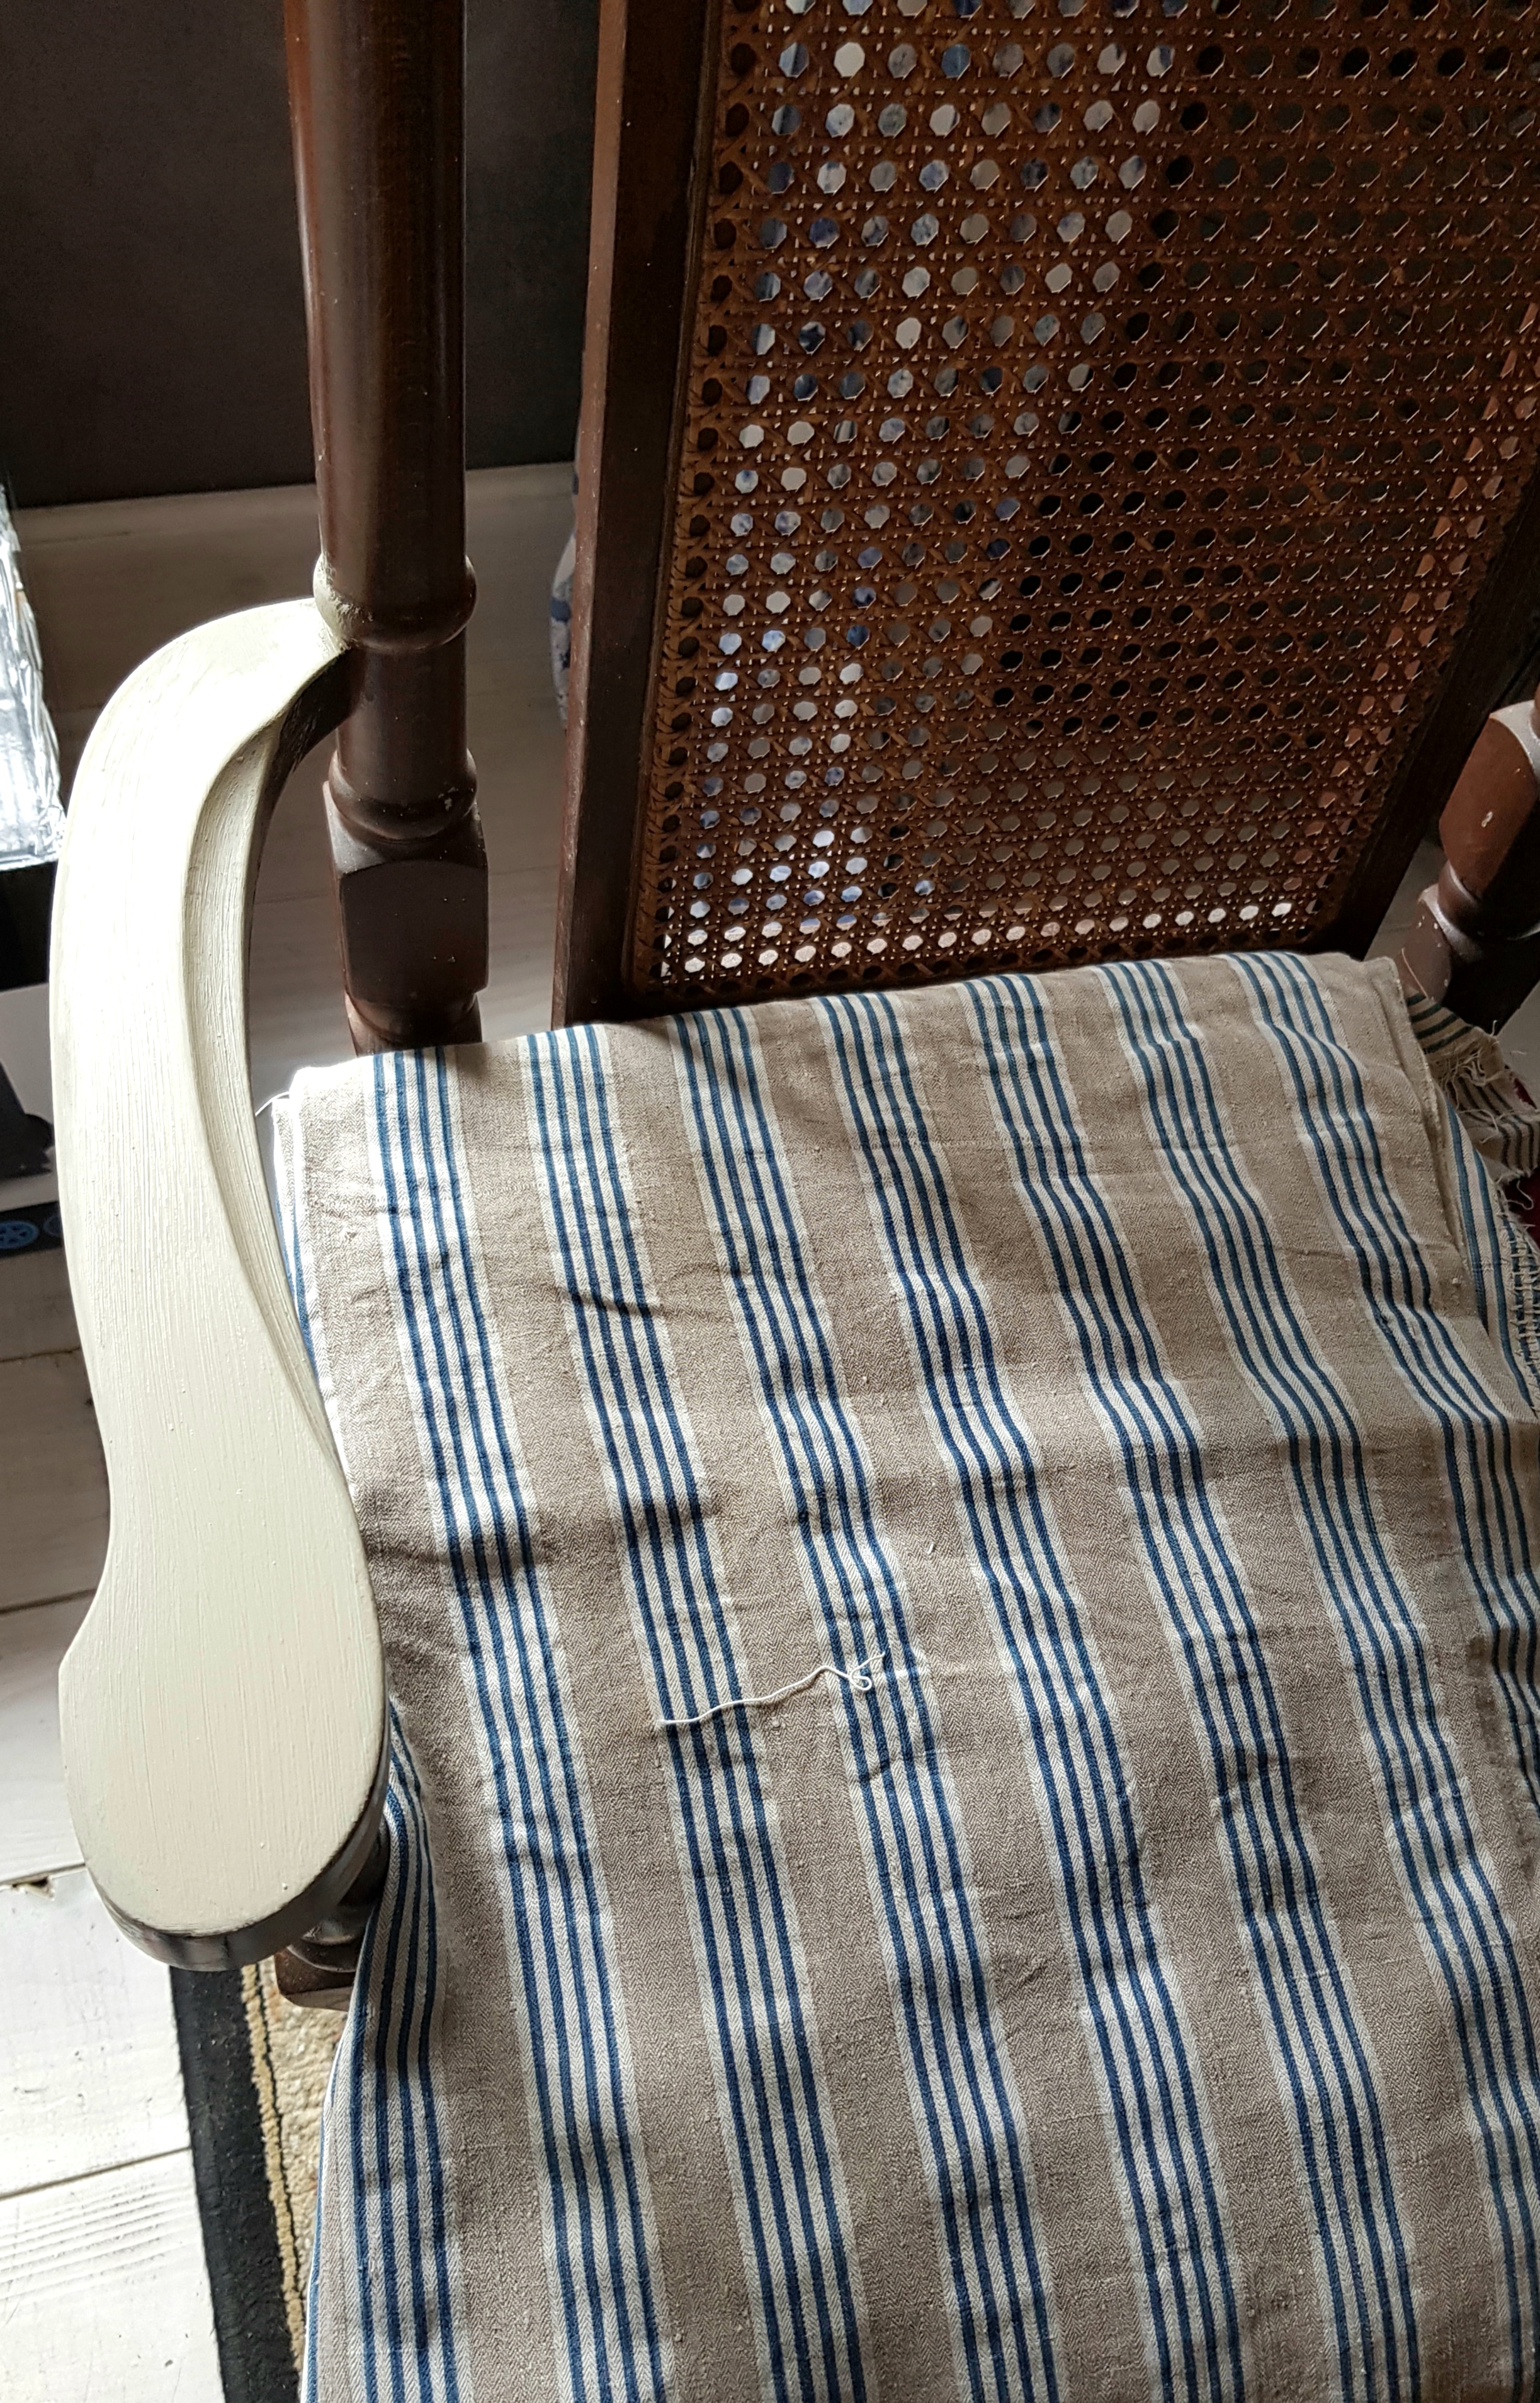
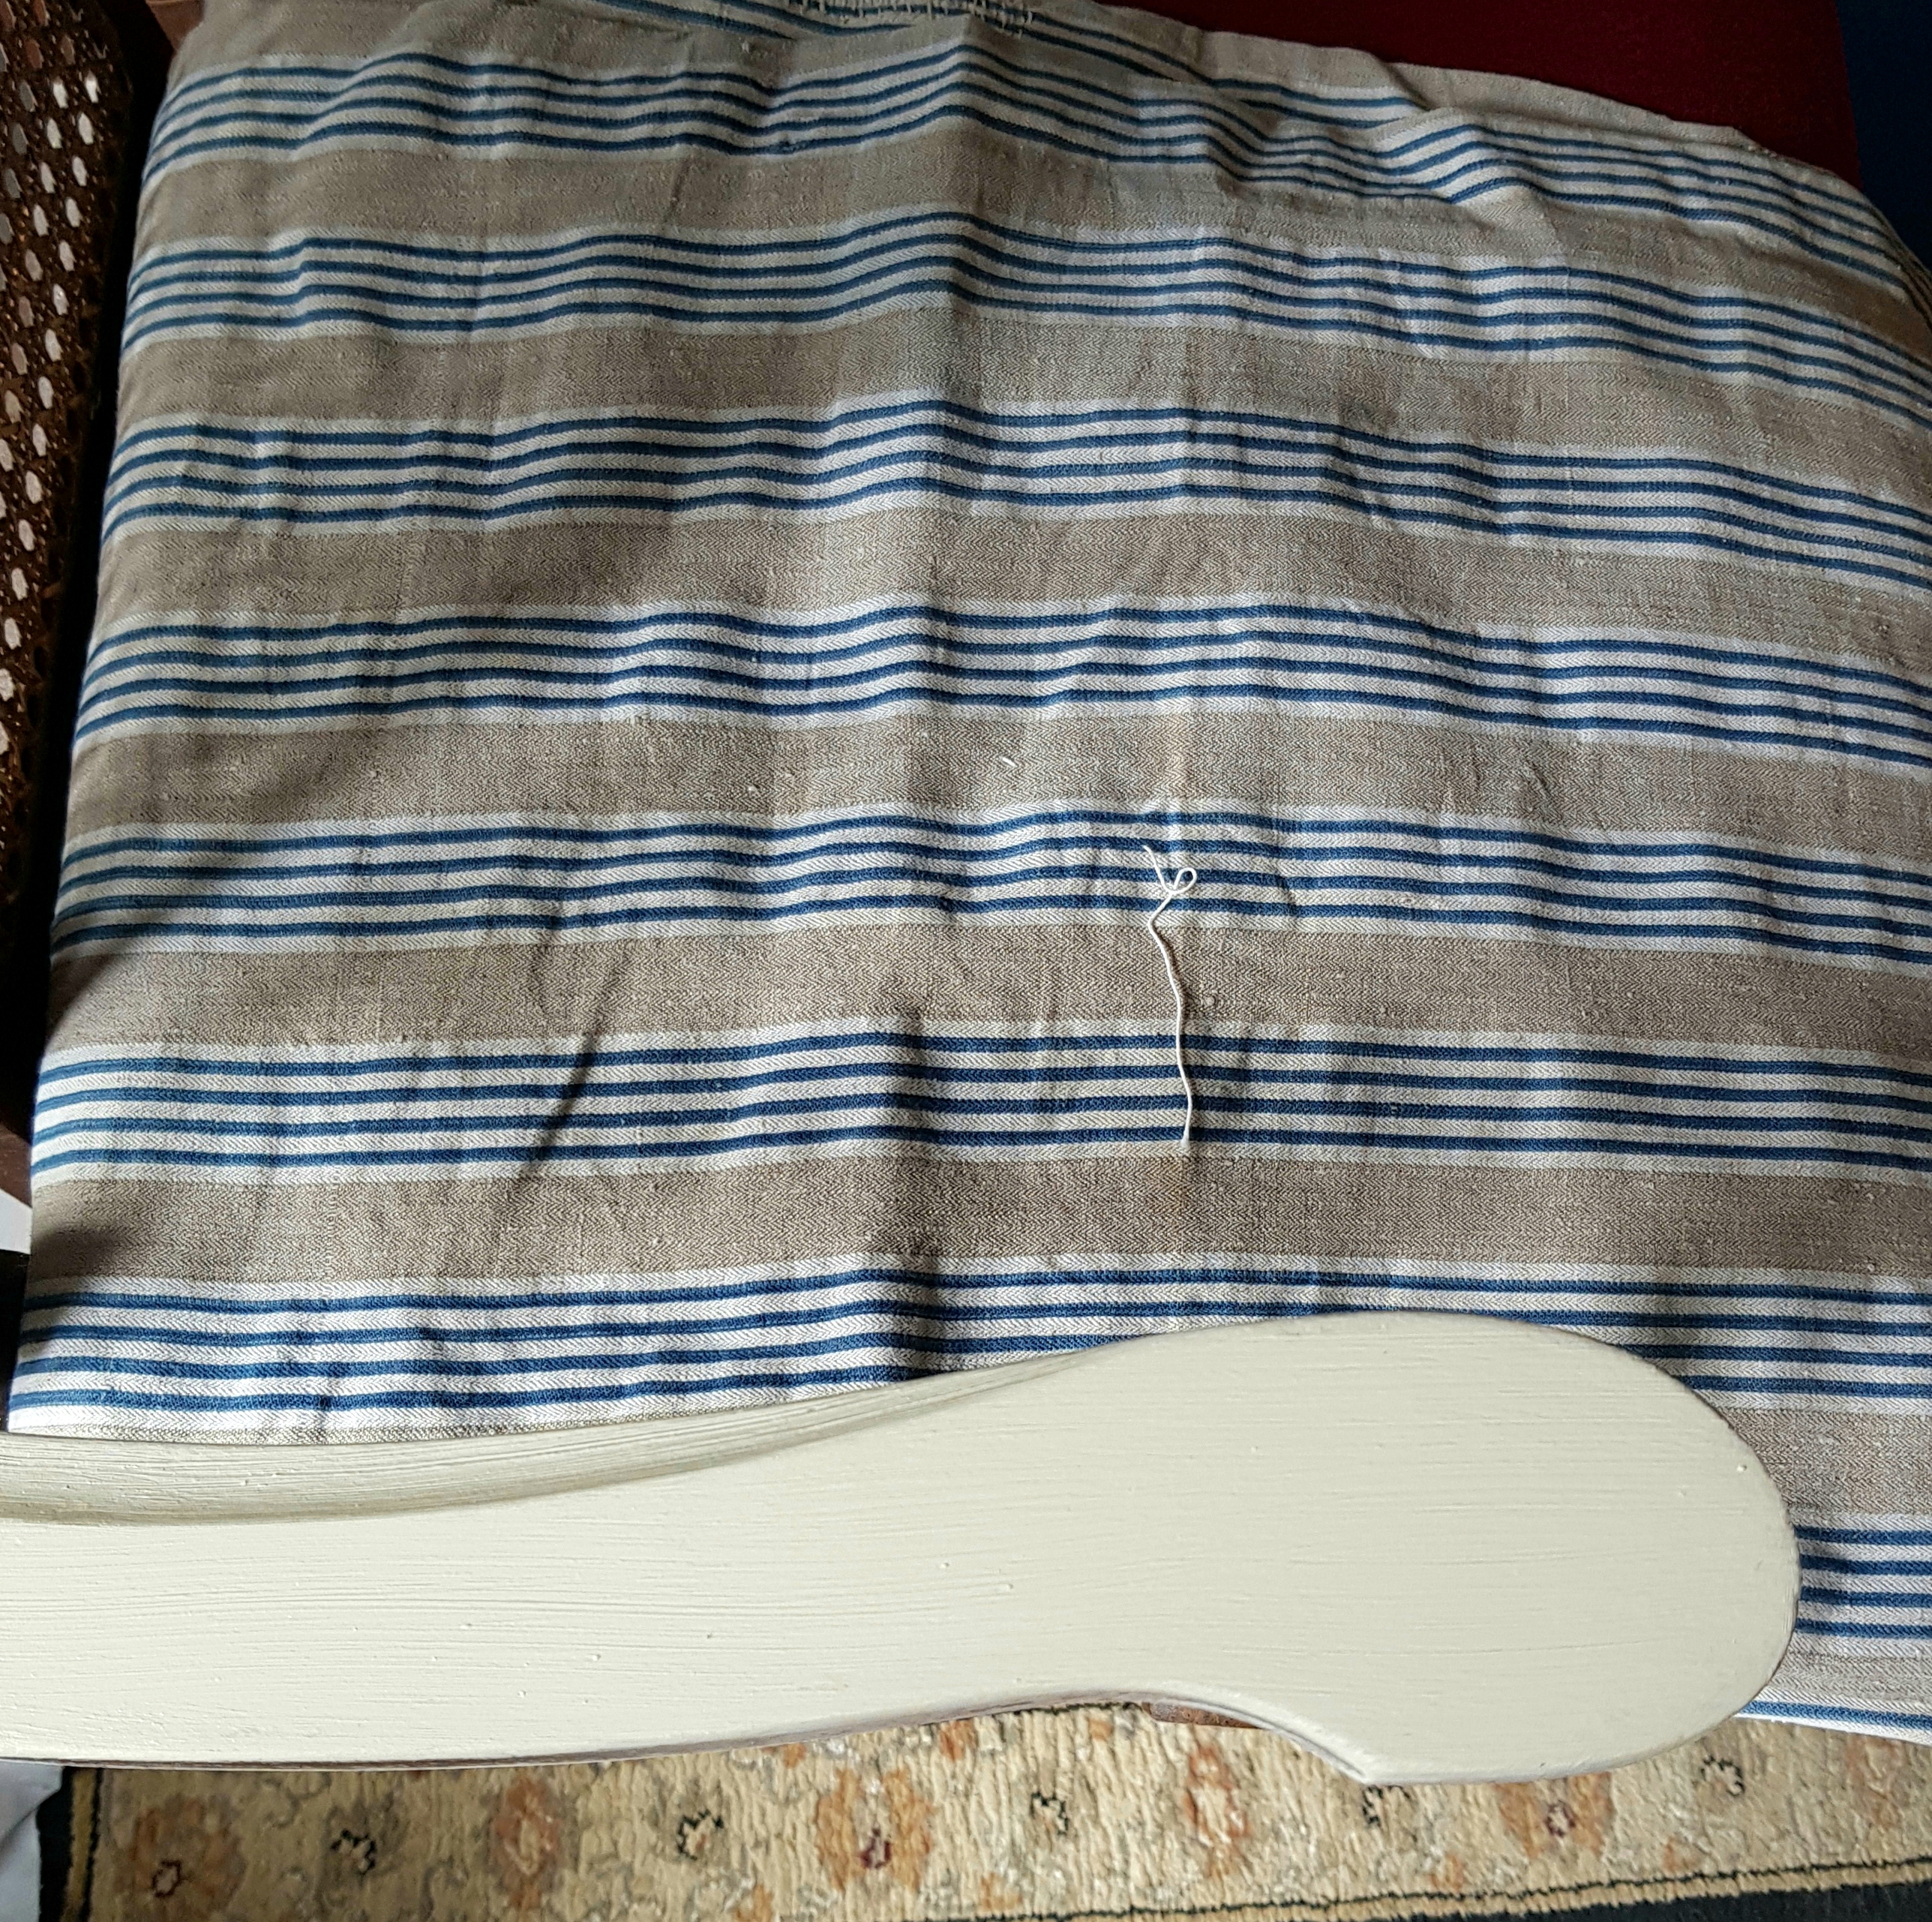
After 13 years, paint colour and 19thc French fabric chosen.
Probably…
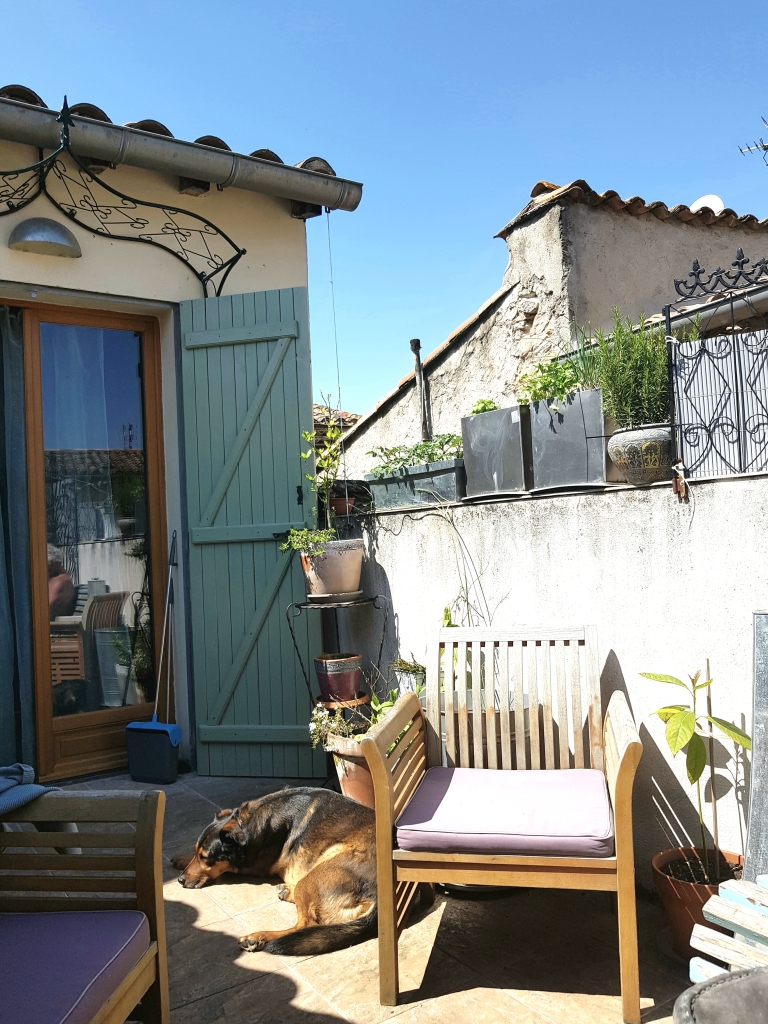
It’s exhausting for a poor dog, watching the humans working on the roof terrace in this heat….
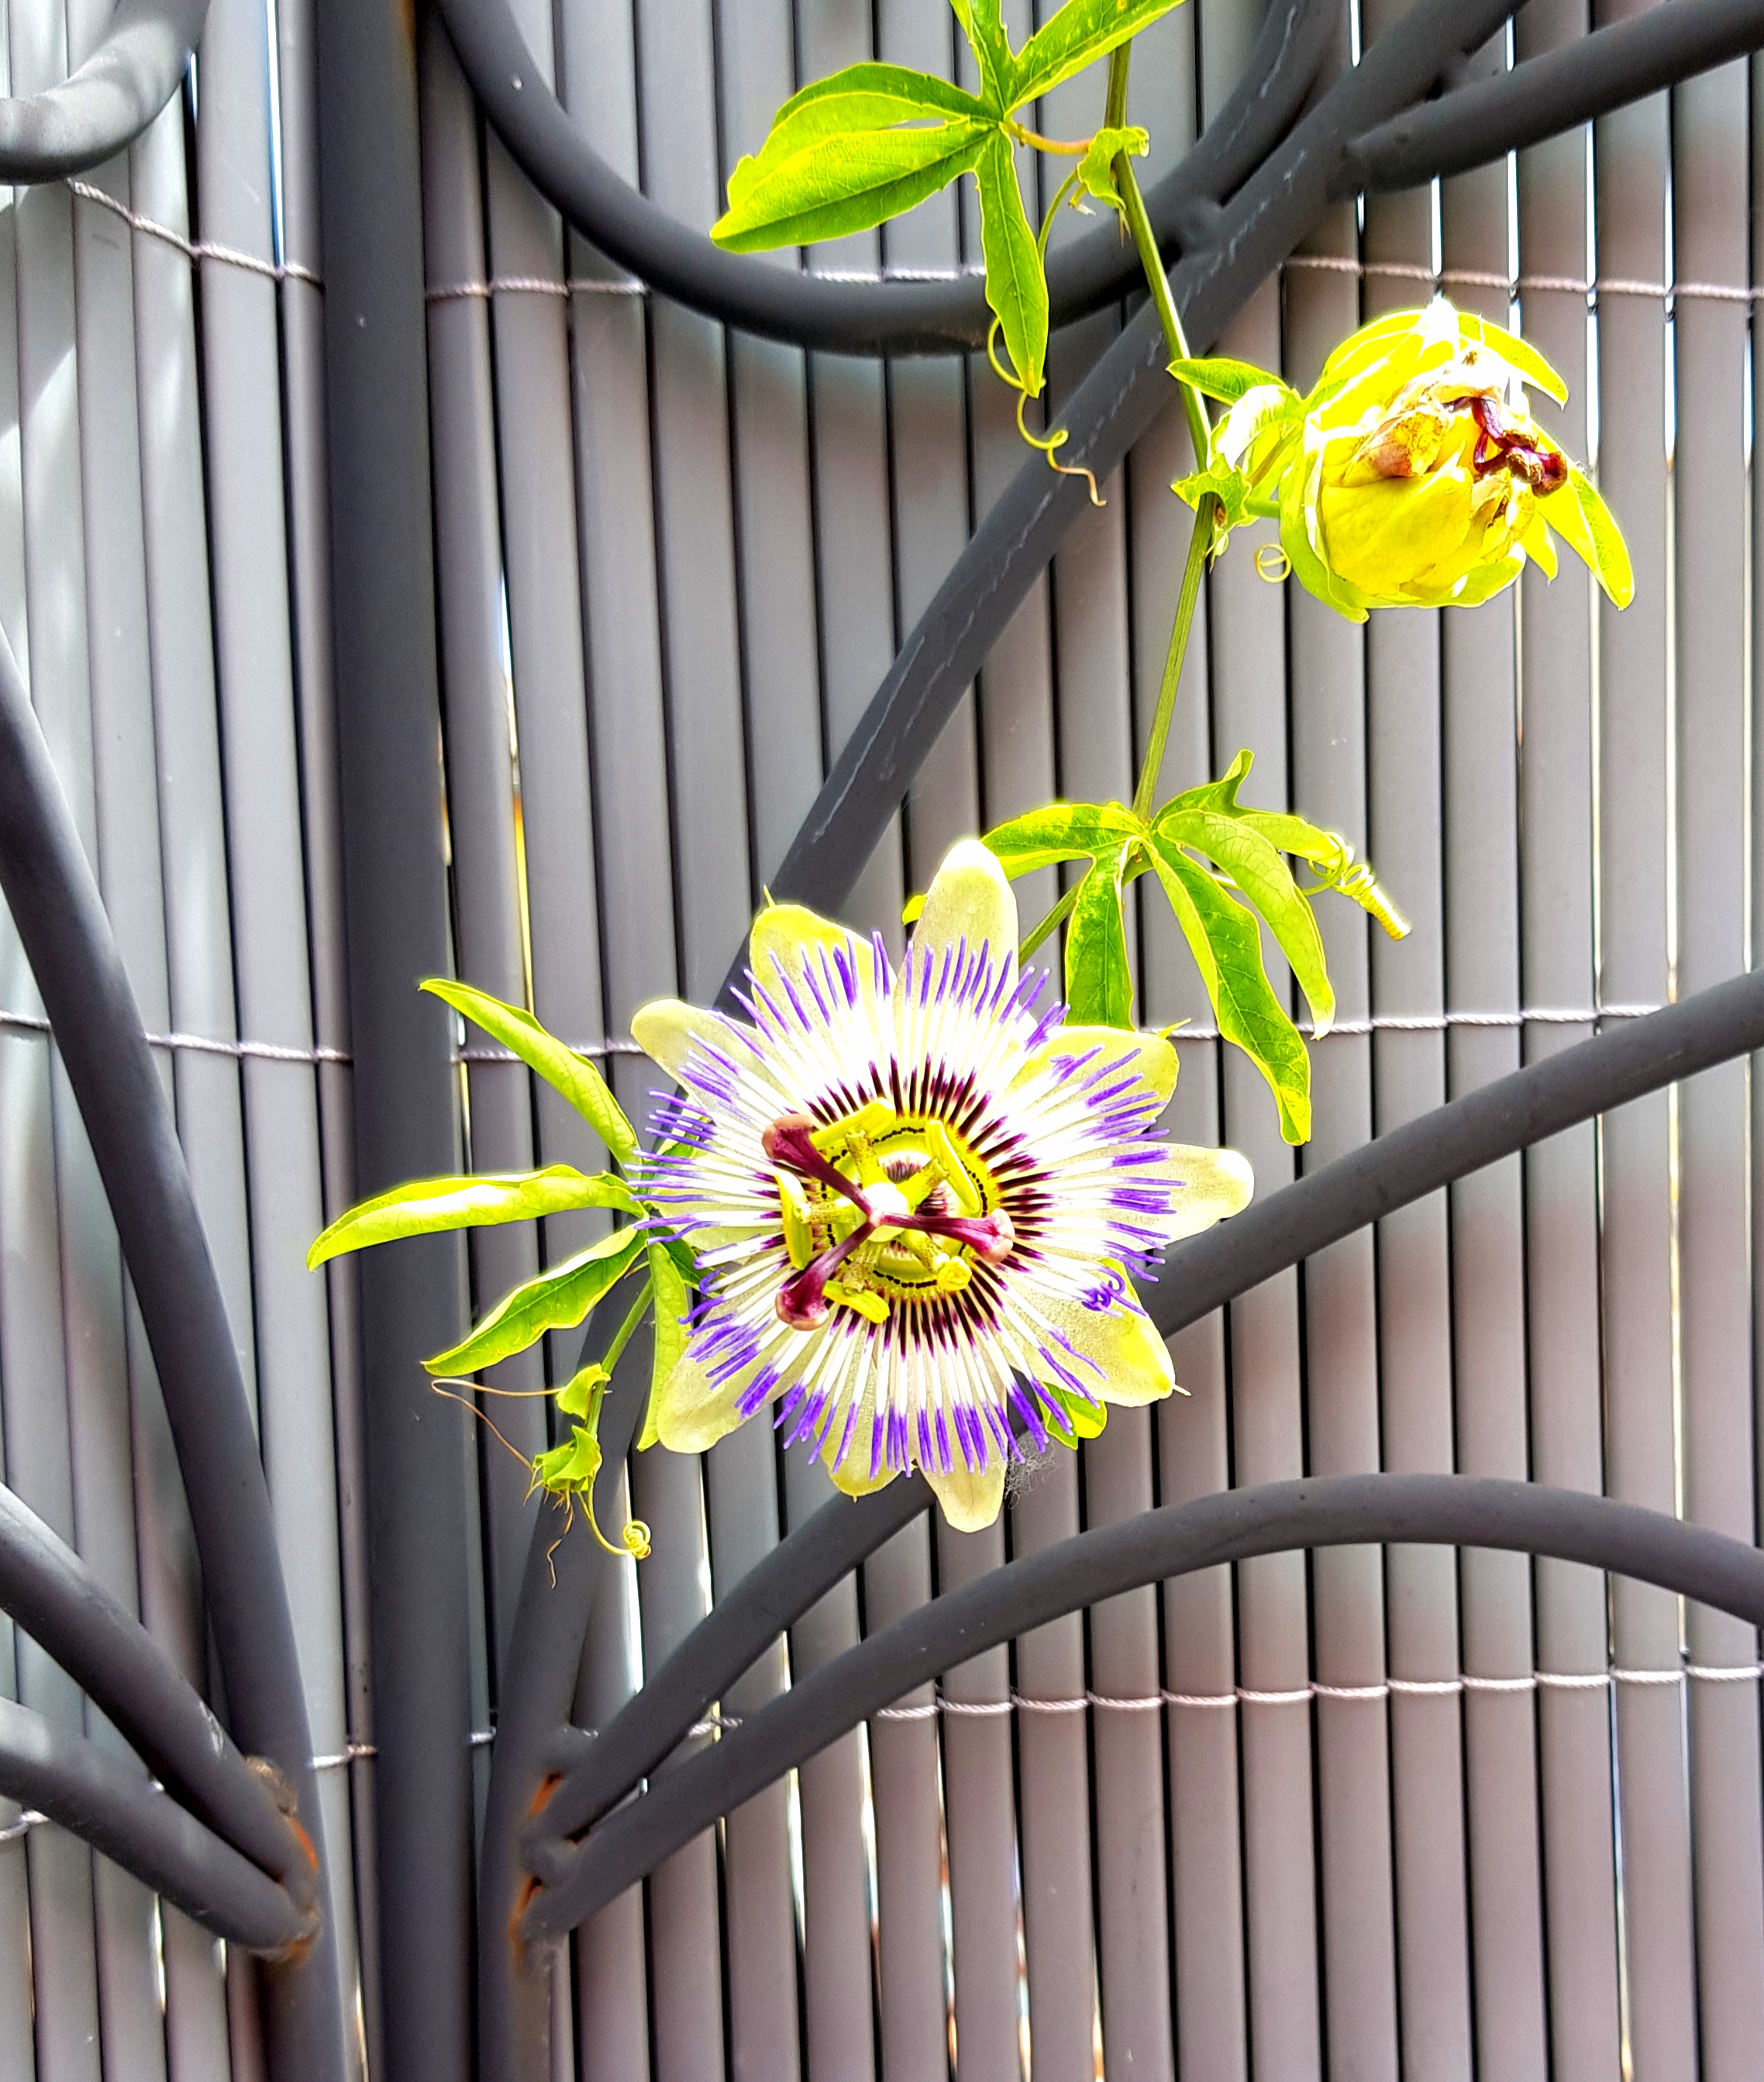
Metal arch now mounted for climbing plants.
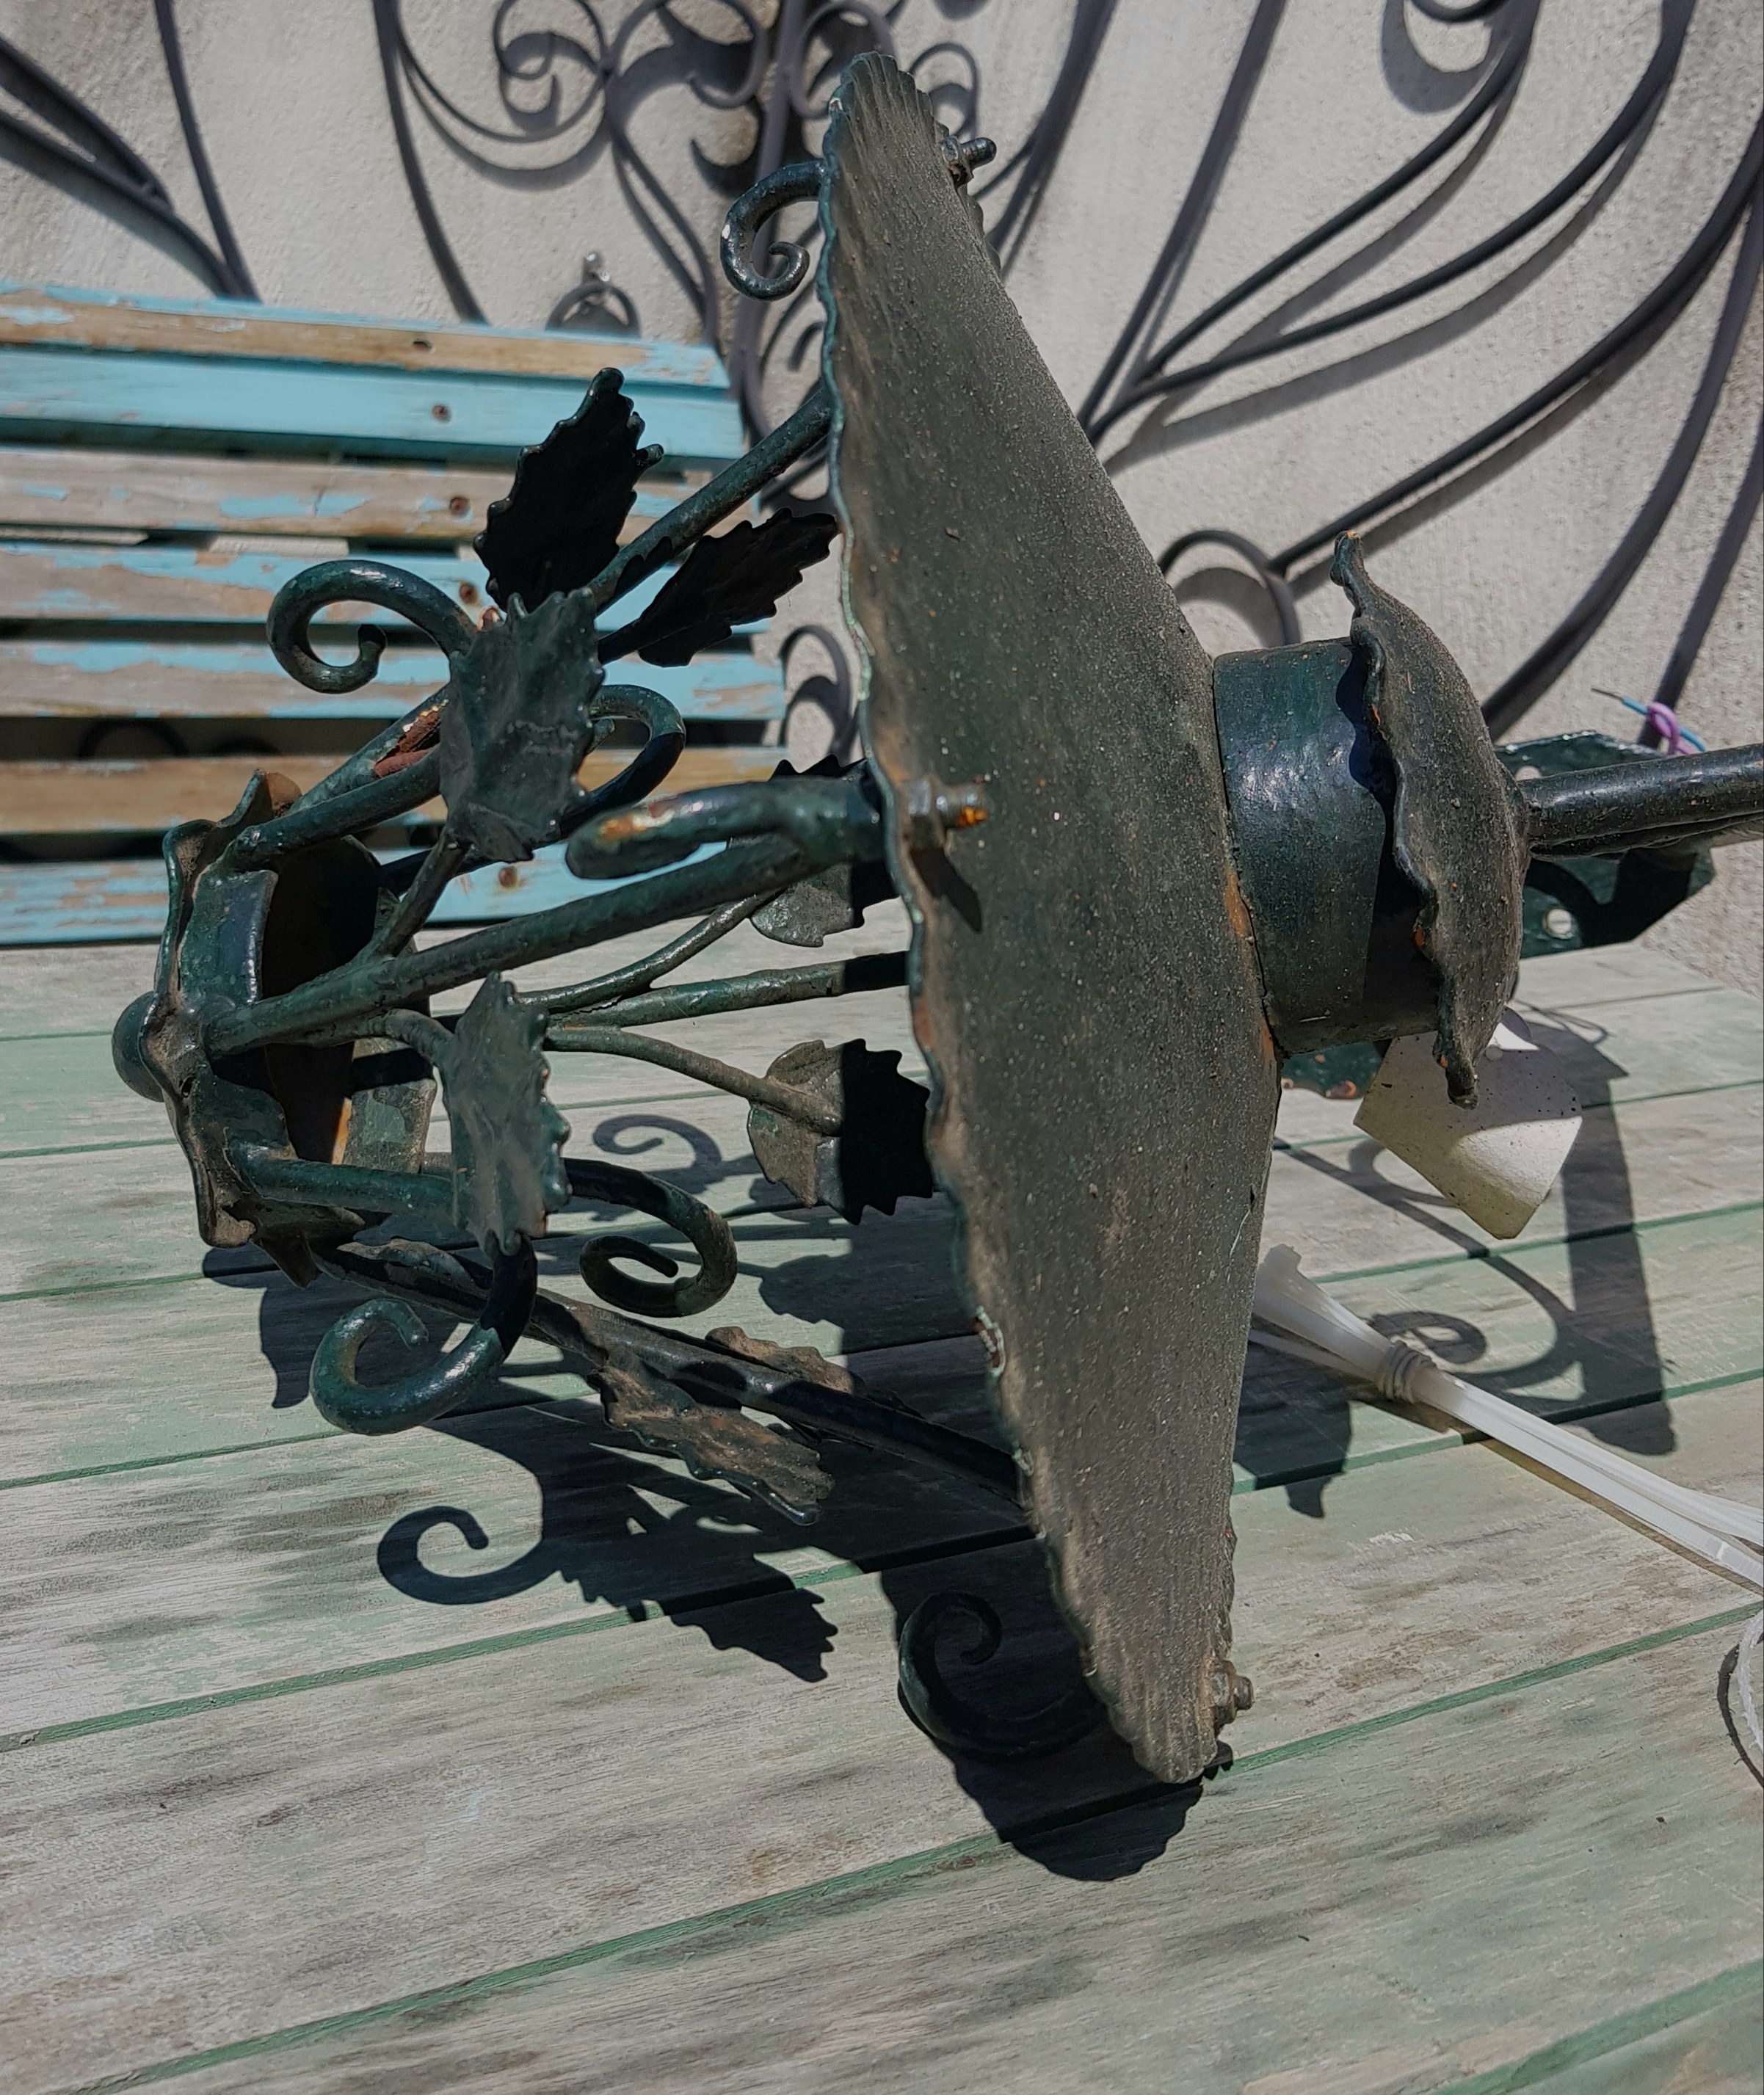
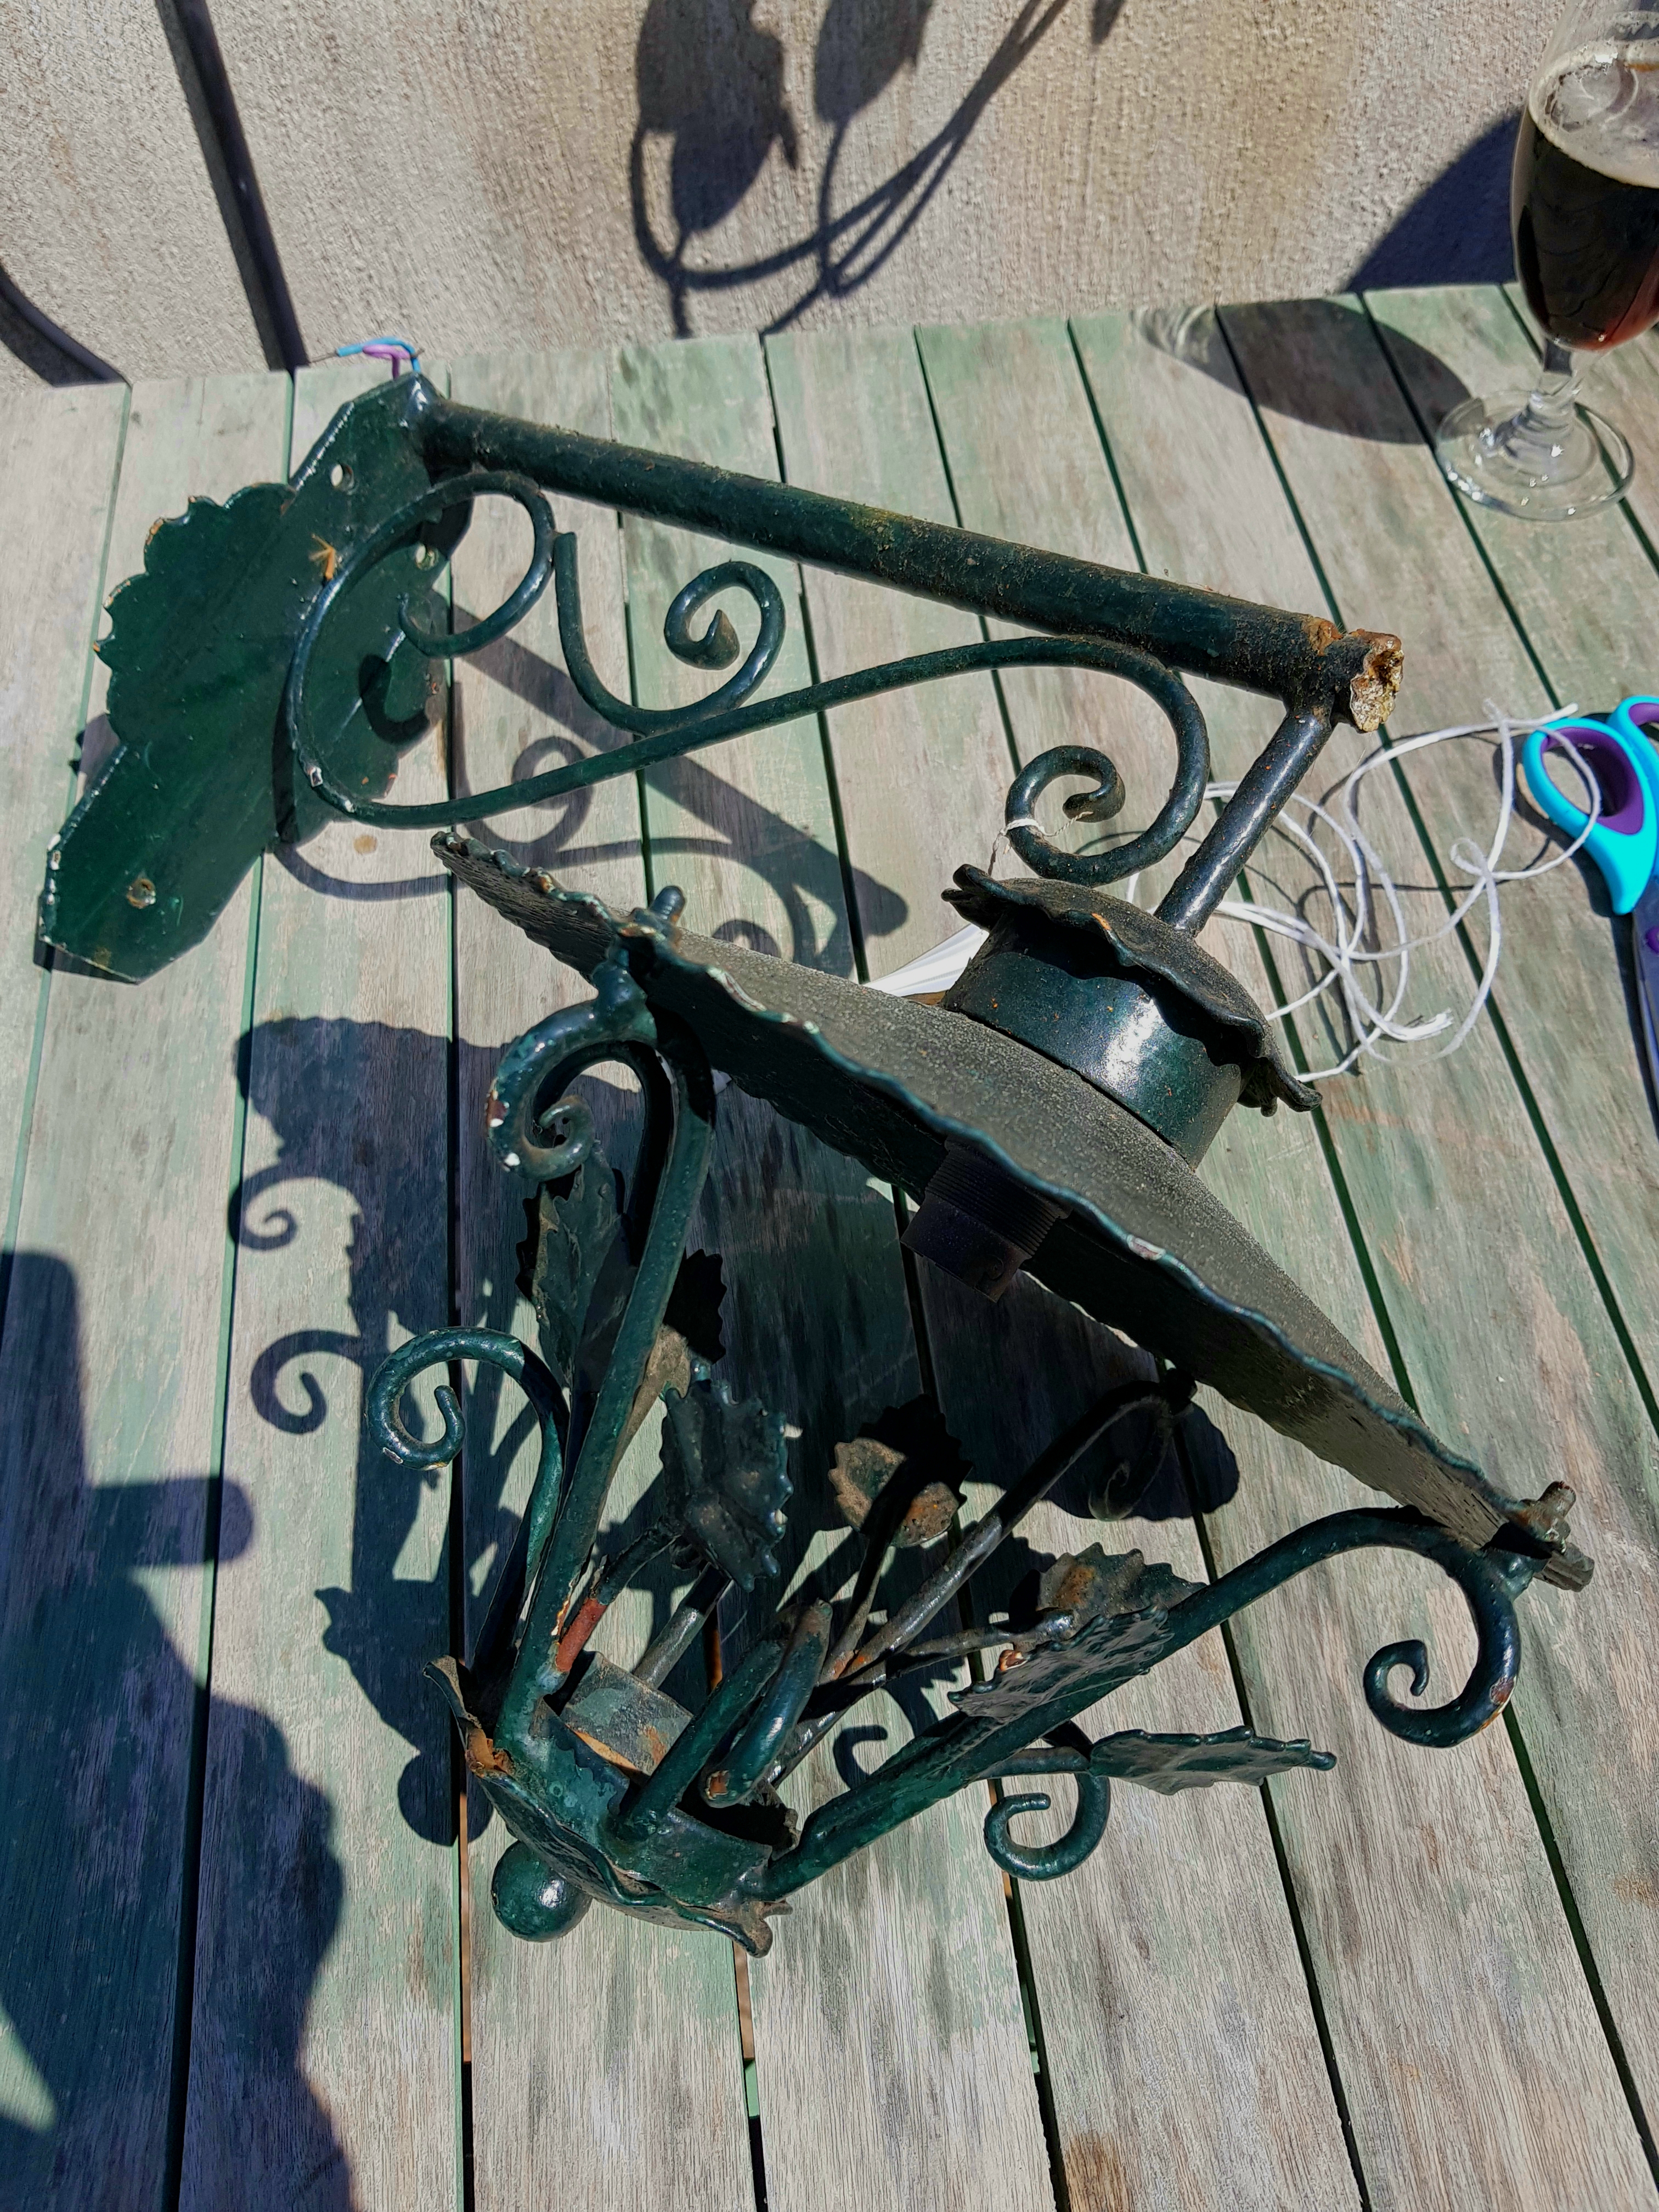
This old cast iron wall lantern, needing a little repair over exposed wires, goes up next…
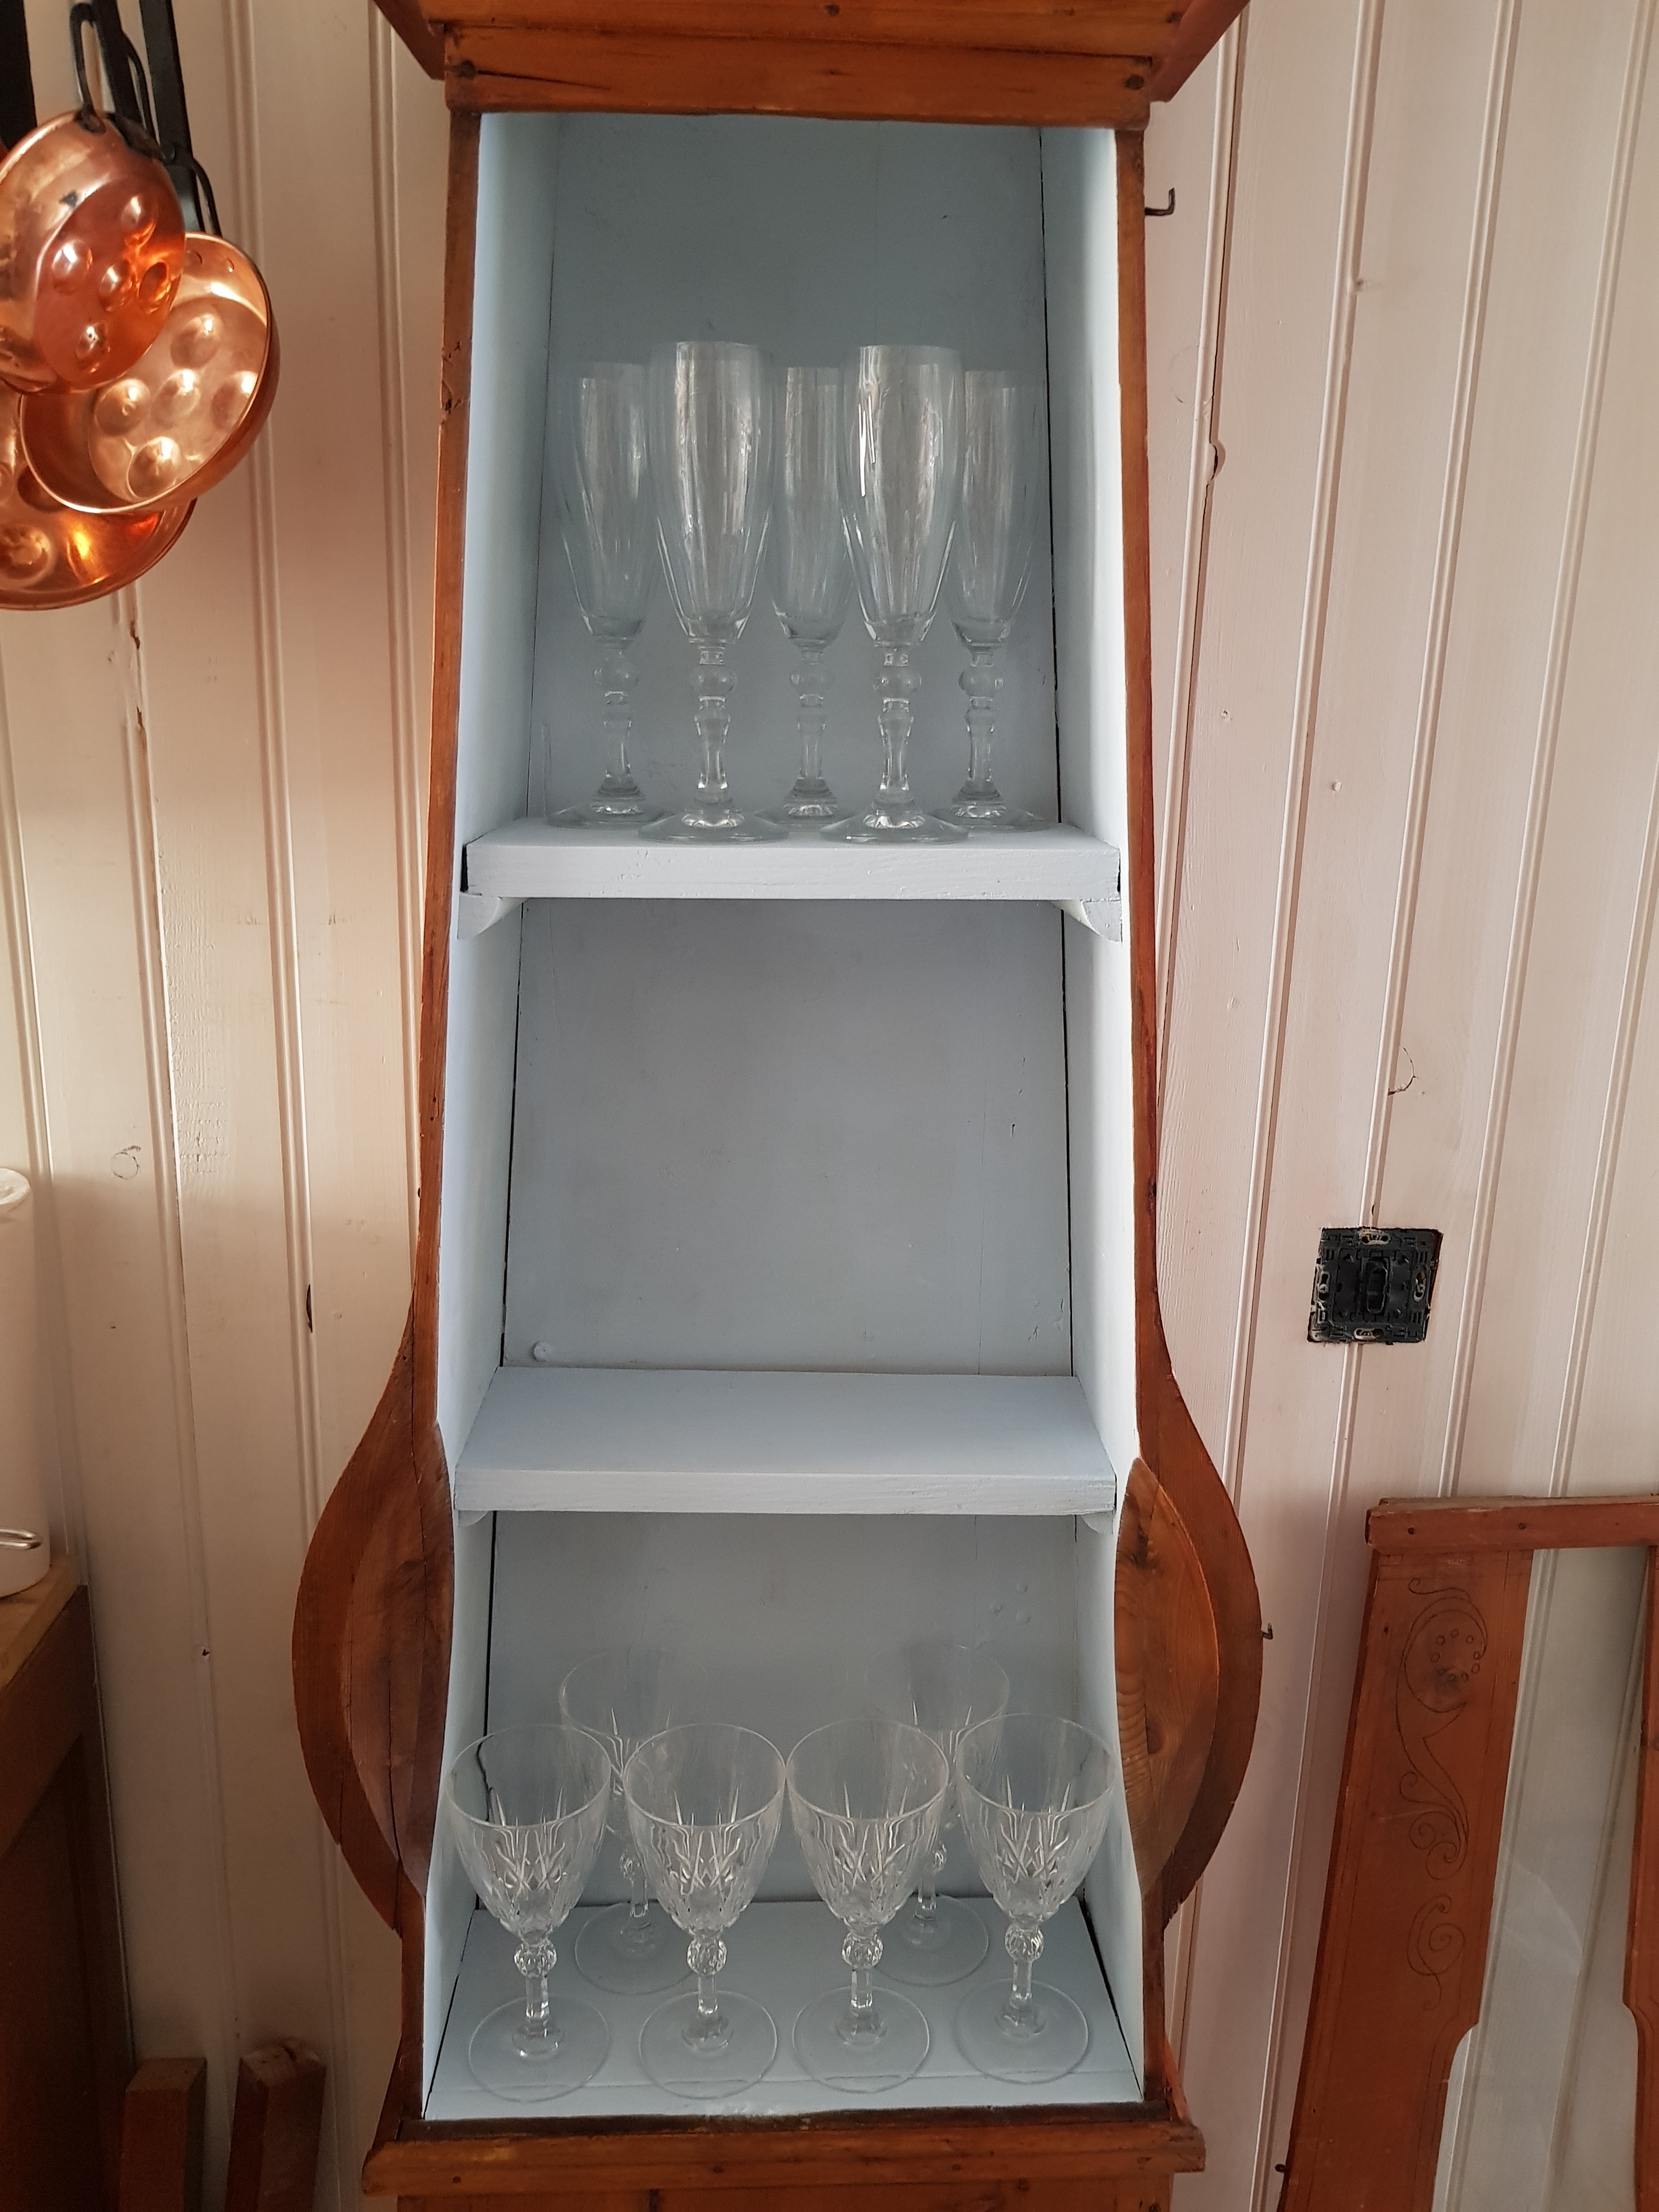
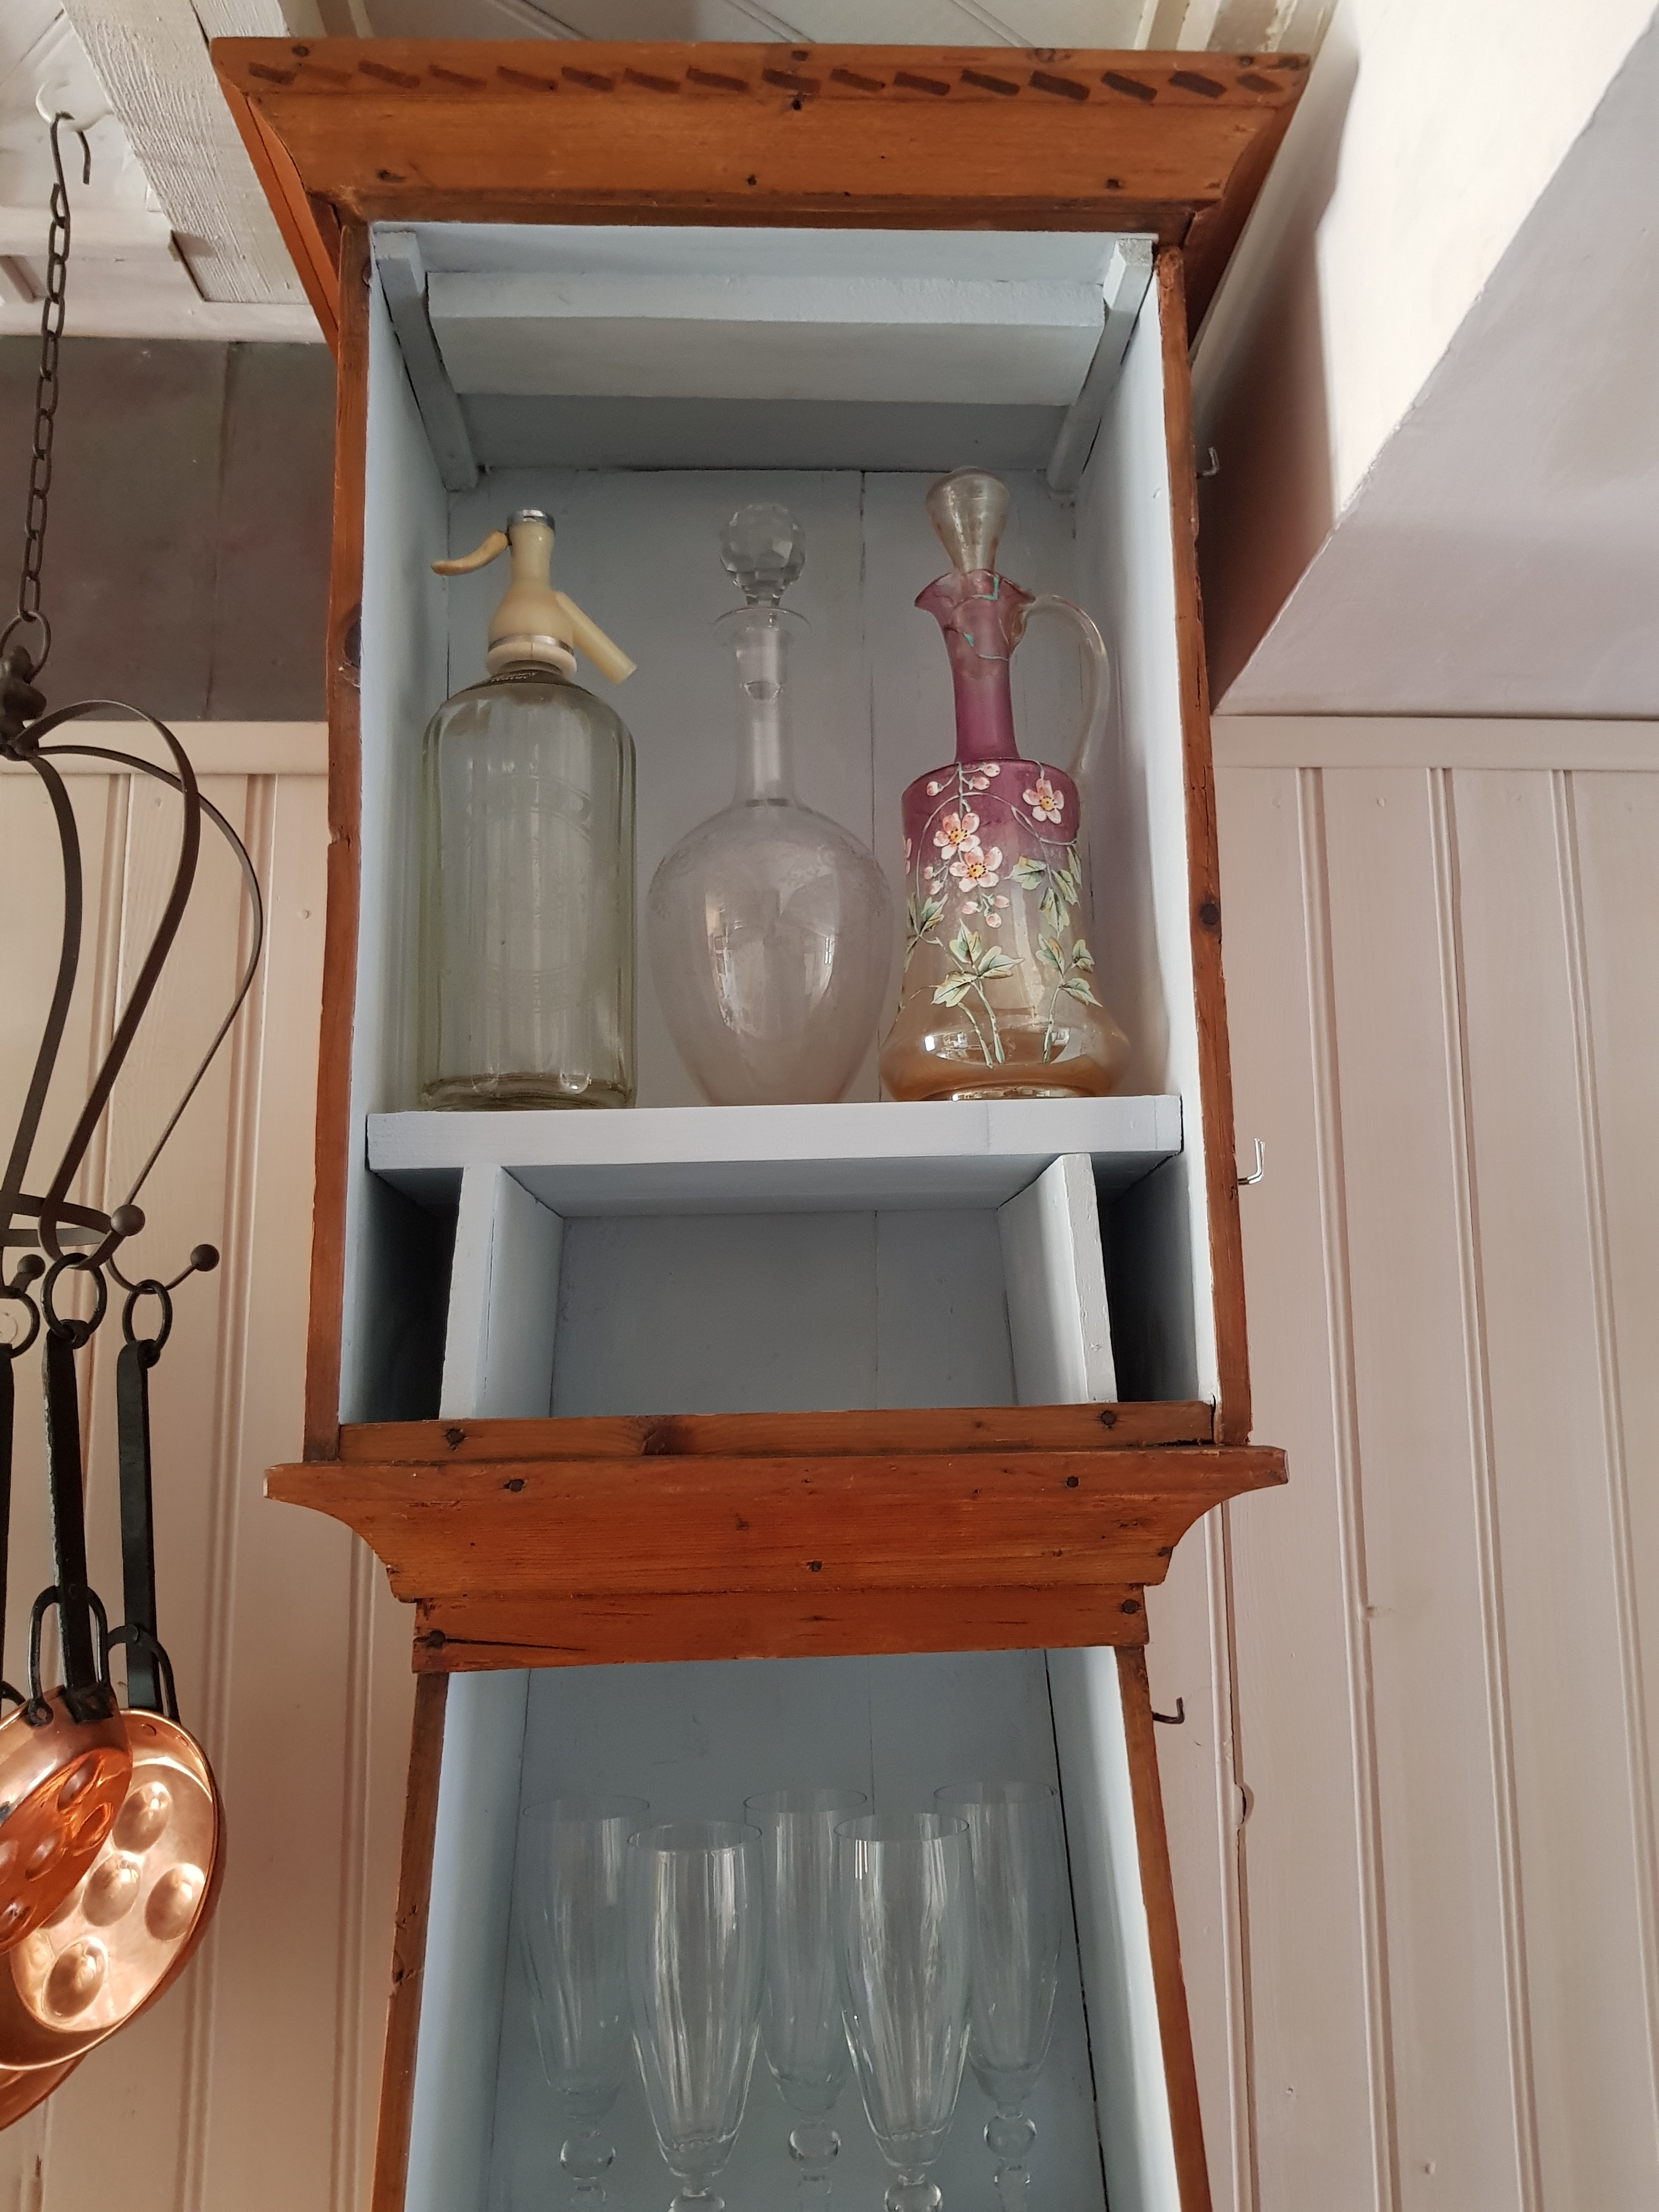
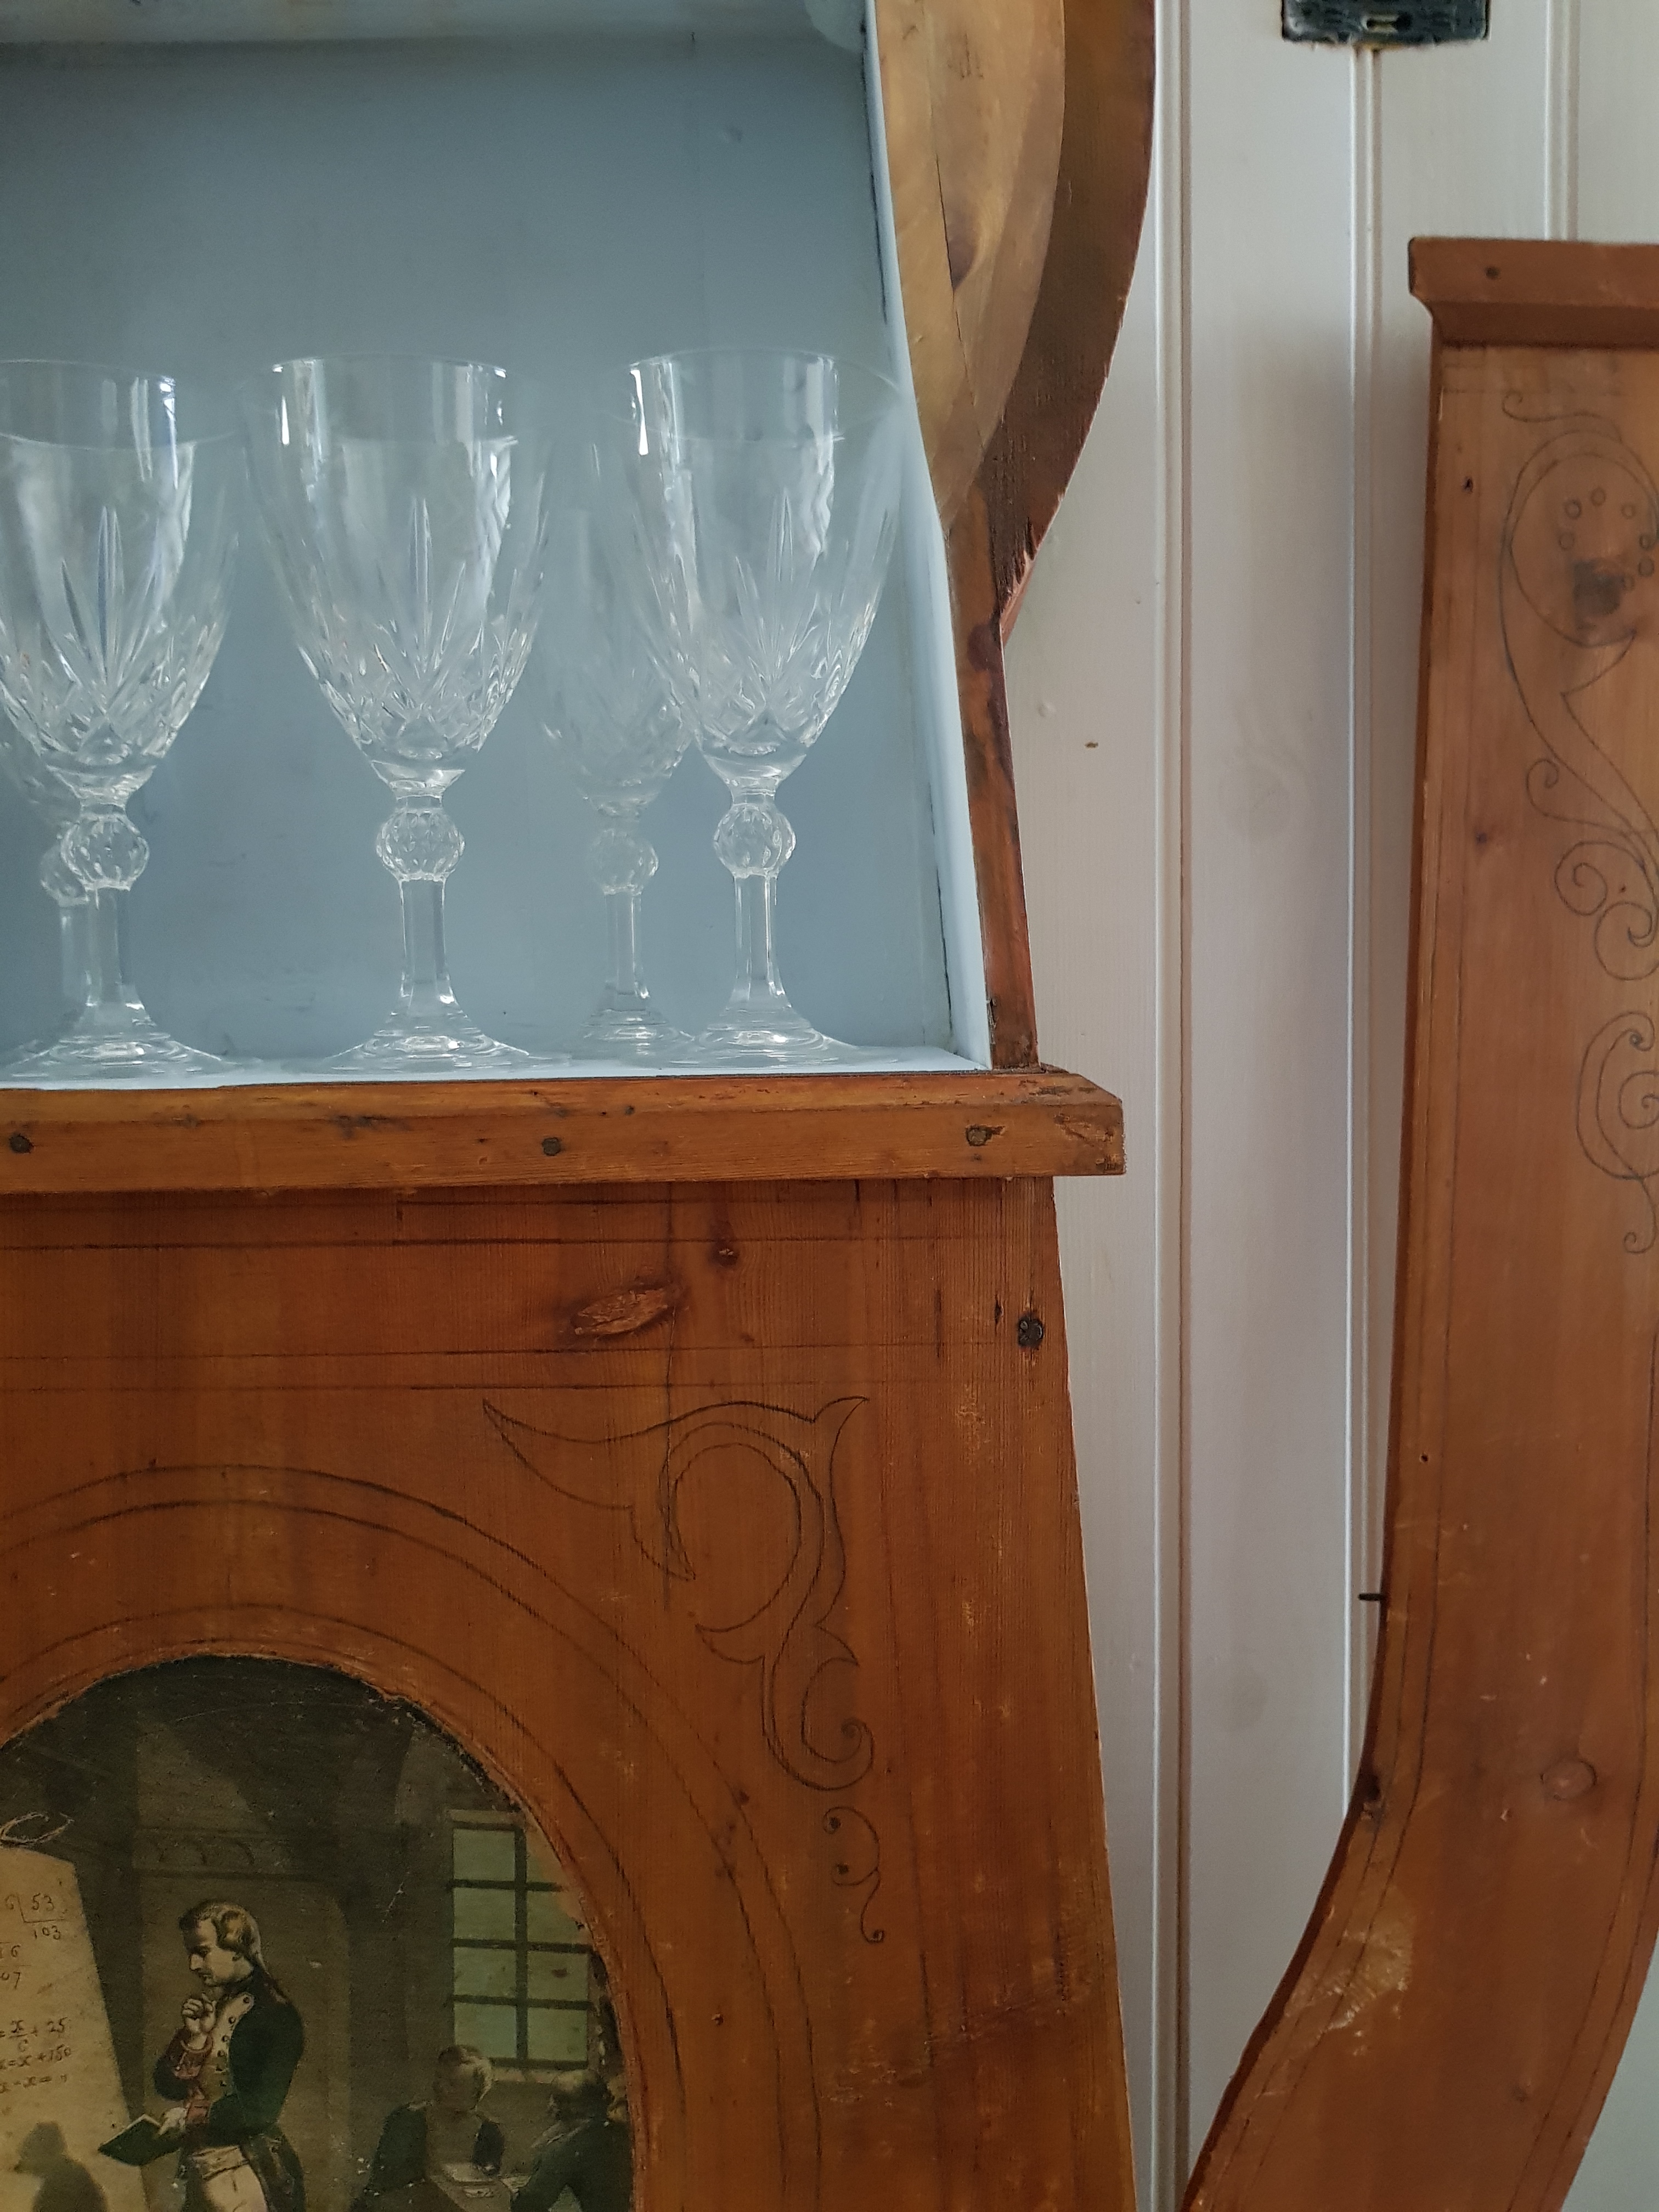
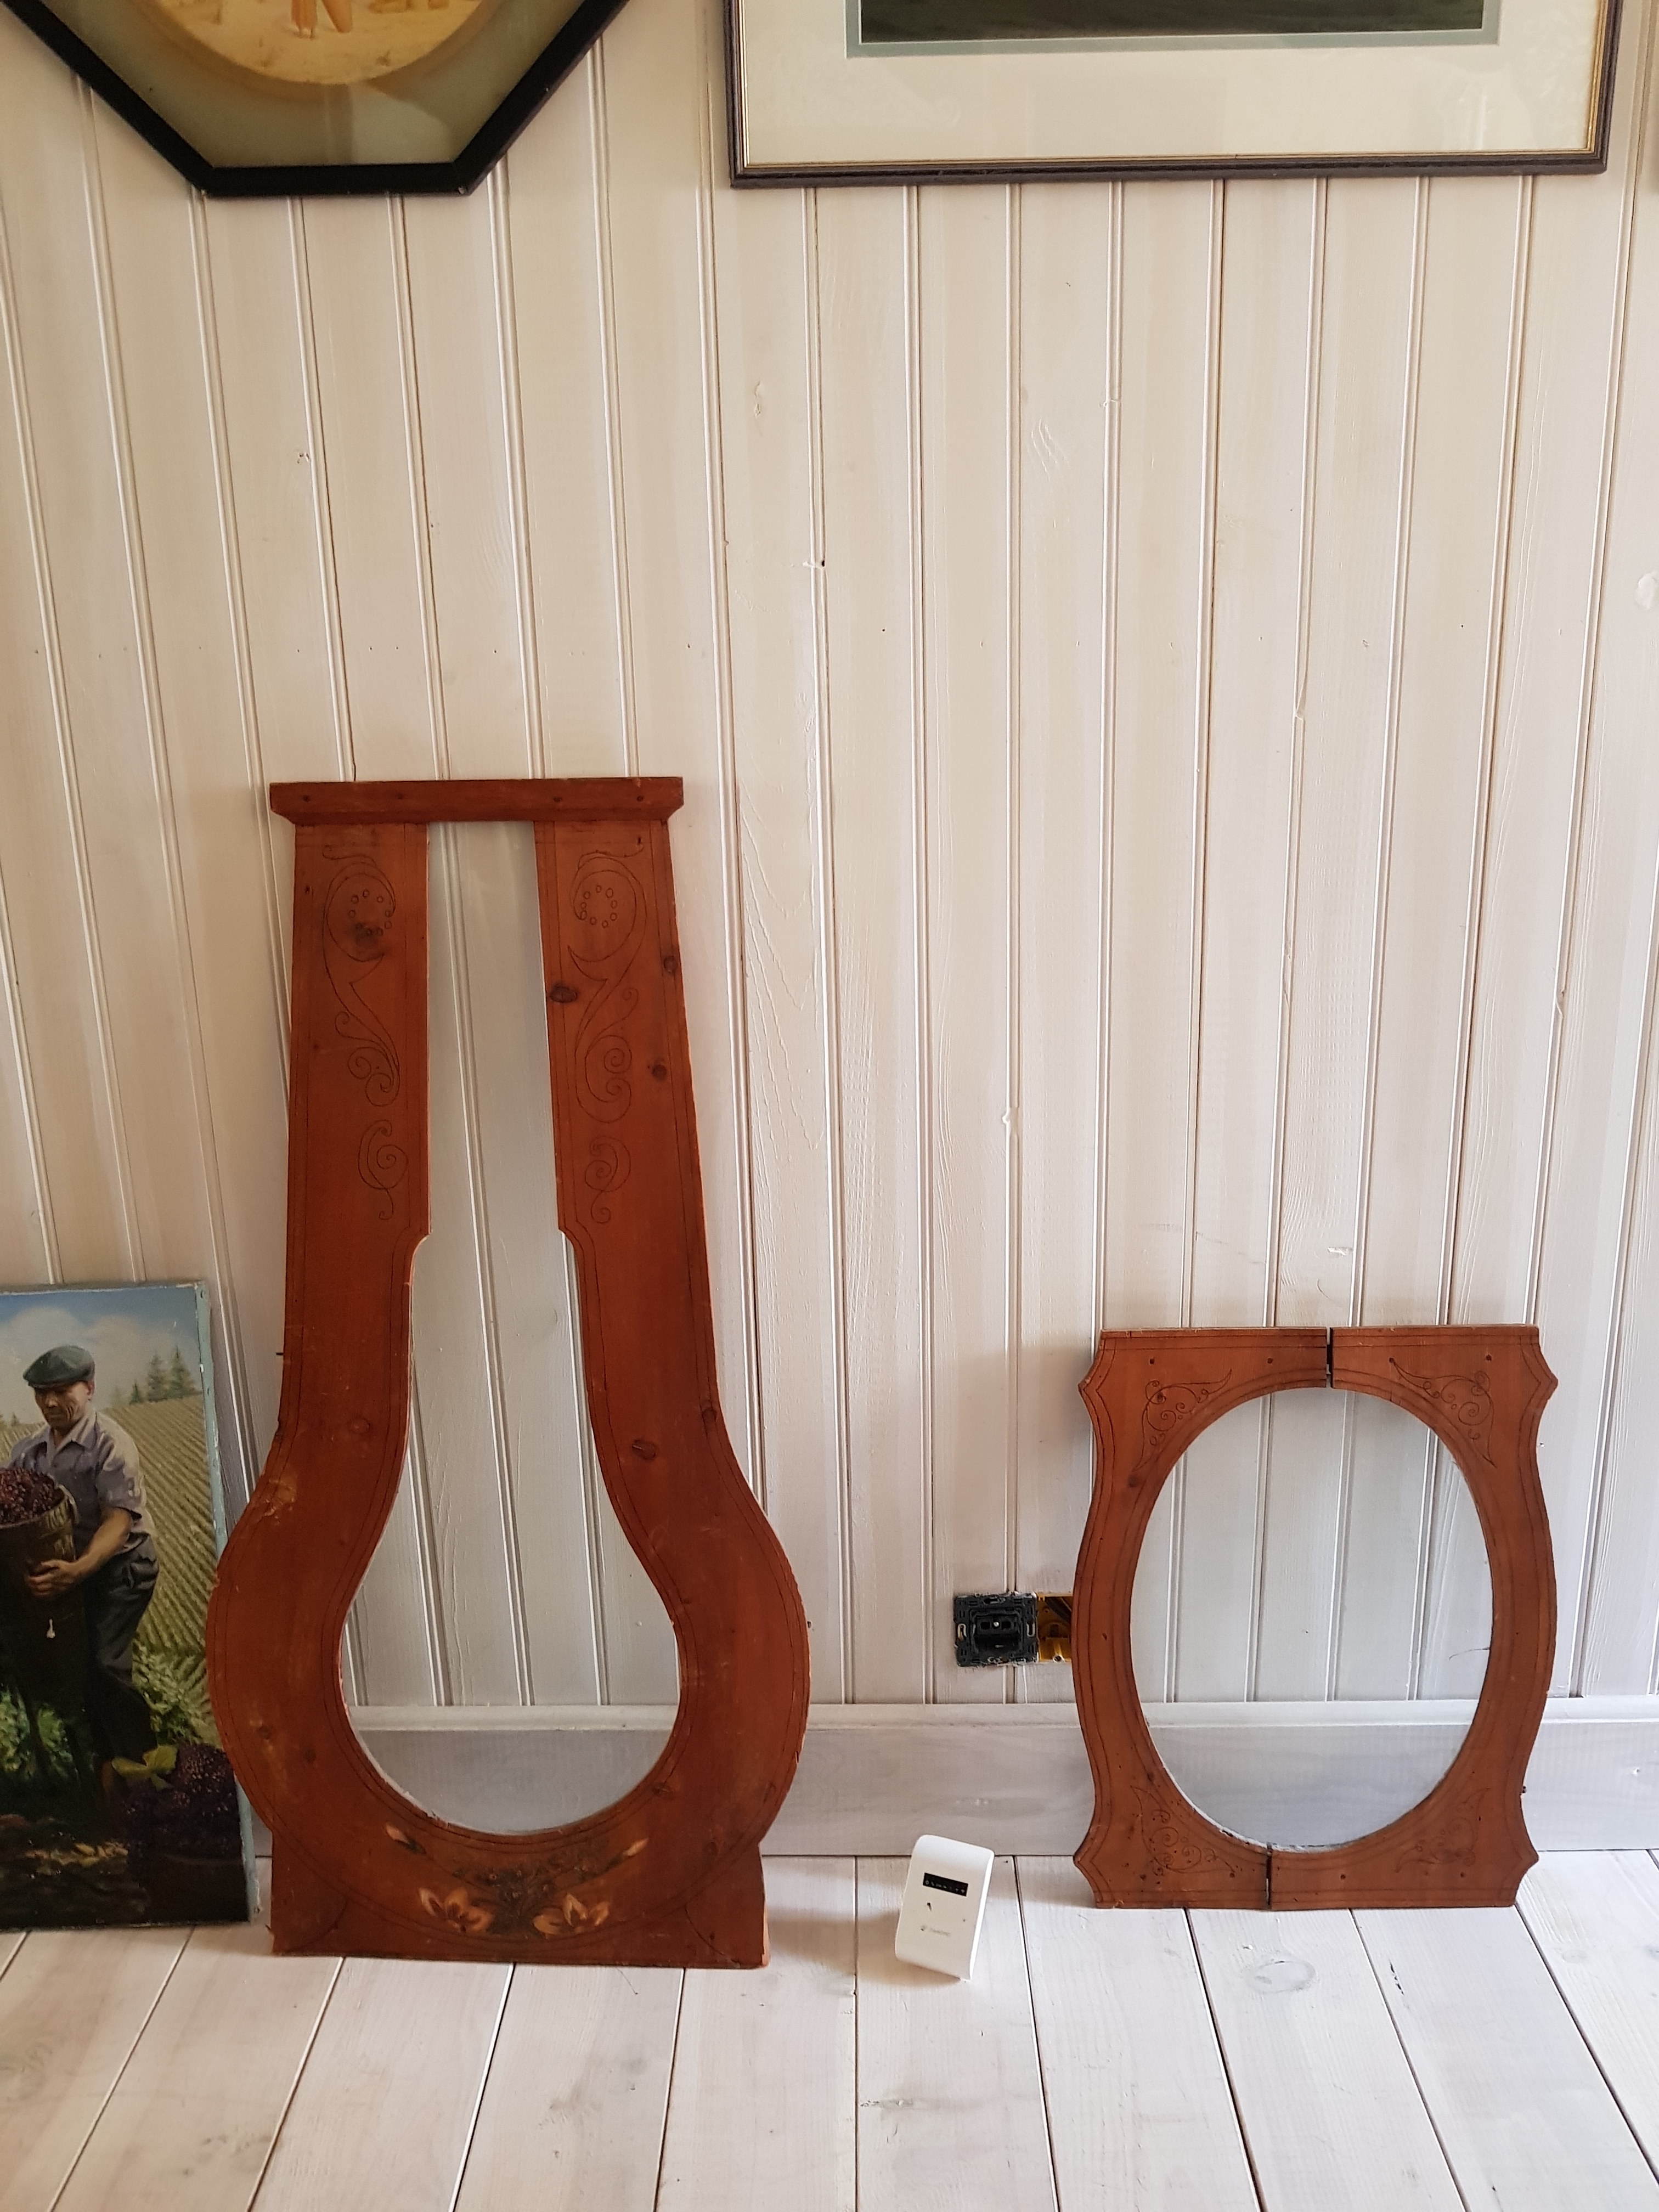
Clock case has been waxed and polished, inside and out.
Although the two doors require minor attention to stabilise them and their glass reputtied, I could not resist getting some glassware in to confirm the validity of this repurposing project.
Lead crystal wine goblets from Tuscany, Bohemia crystal flutes, two French carafes ( one etched, one hand painted) one early 20th century Schweppes soda syphon.
Eclectic? Moi?
My biceps are throbbing and have had to be soothed by coffee and madeleines.

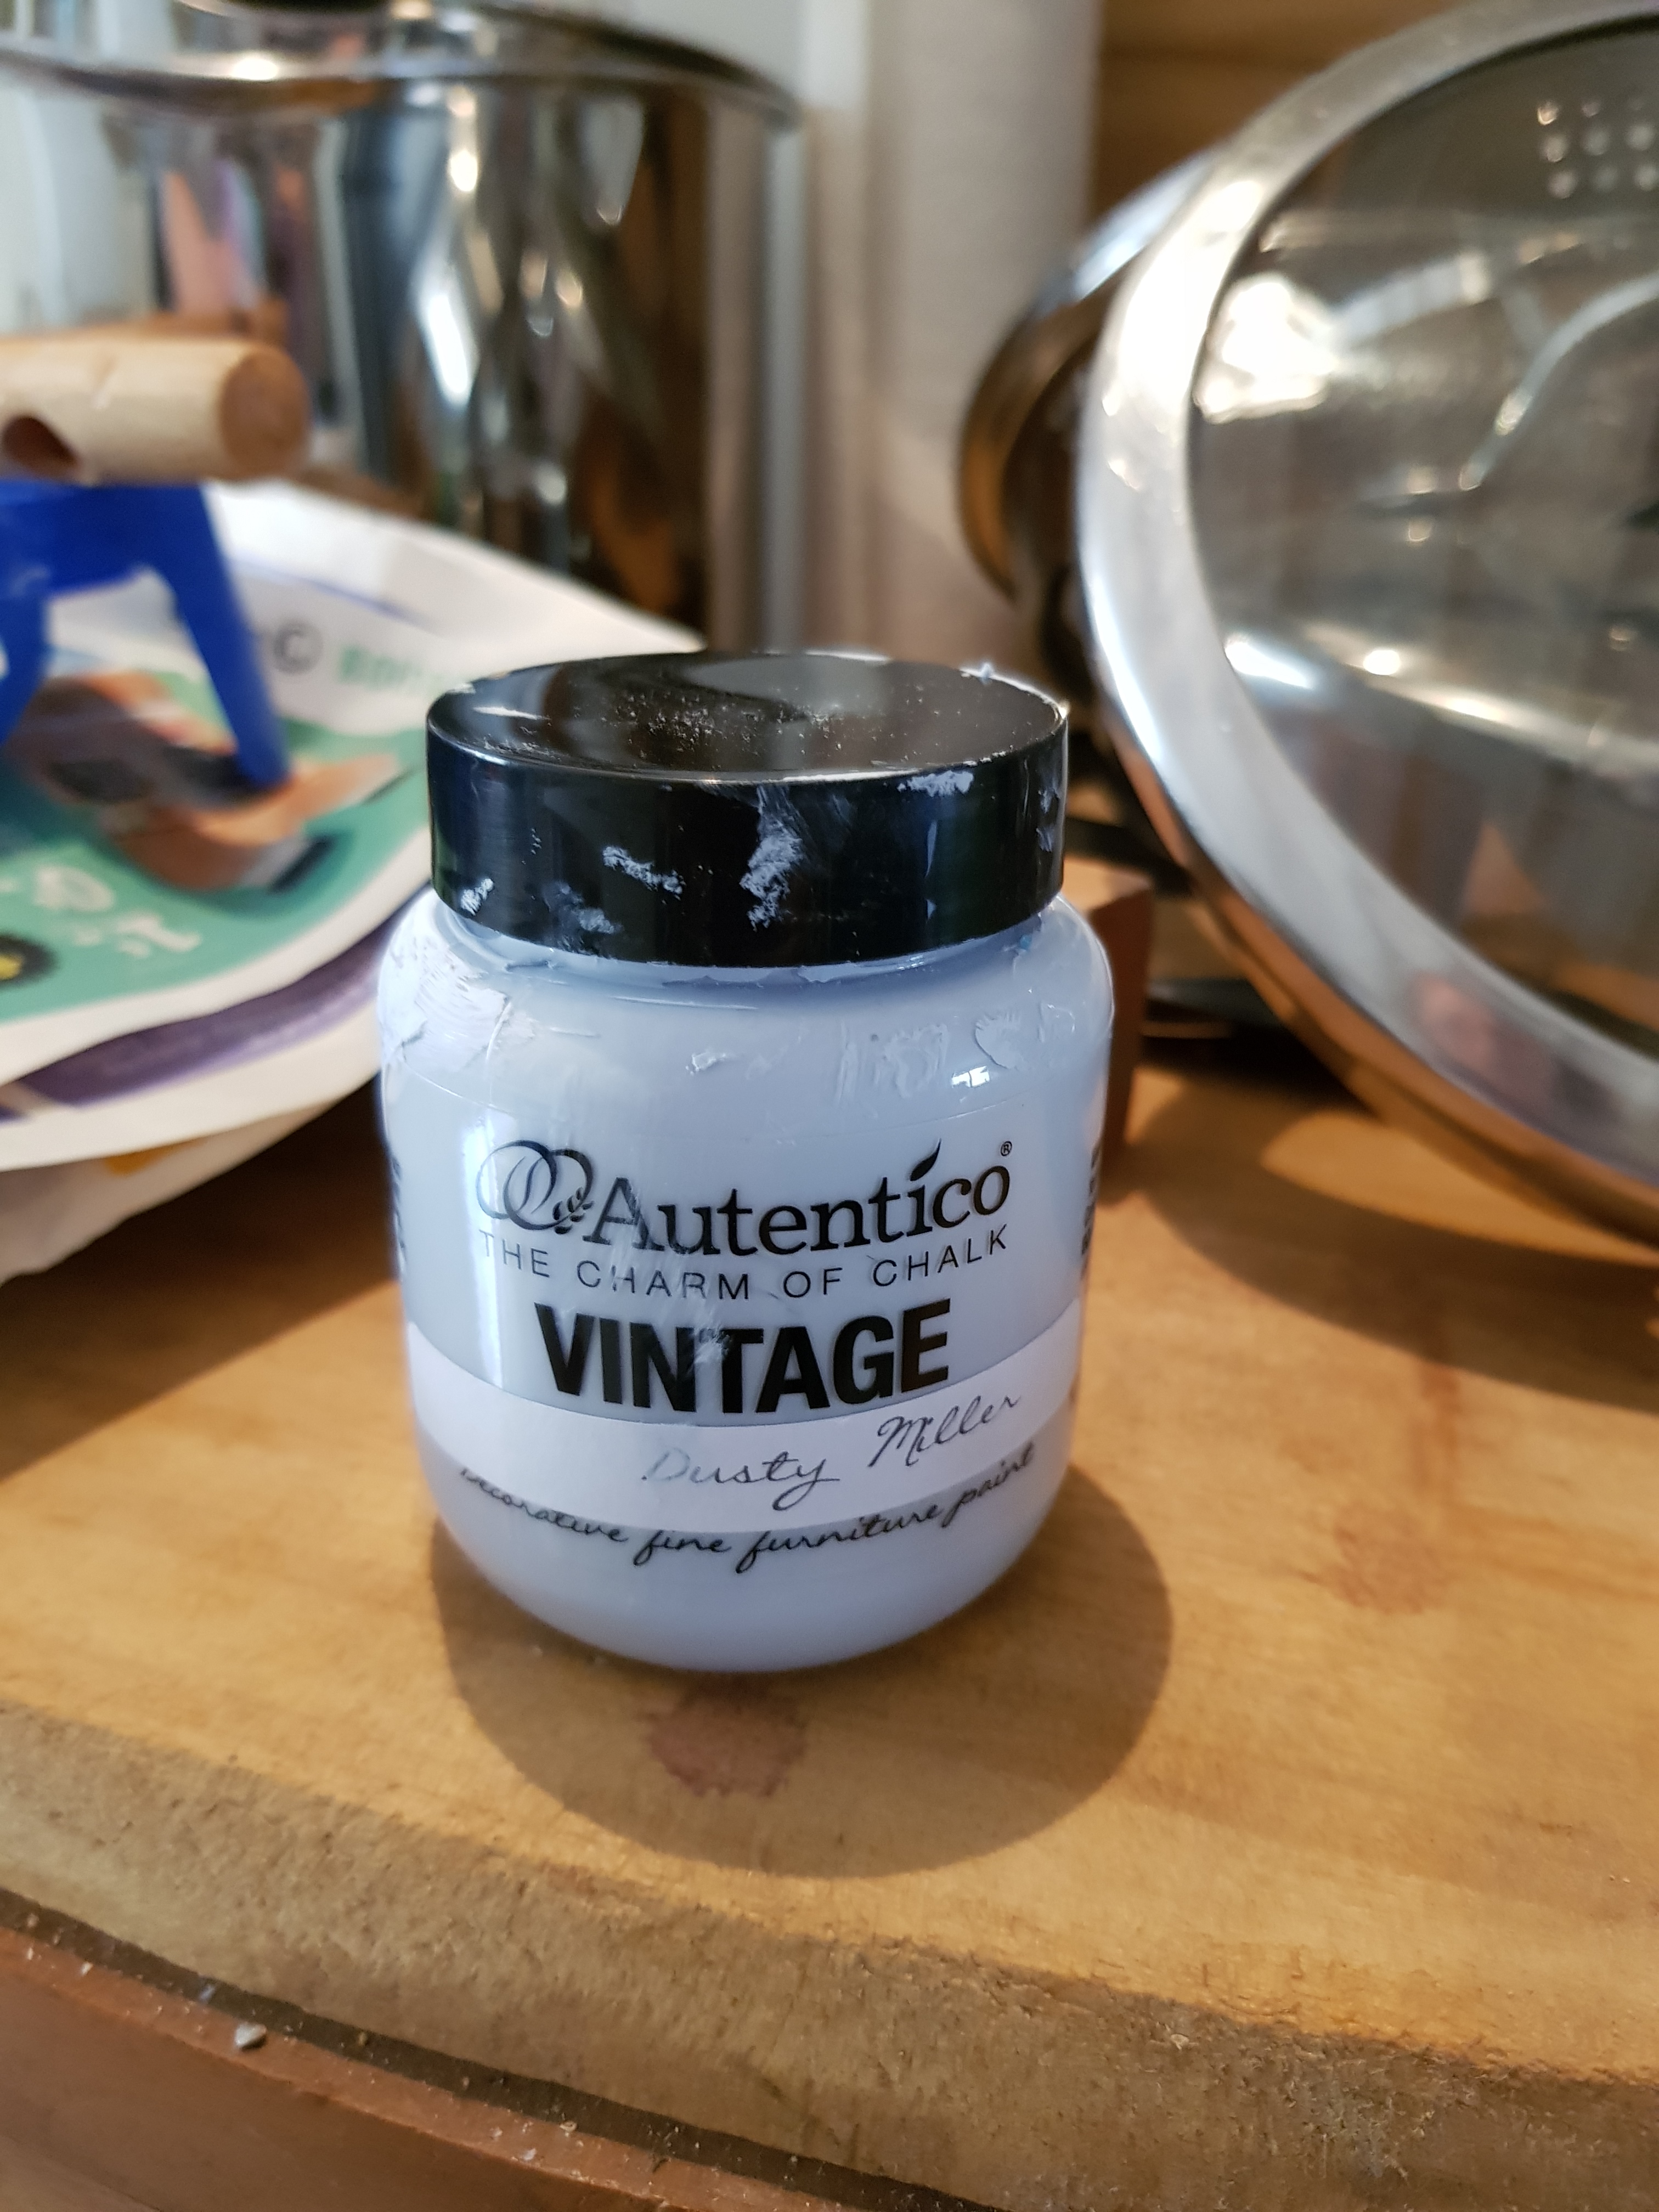
Dusty Miller is this beautiful, very pale blue with a subtle grey undertone.
One of those nuanced colours that seems to straddle more than one chromatic range.
And, though I have only just noticed this, it matches the inside of my Linea china coffee cups.
Made by Autentico in a range that includes natural chalk paint, velvet matte wall paint, wood and metal paints, beautiful lime paint finishes and more.
Now available in France from our shop https://lavievintagefrance.com
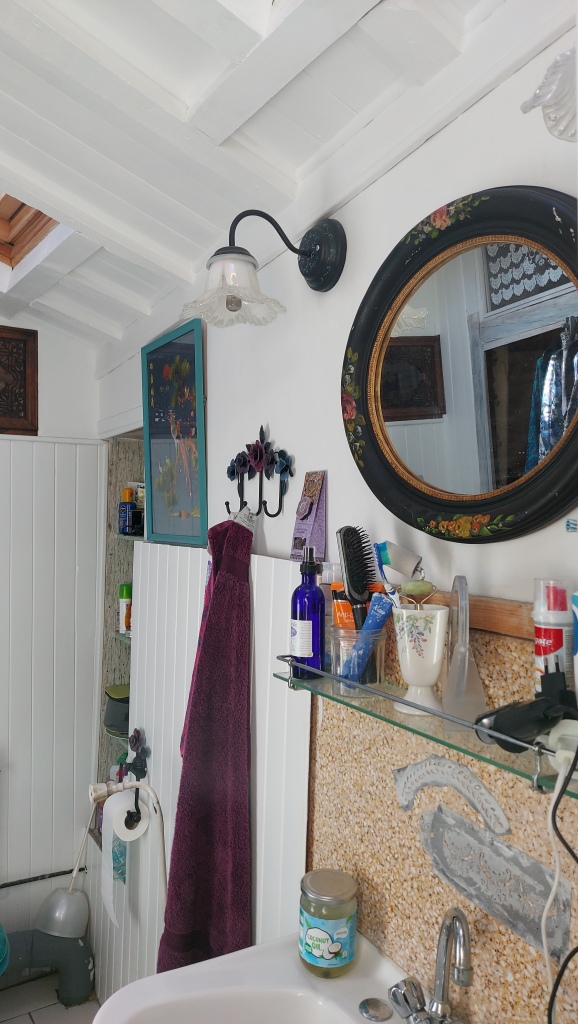
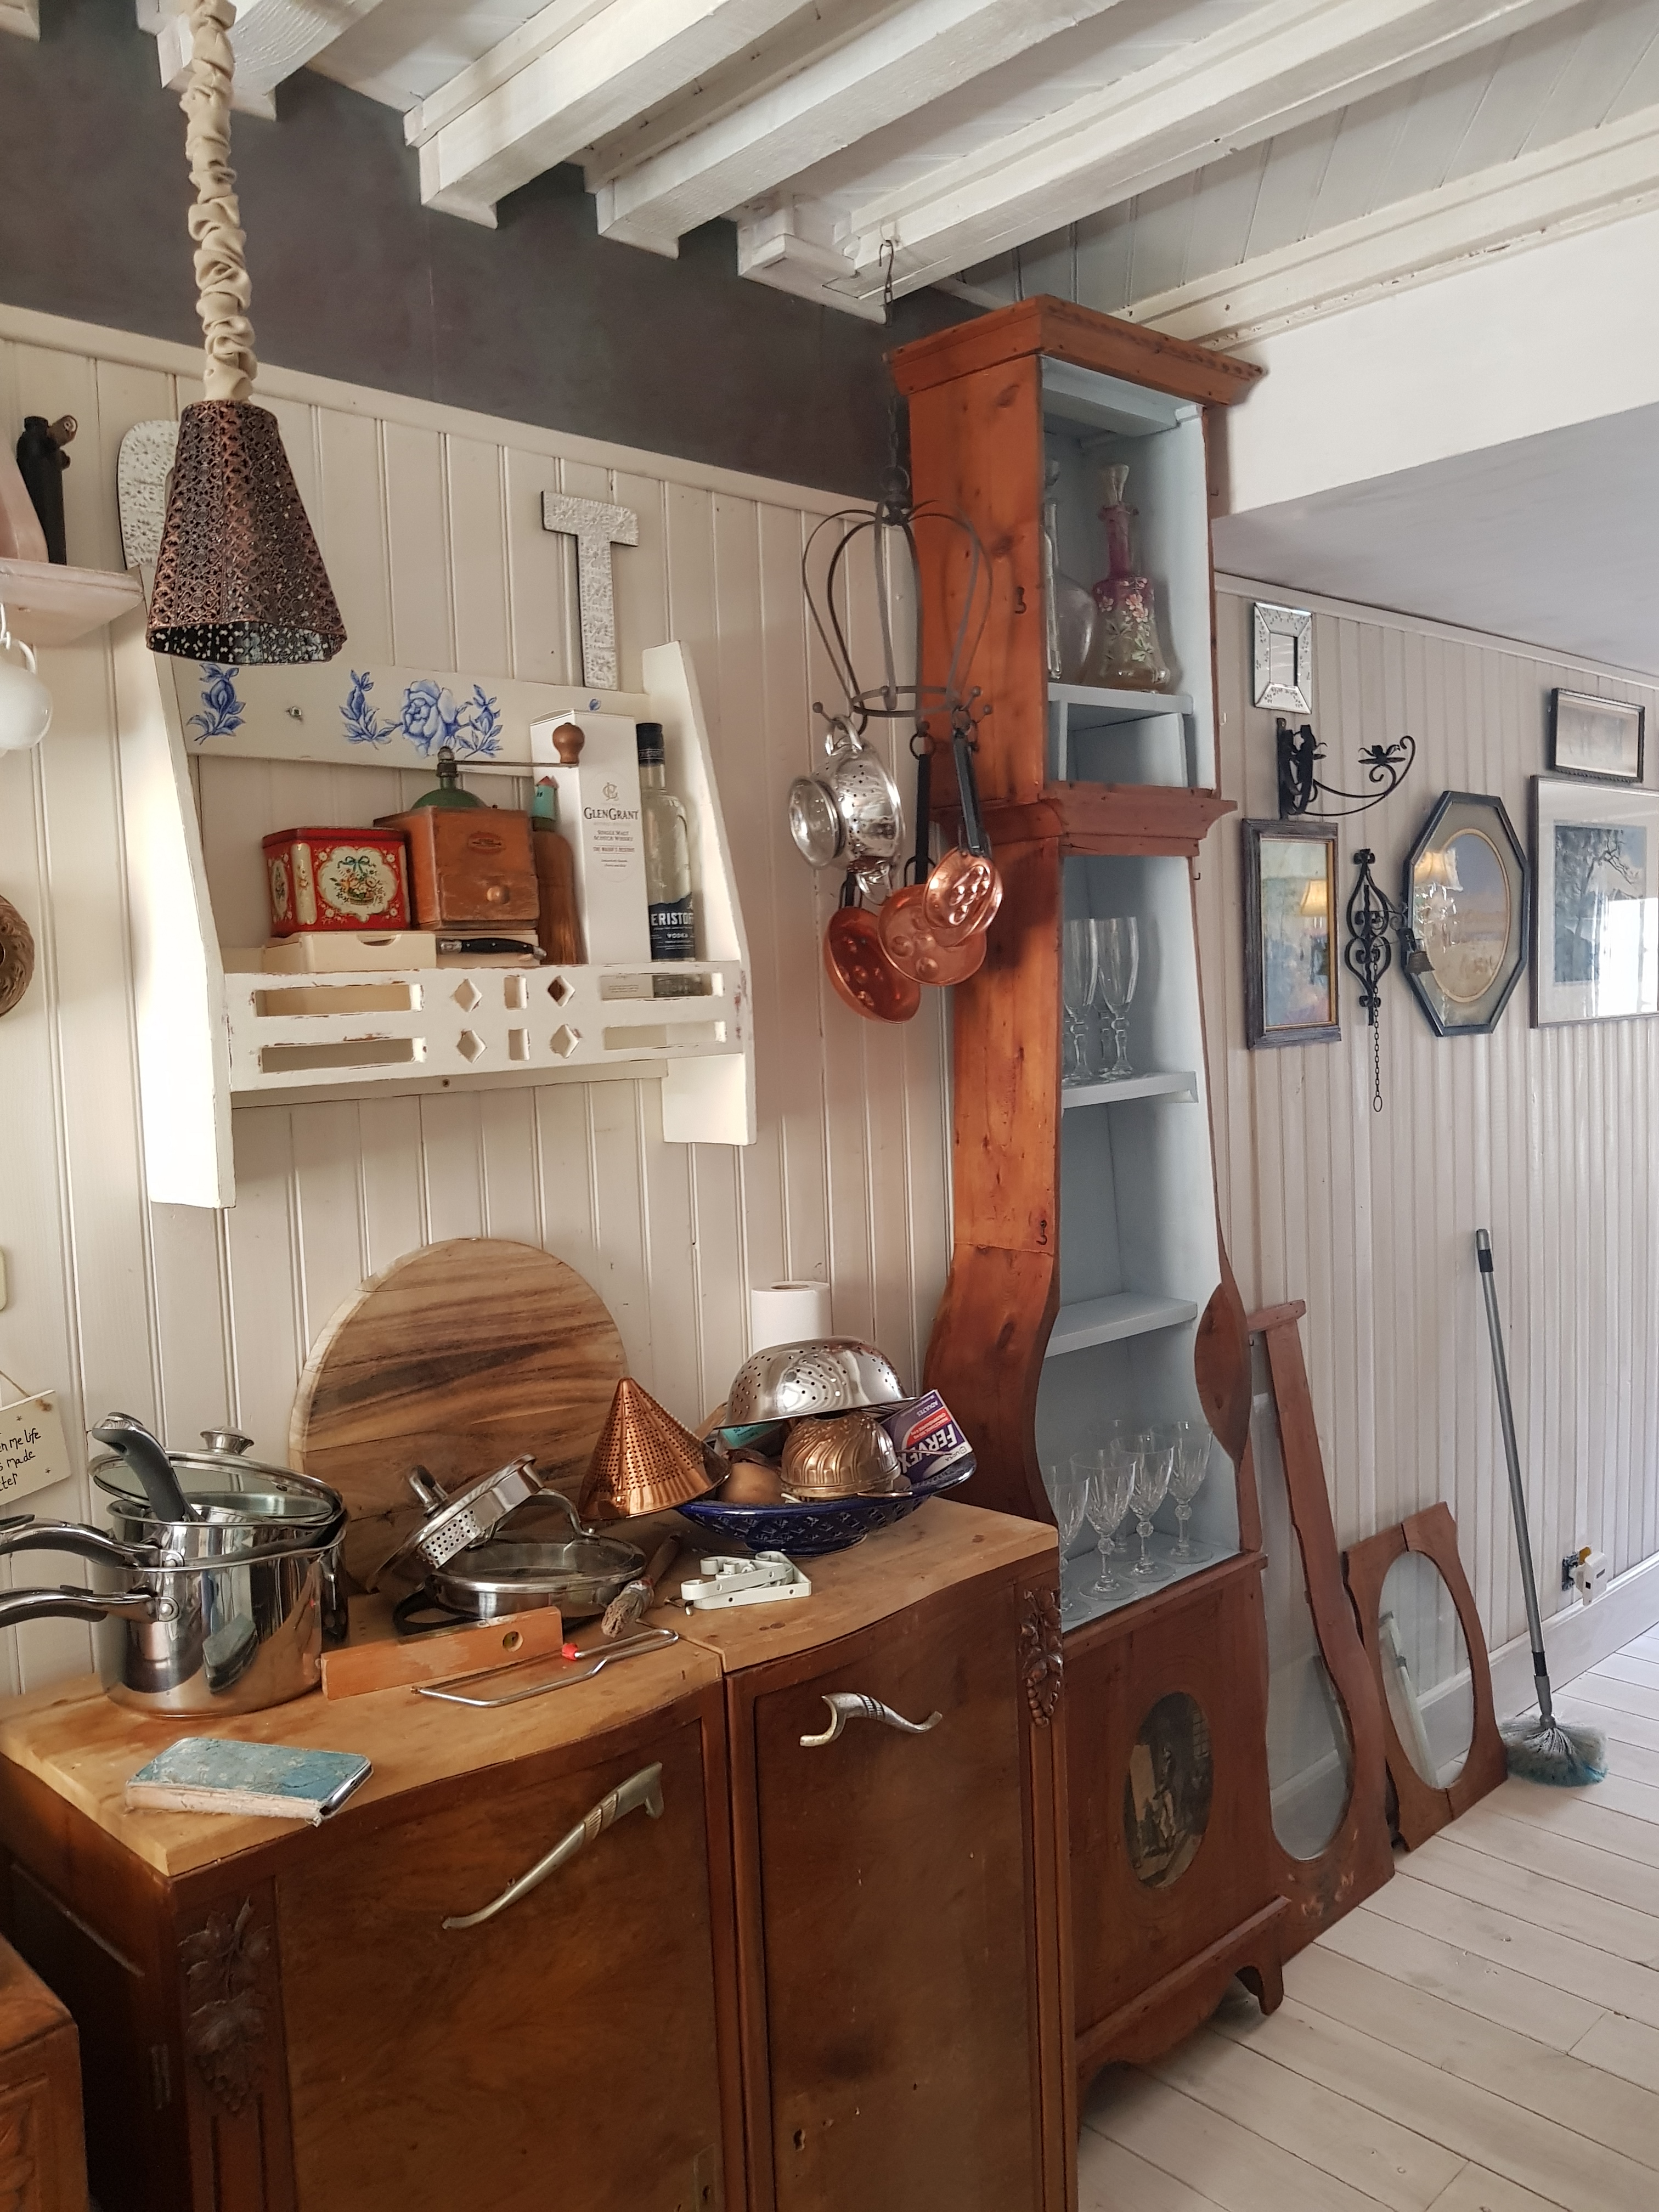
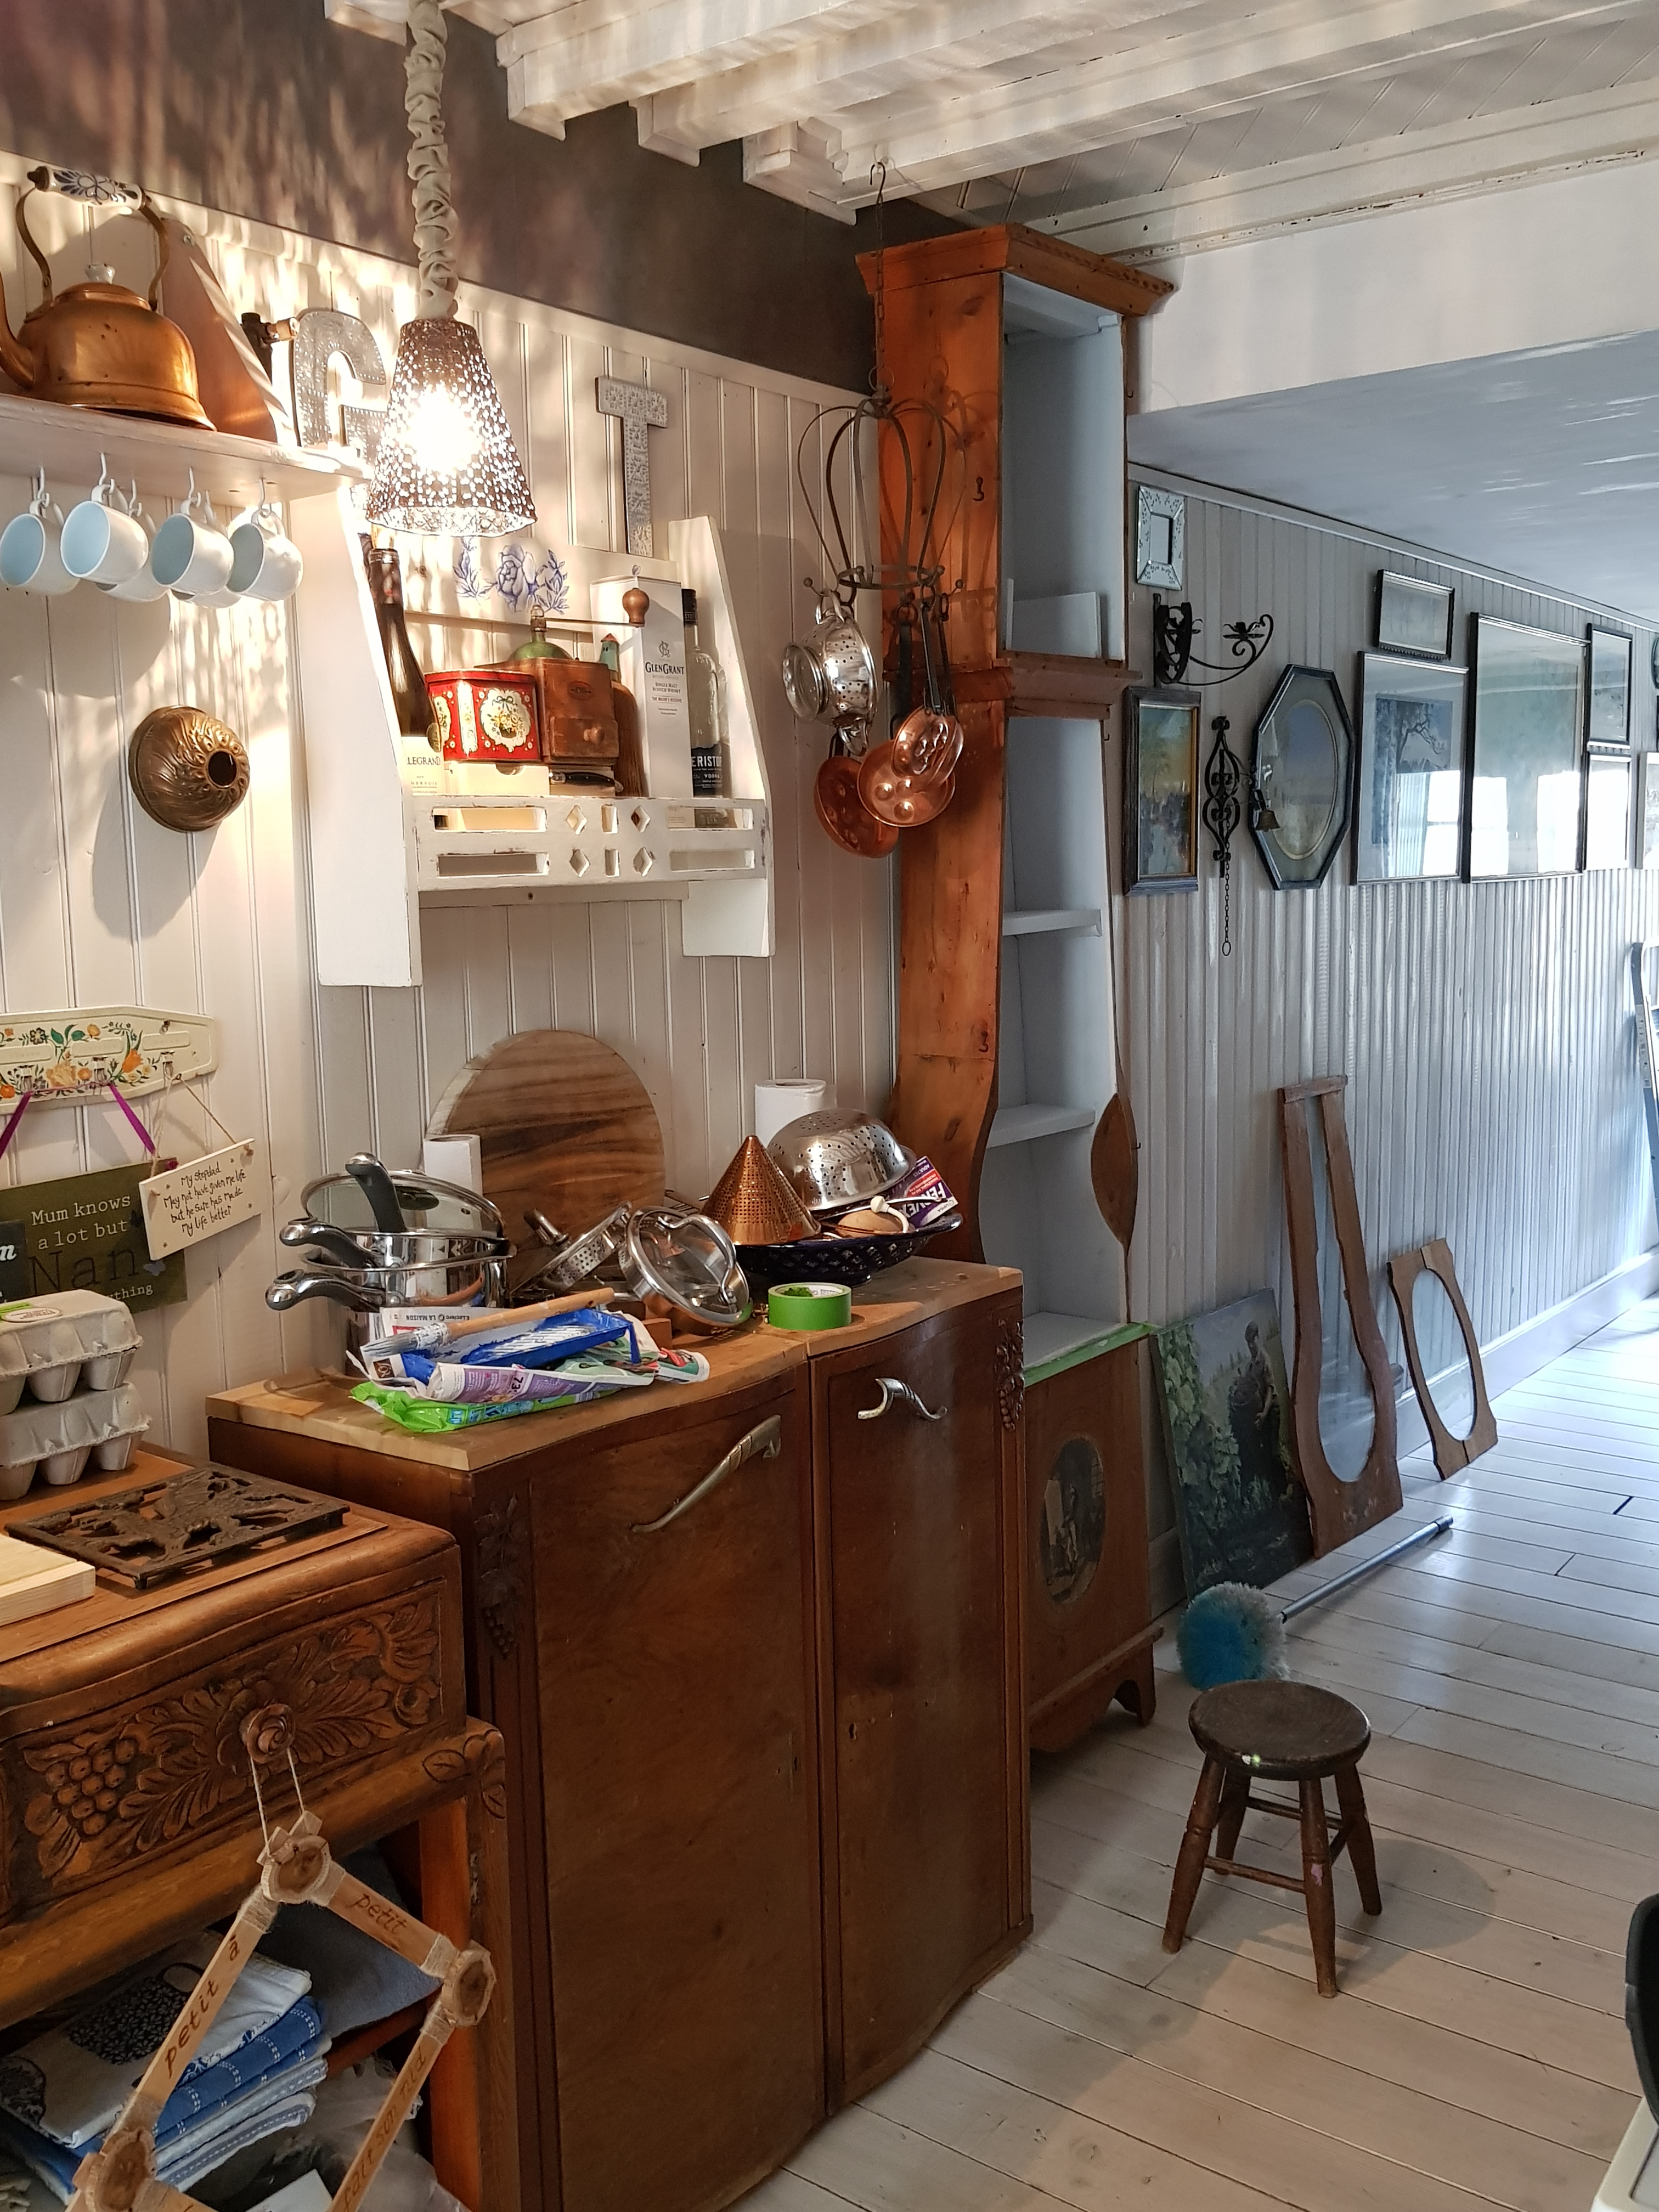
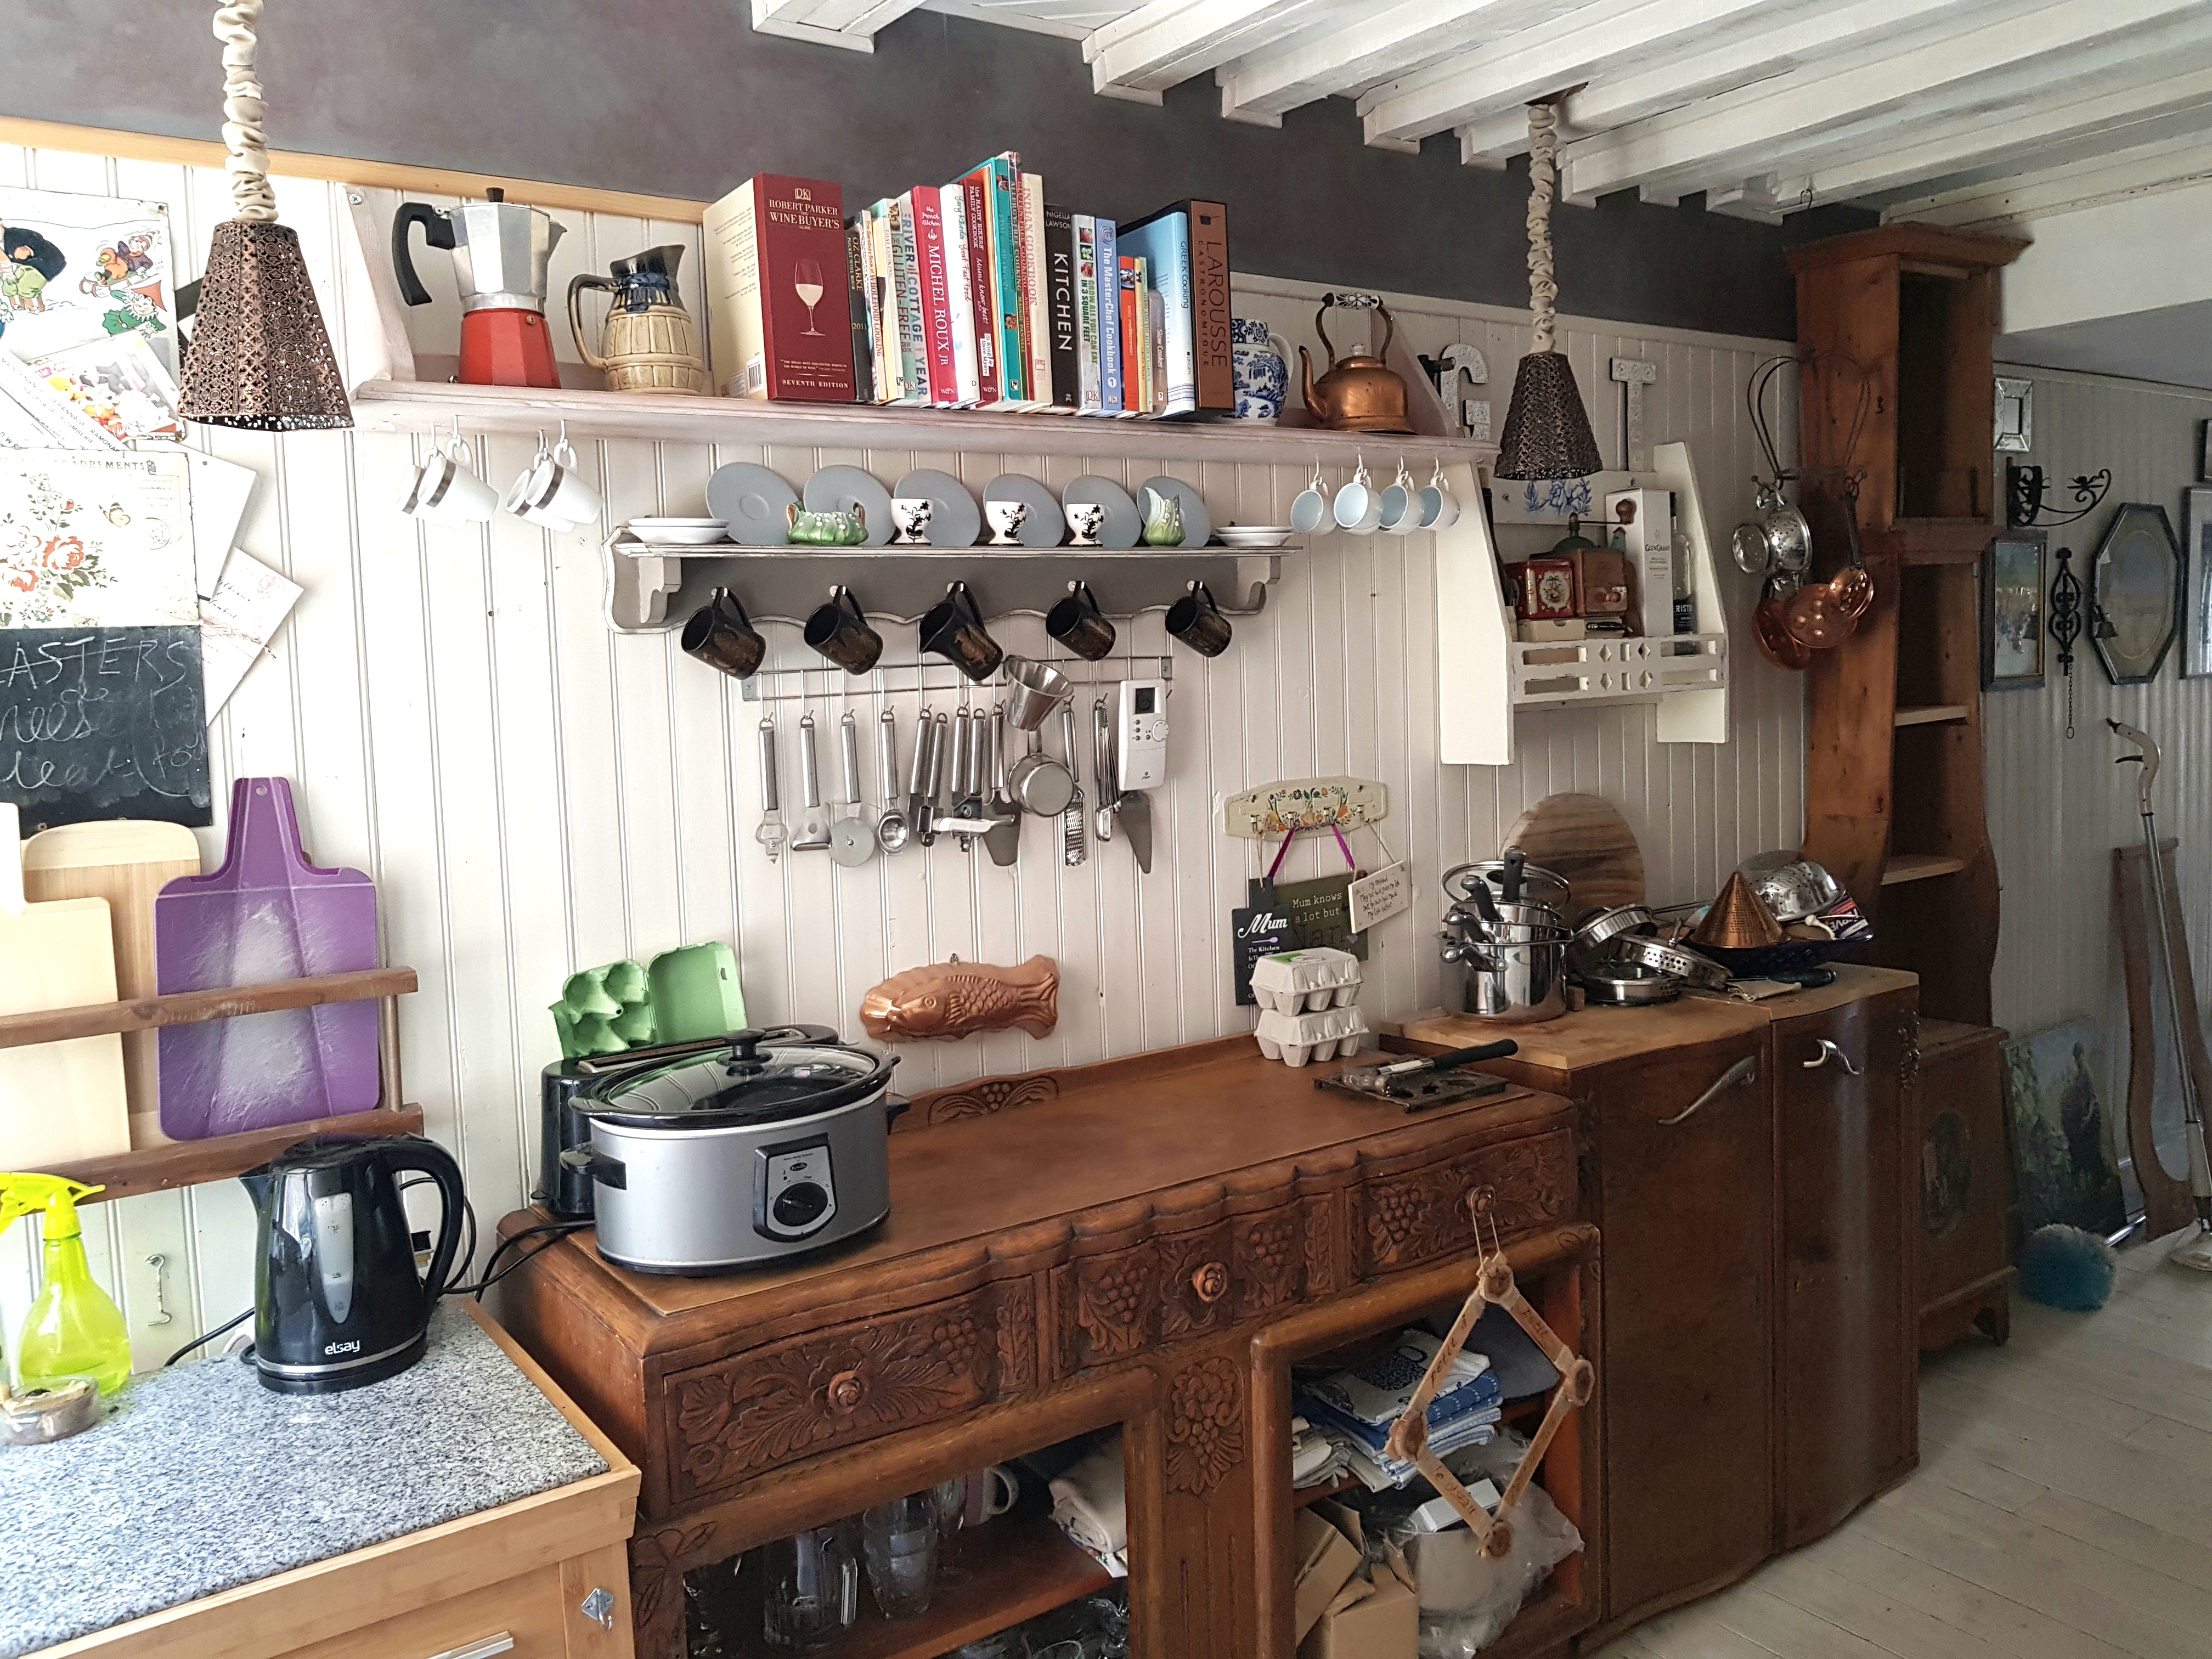
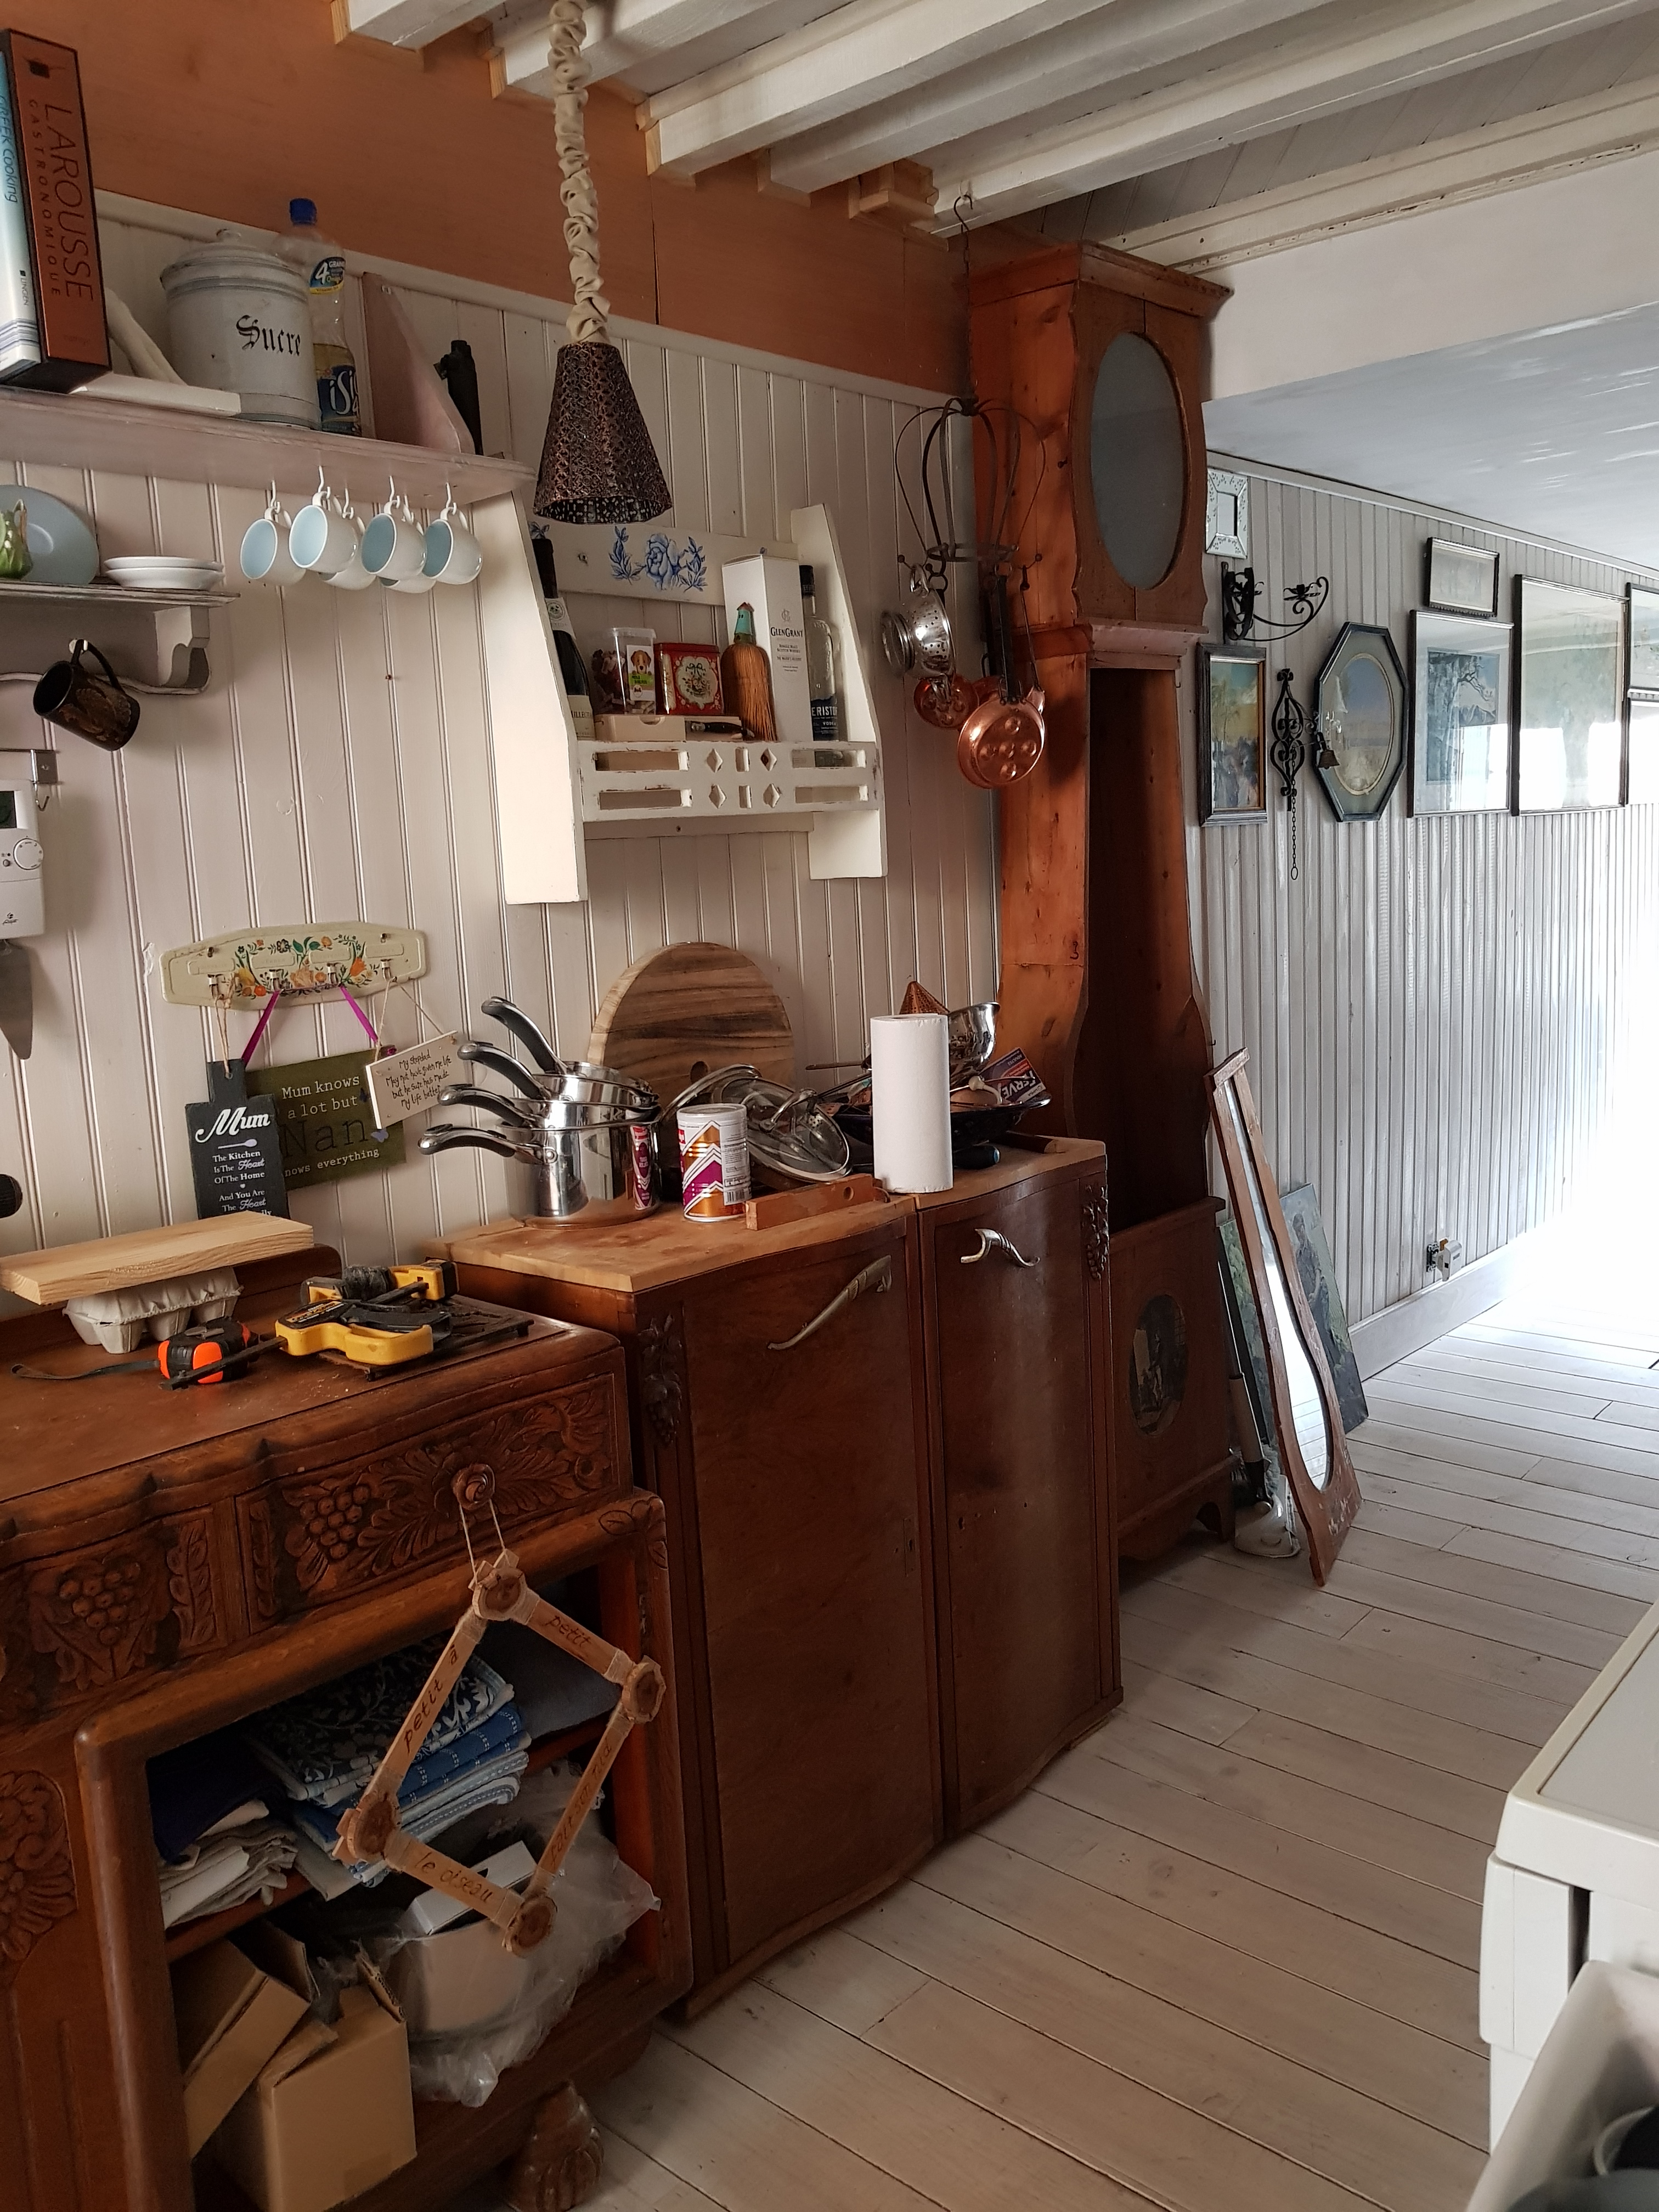
Kitchen ceiling finished, this wall almost finished.
Brackets to mount under the little white painted wall cabinet
Trolley needs new feet to line up with other surfaces
Art Nouveau tiled splashback to go up
Smaller cupboard to paint
Inside of clock case to paint.
Everything will disappear from surfaces once other wall is finished.
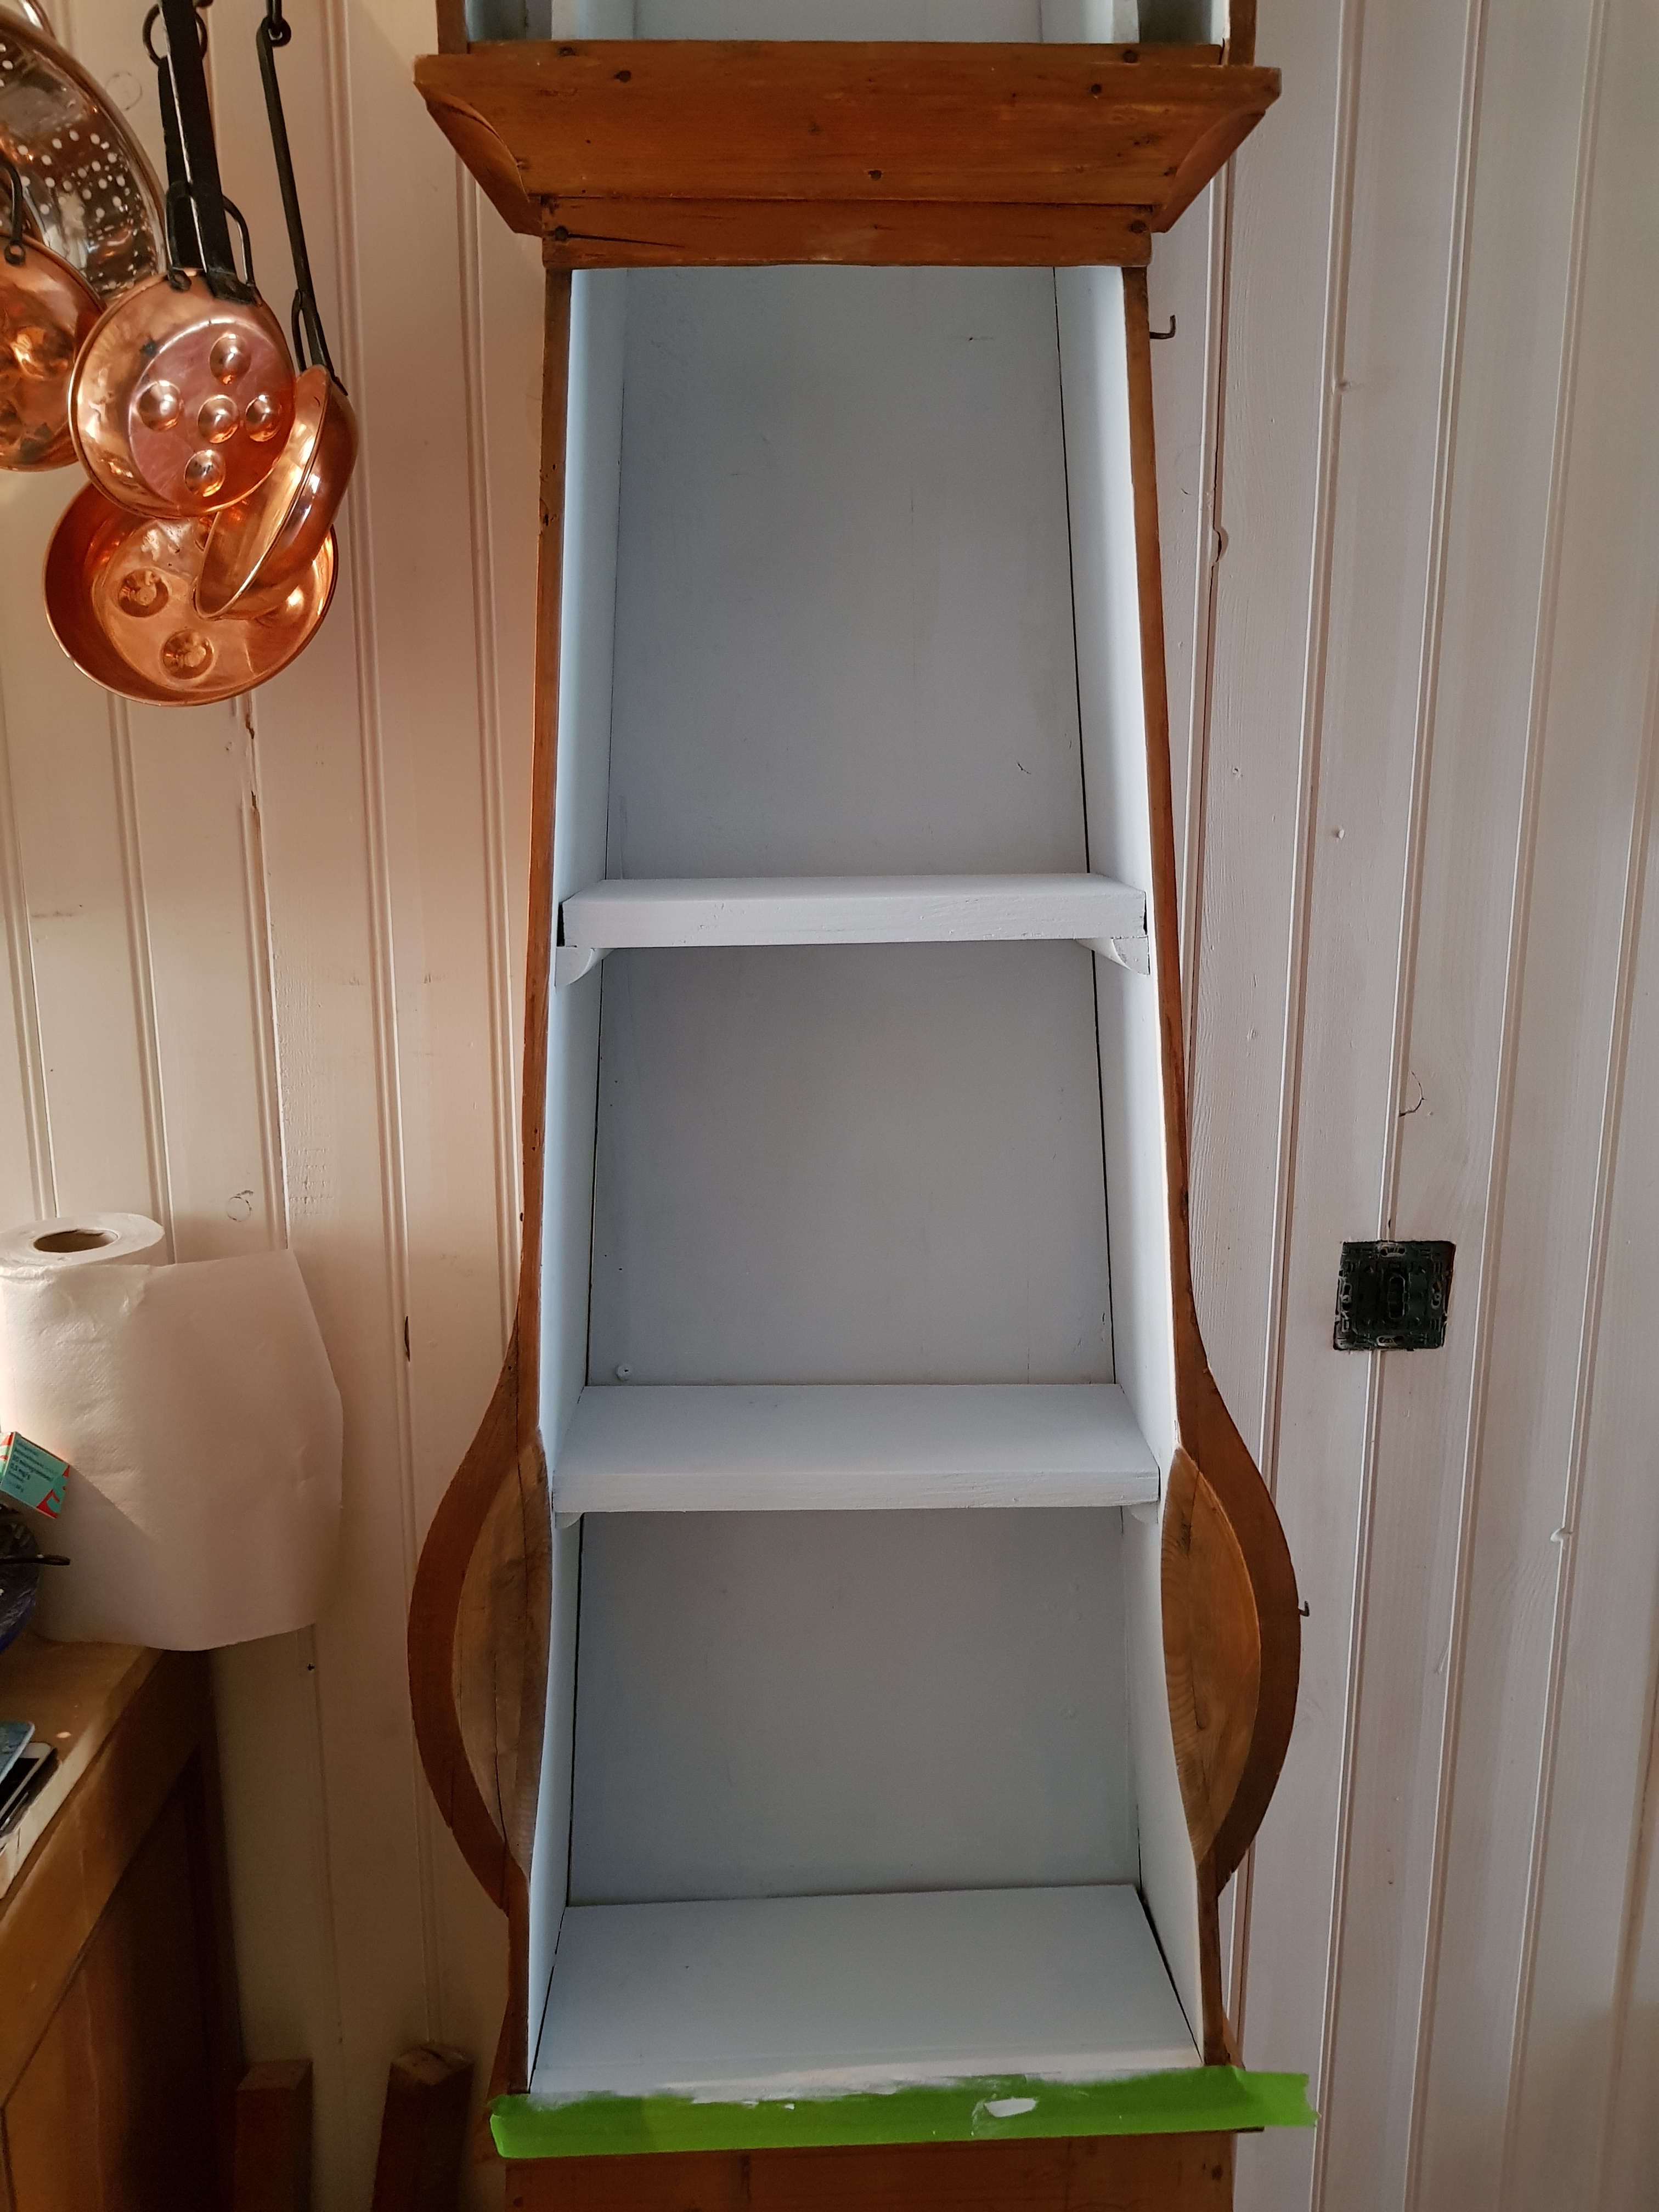
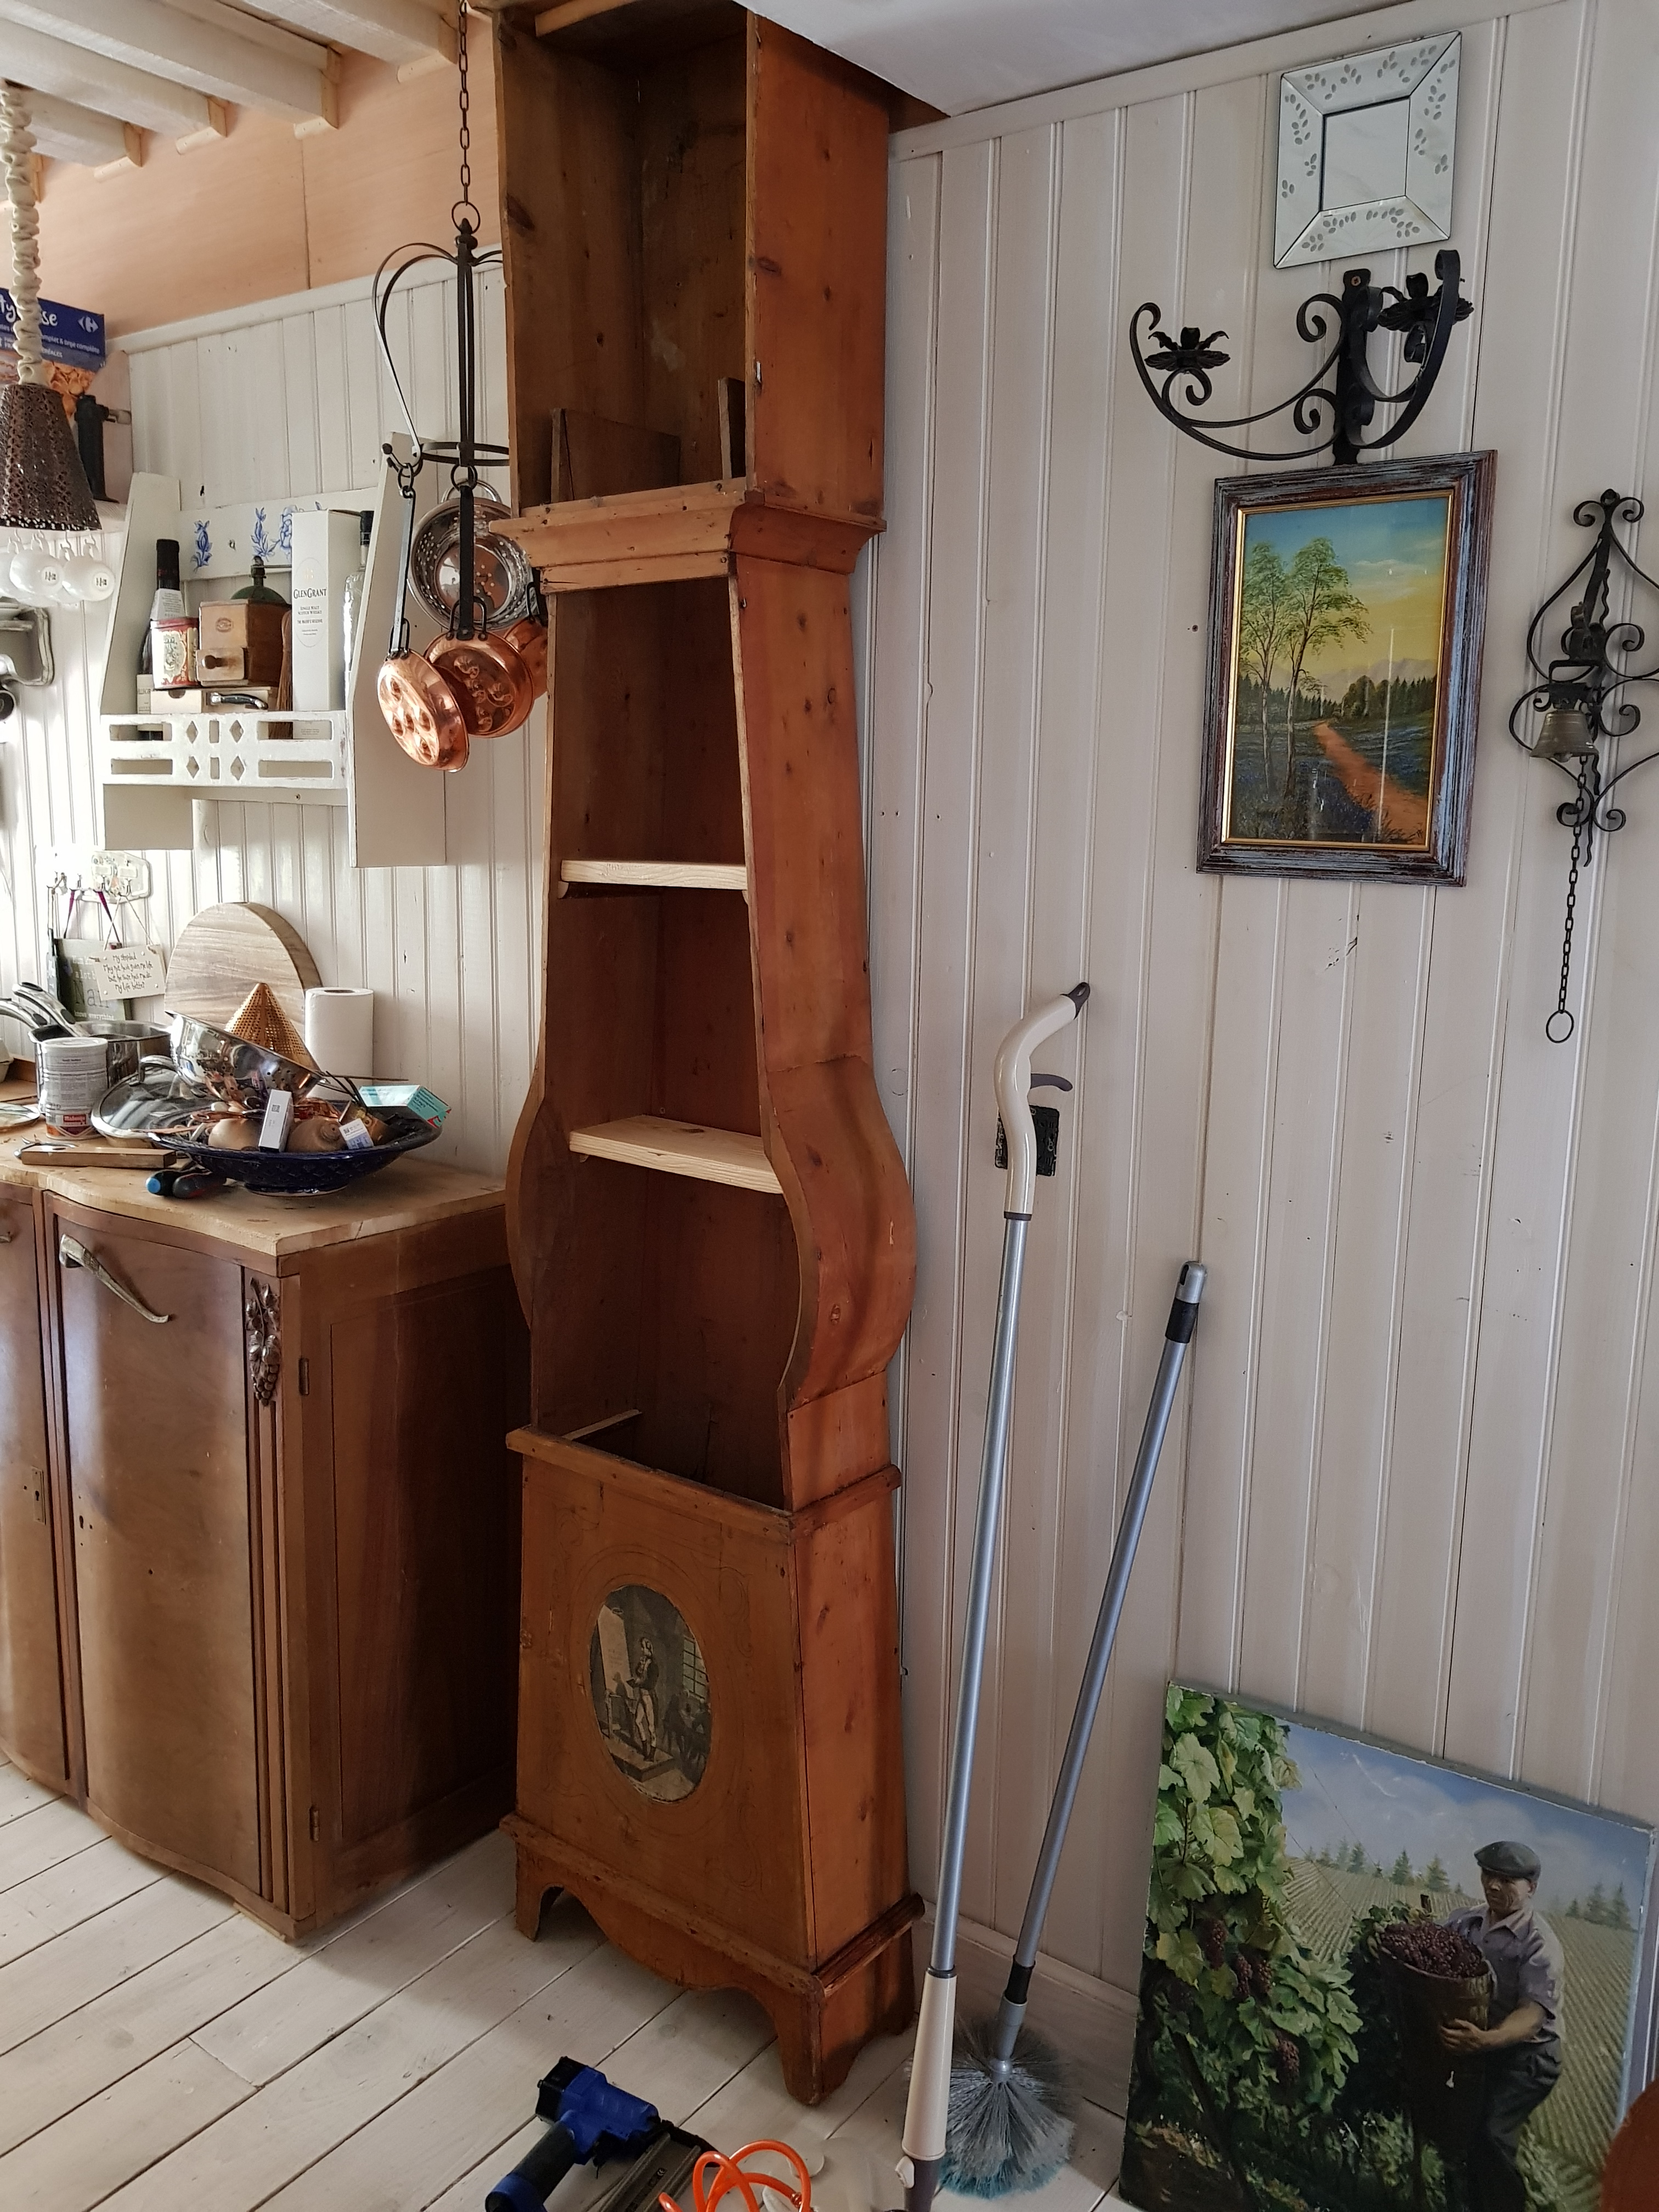
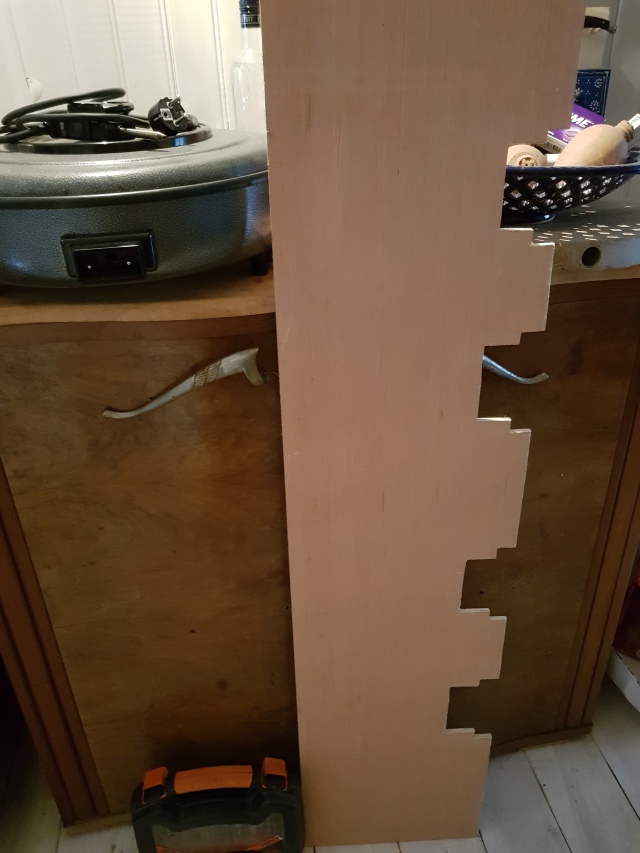
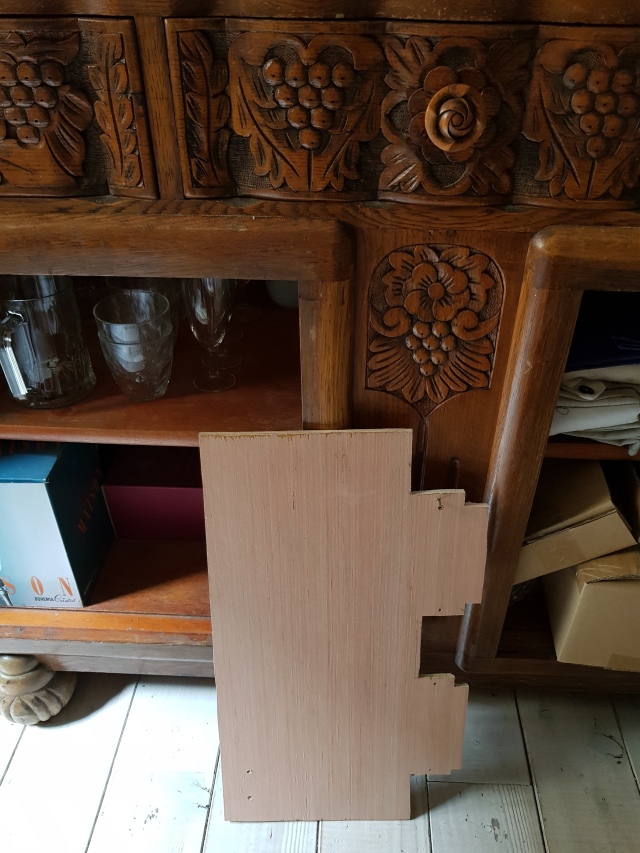
I never thought that I would see the day, but we are close to running out of wood stocks, both new and reycled!
Last offcuts of the floor boards we bought for the kitchen diner are being trimmed down for shelves in the clock case.
No one, but no one, could possible say that we haven’t put absolutely everything into this house…..
So, now Trev has finished panelling in the new wiring in the kitchen, I can fill, paint and finish this wall and the ceiling.
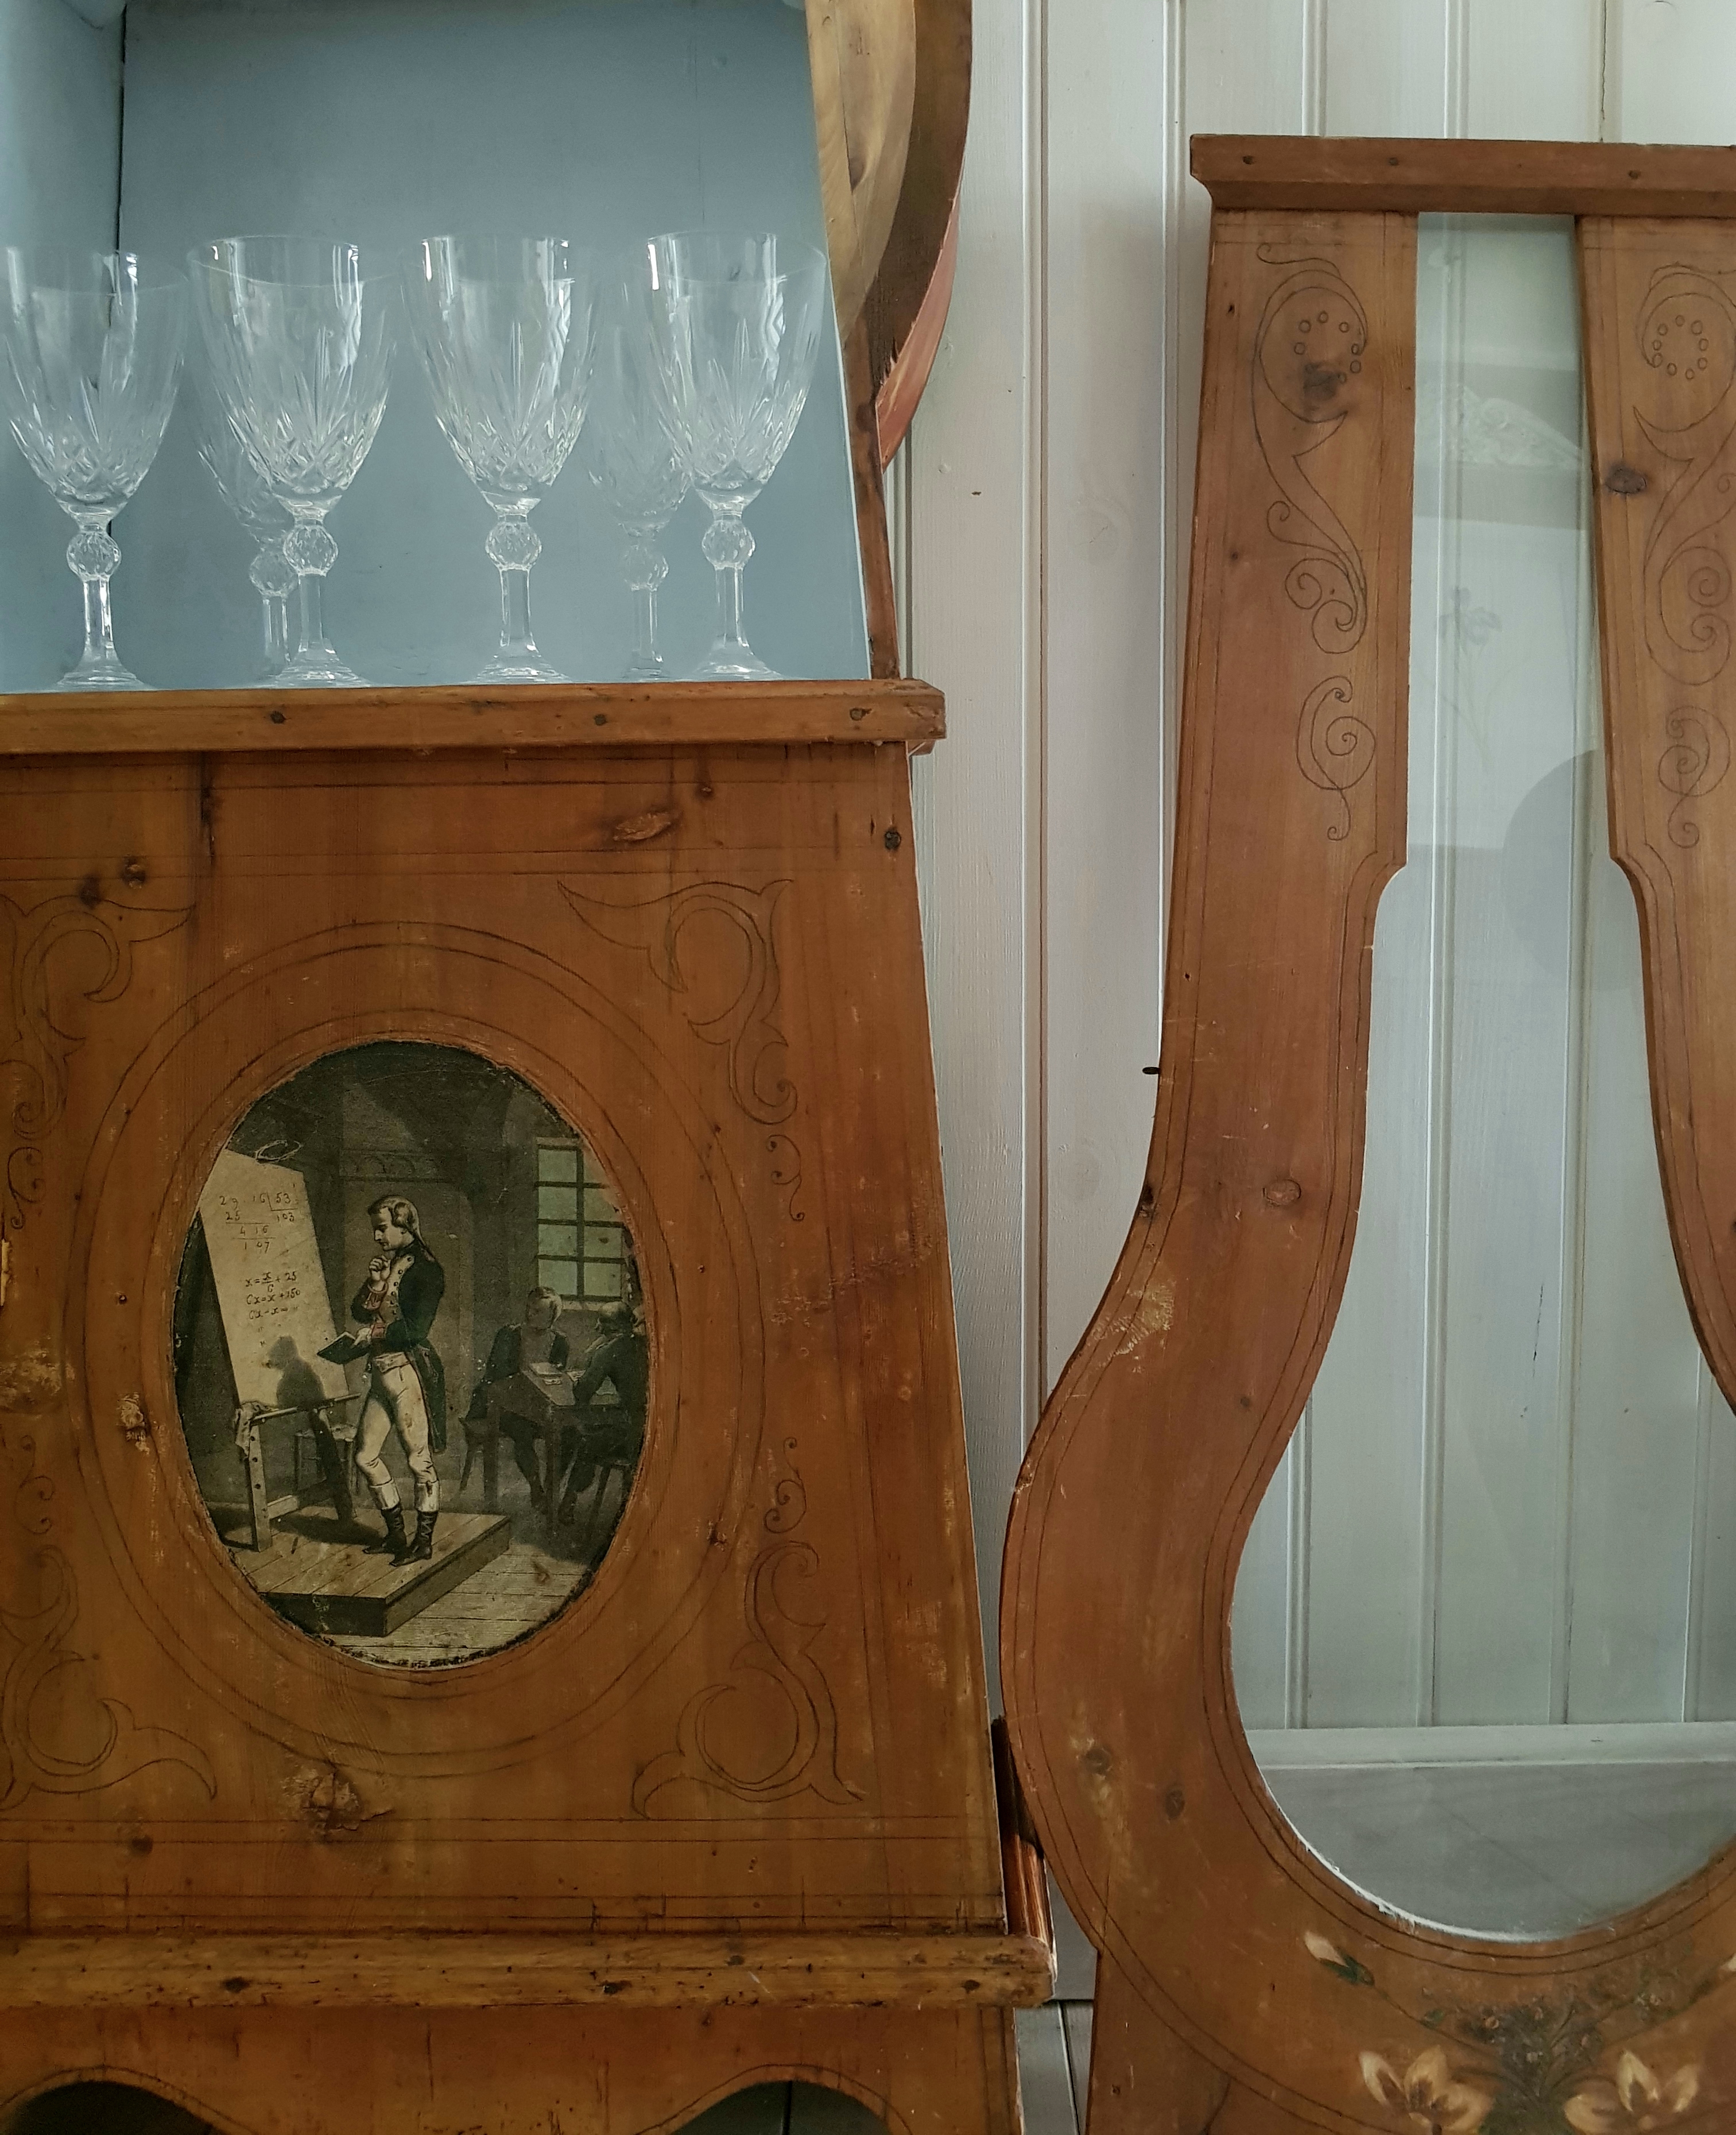
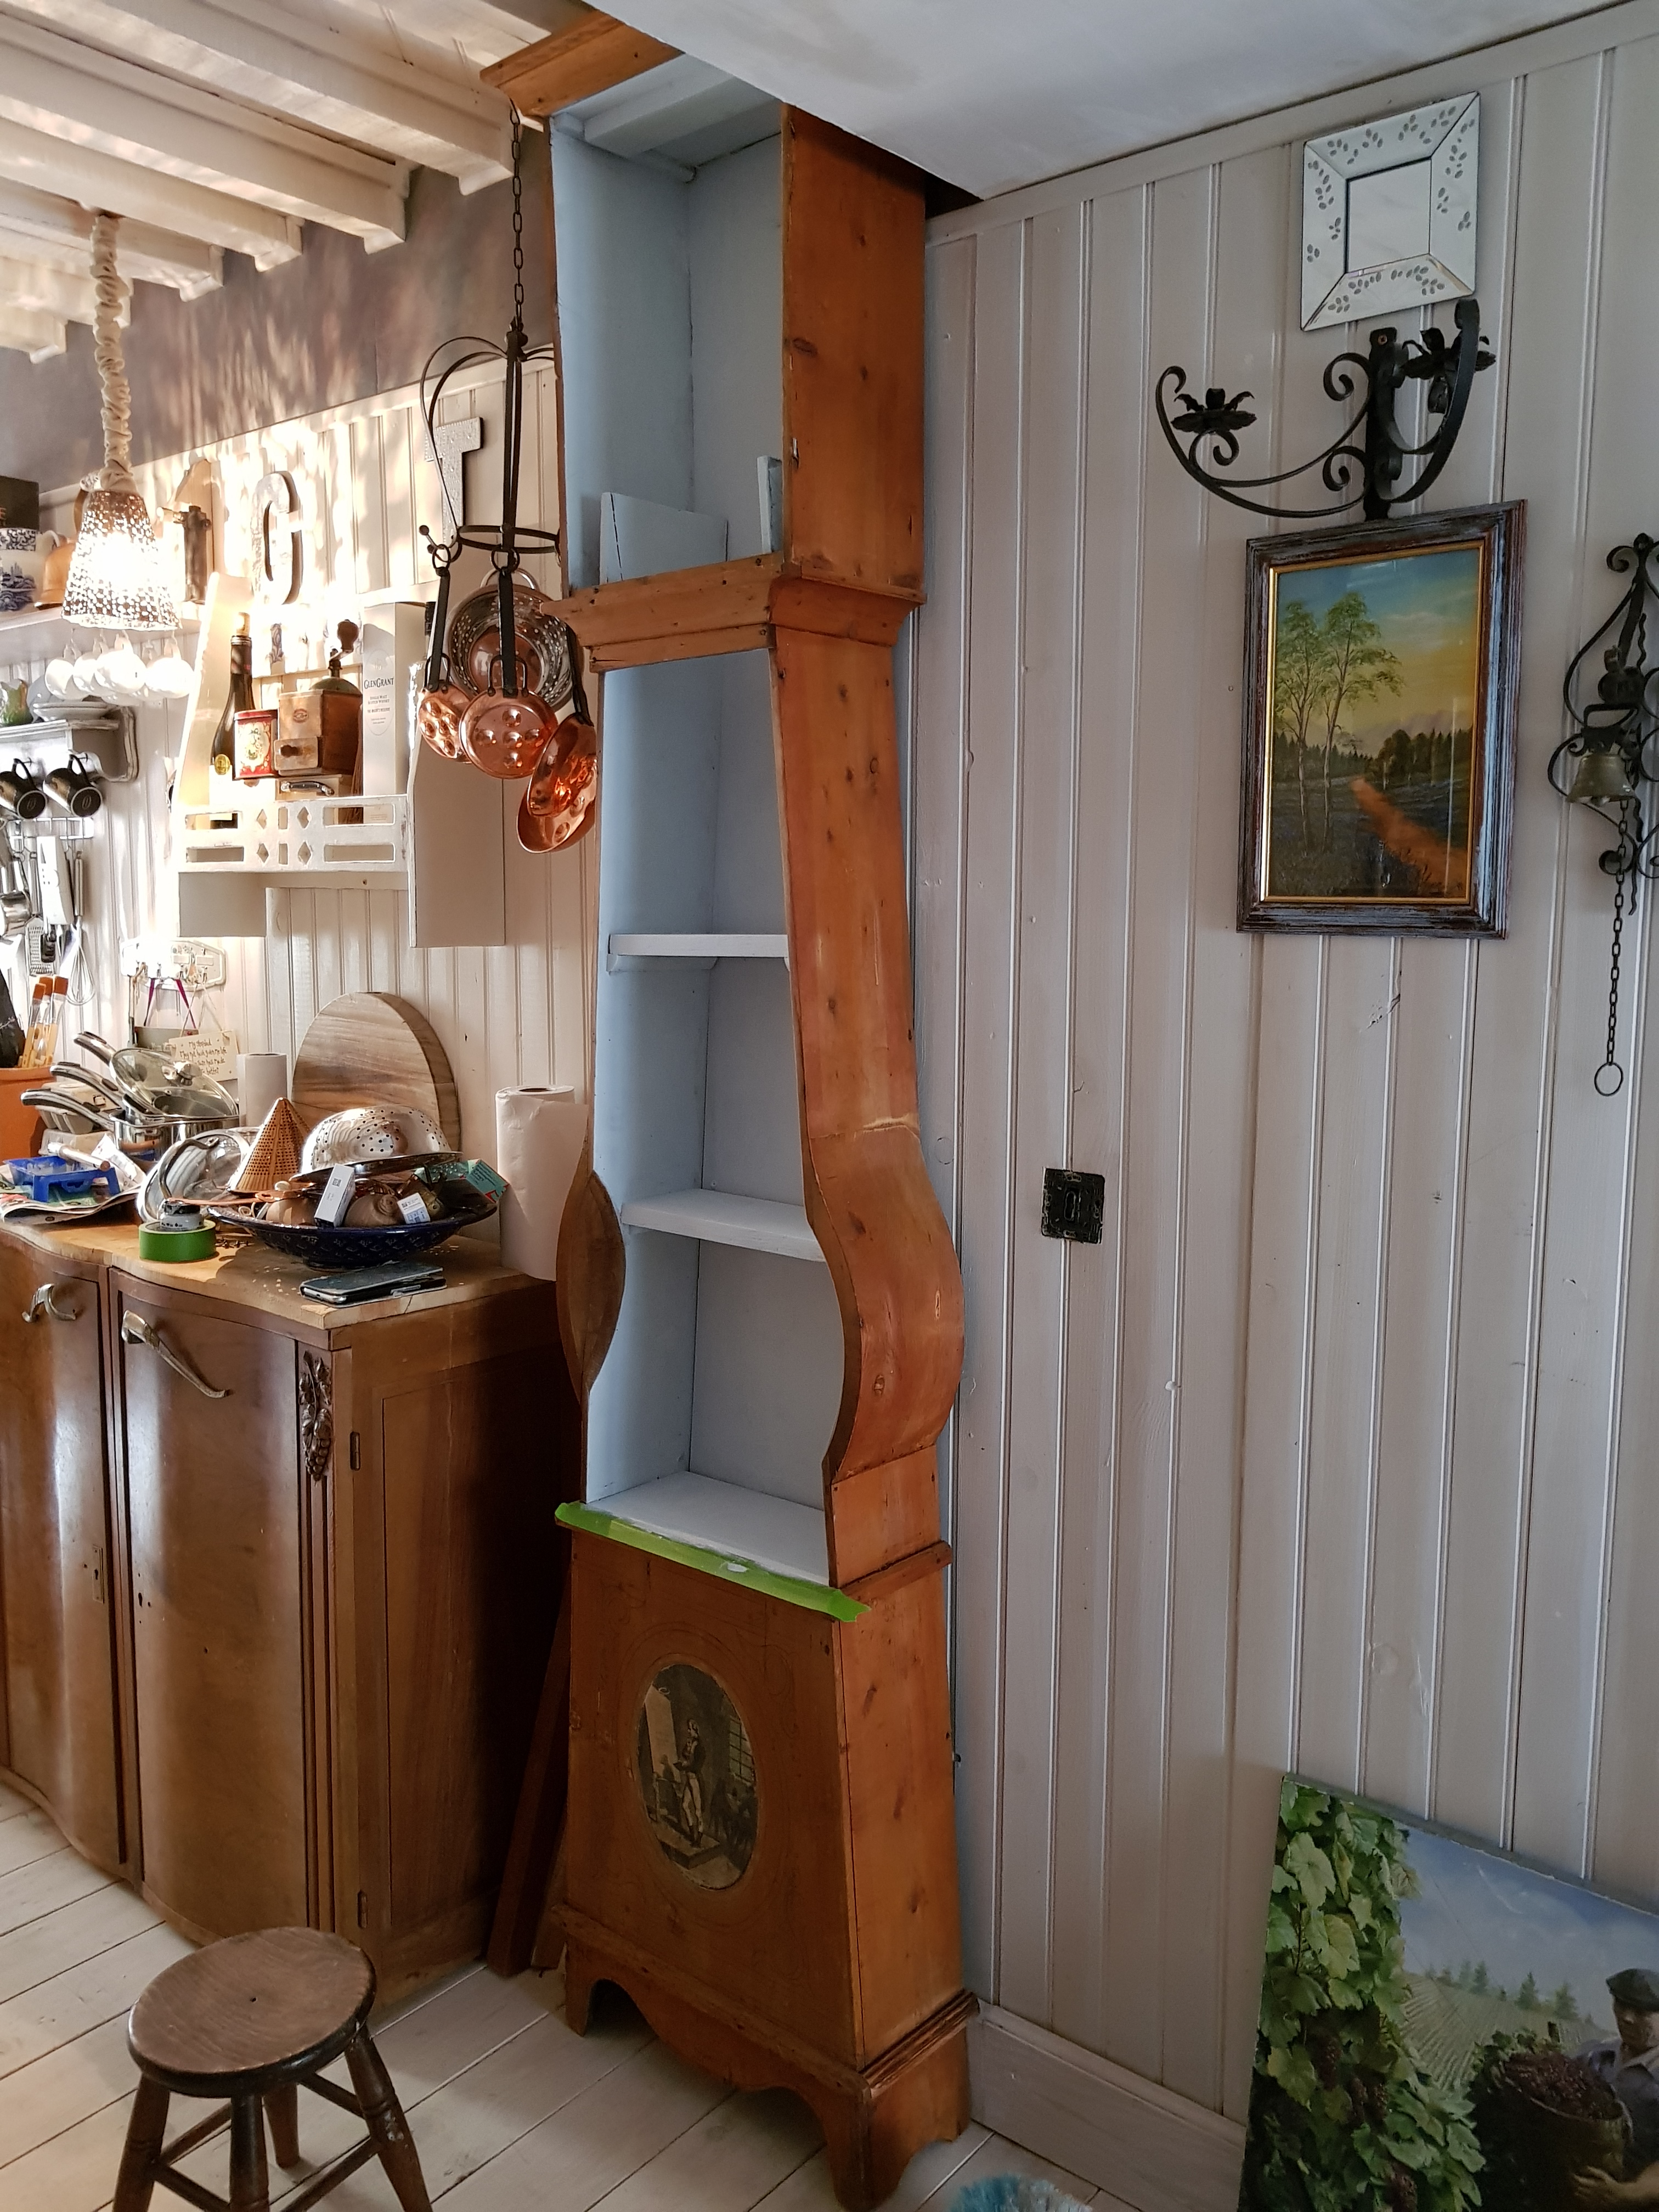
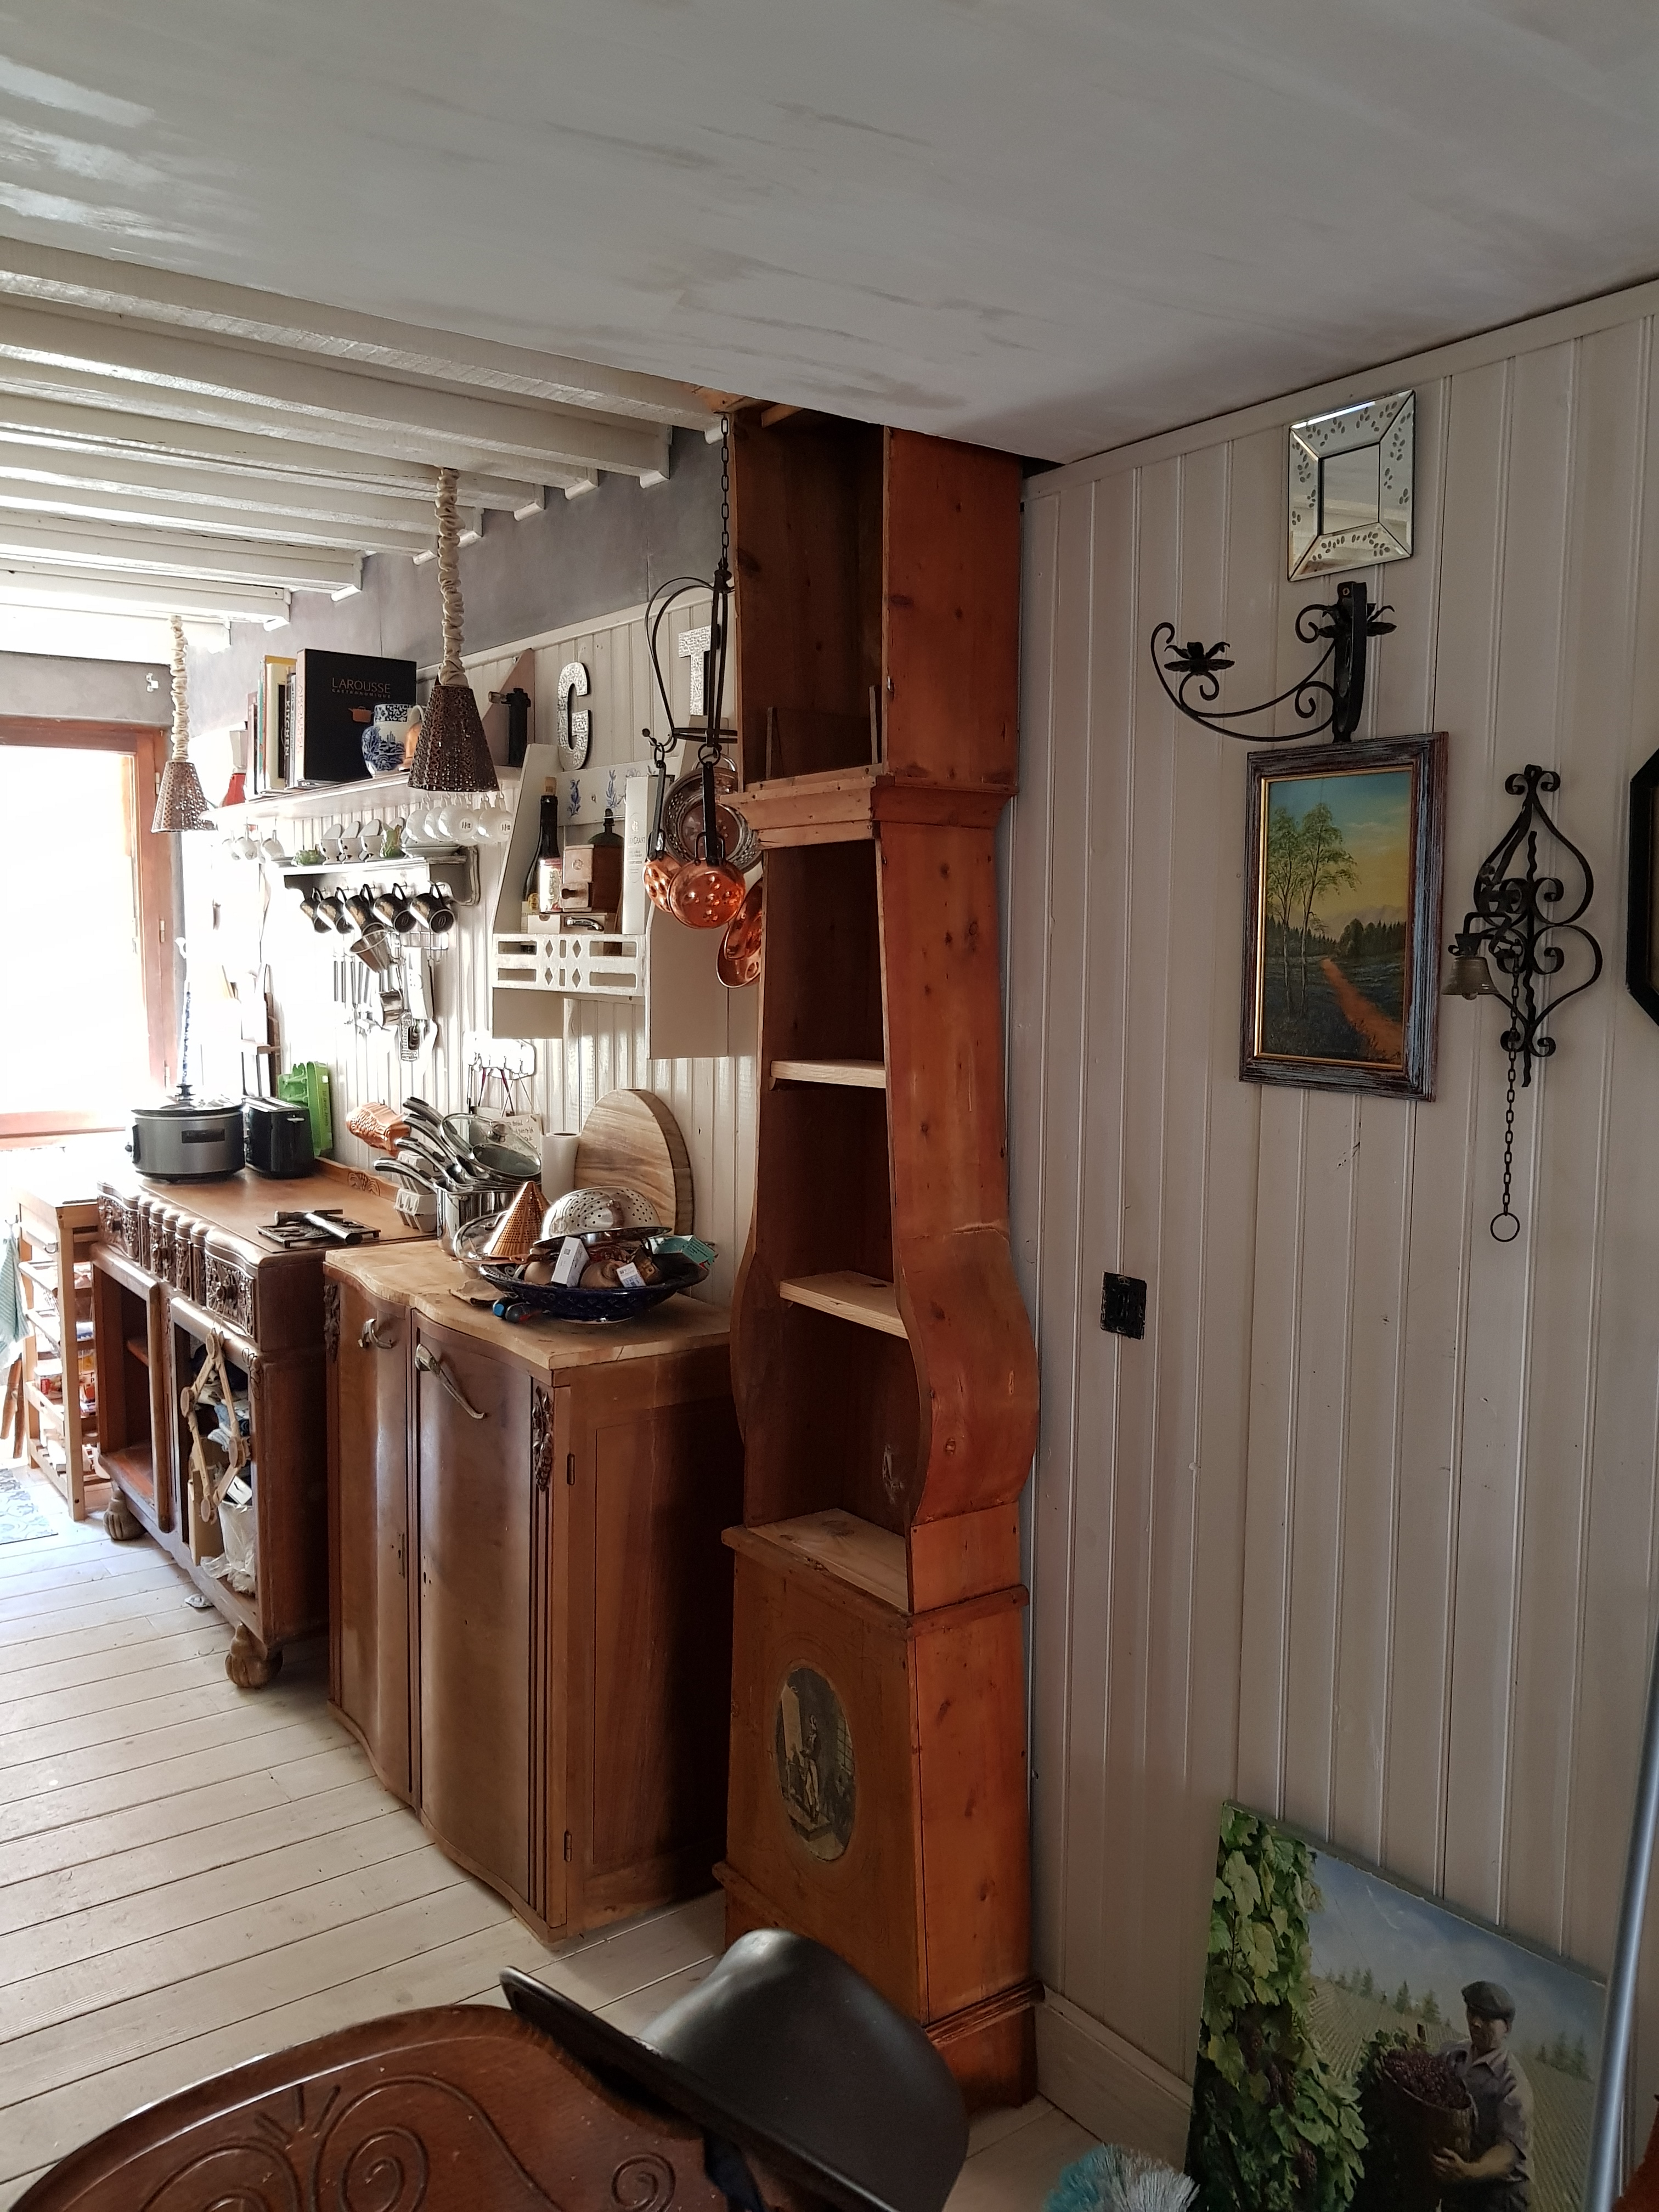
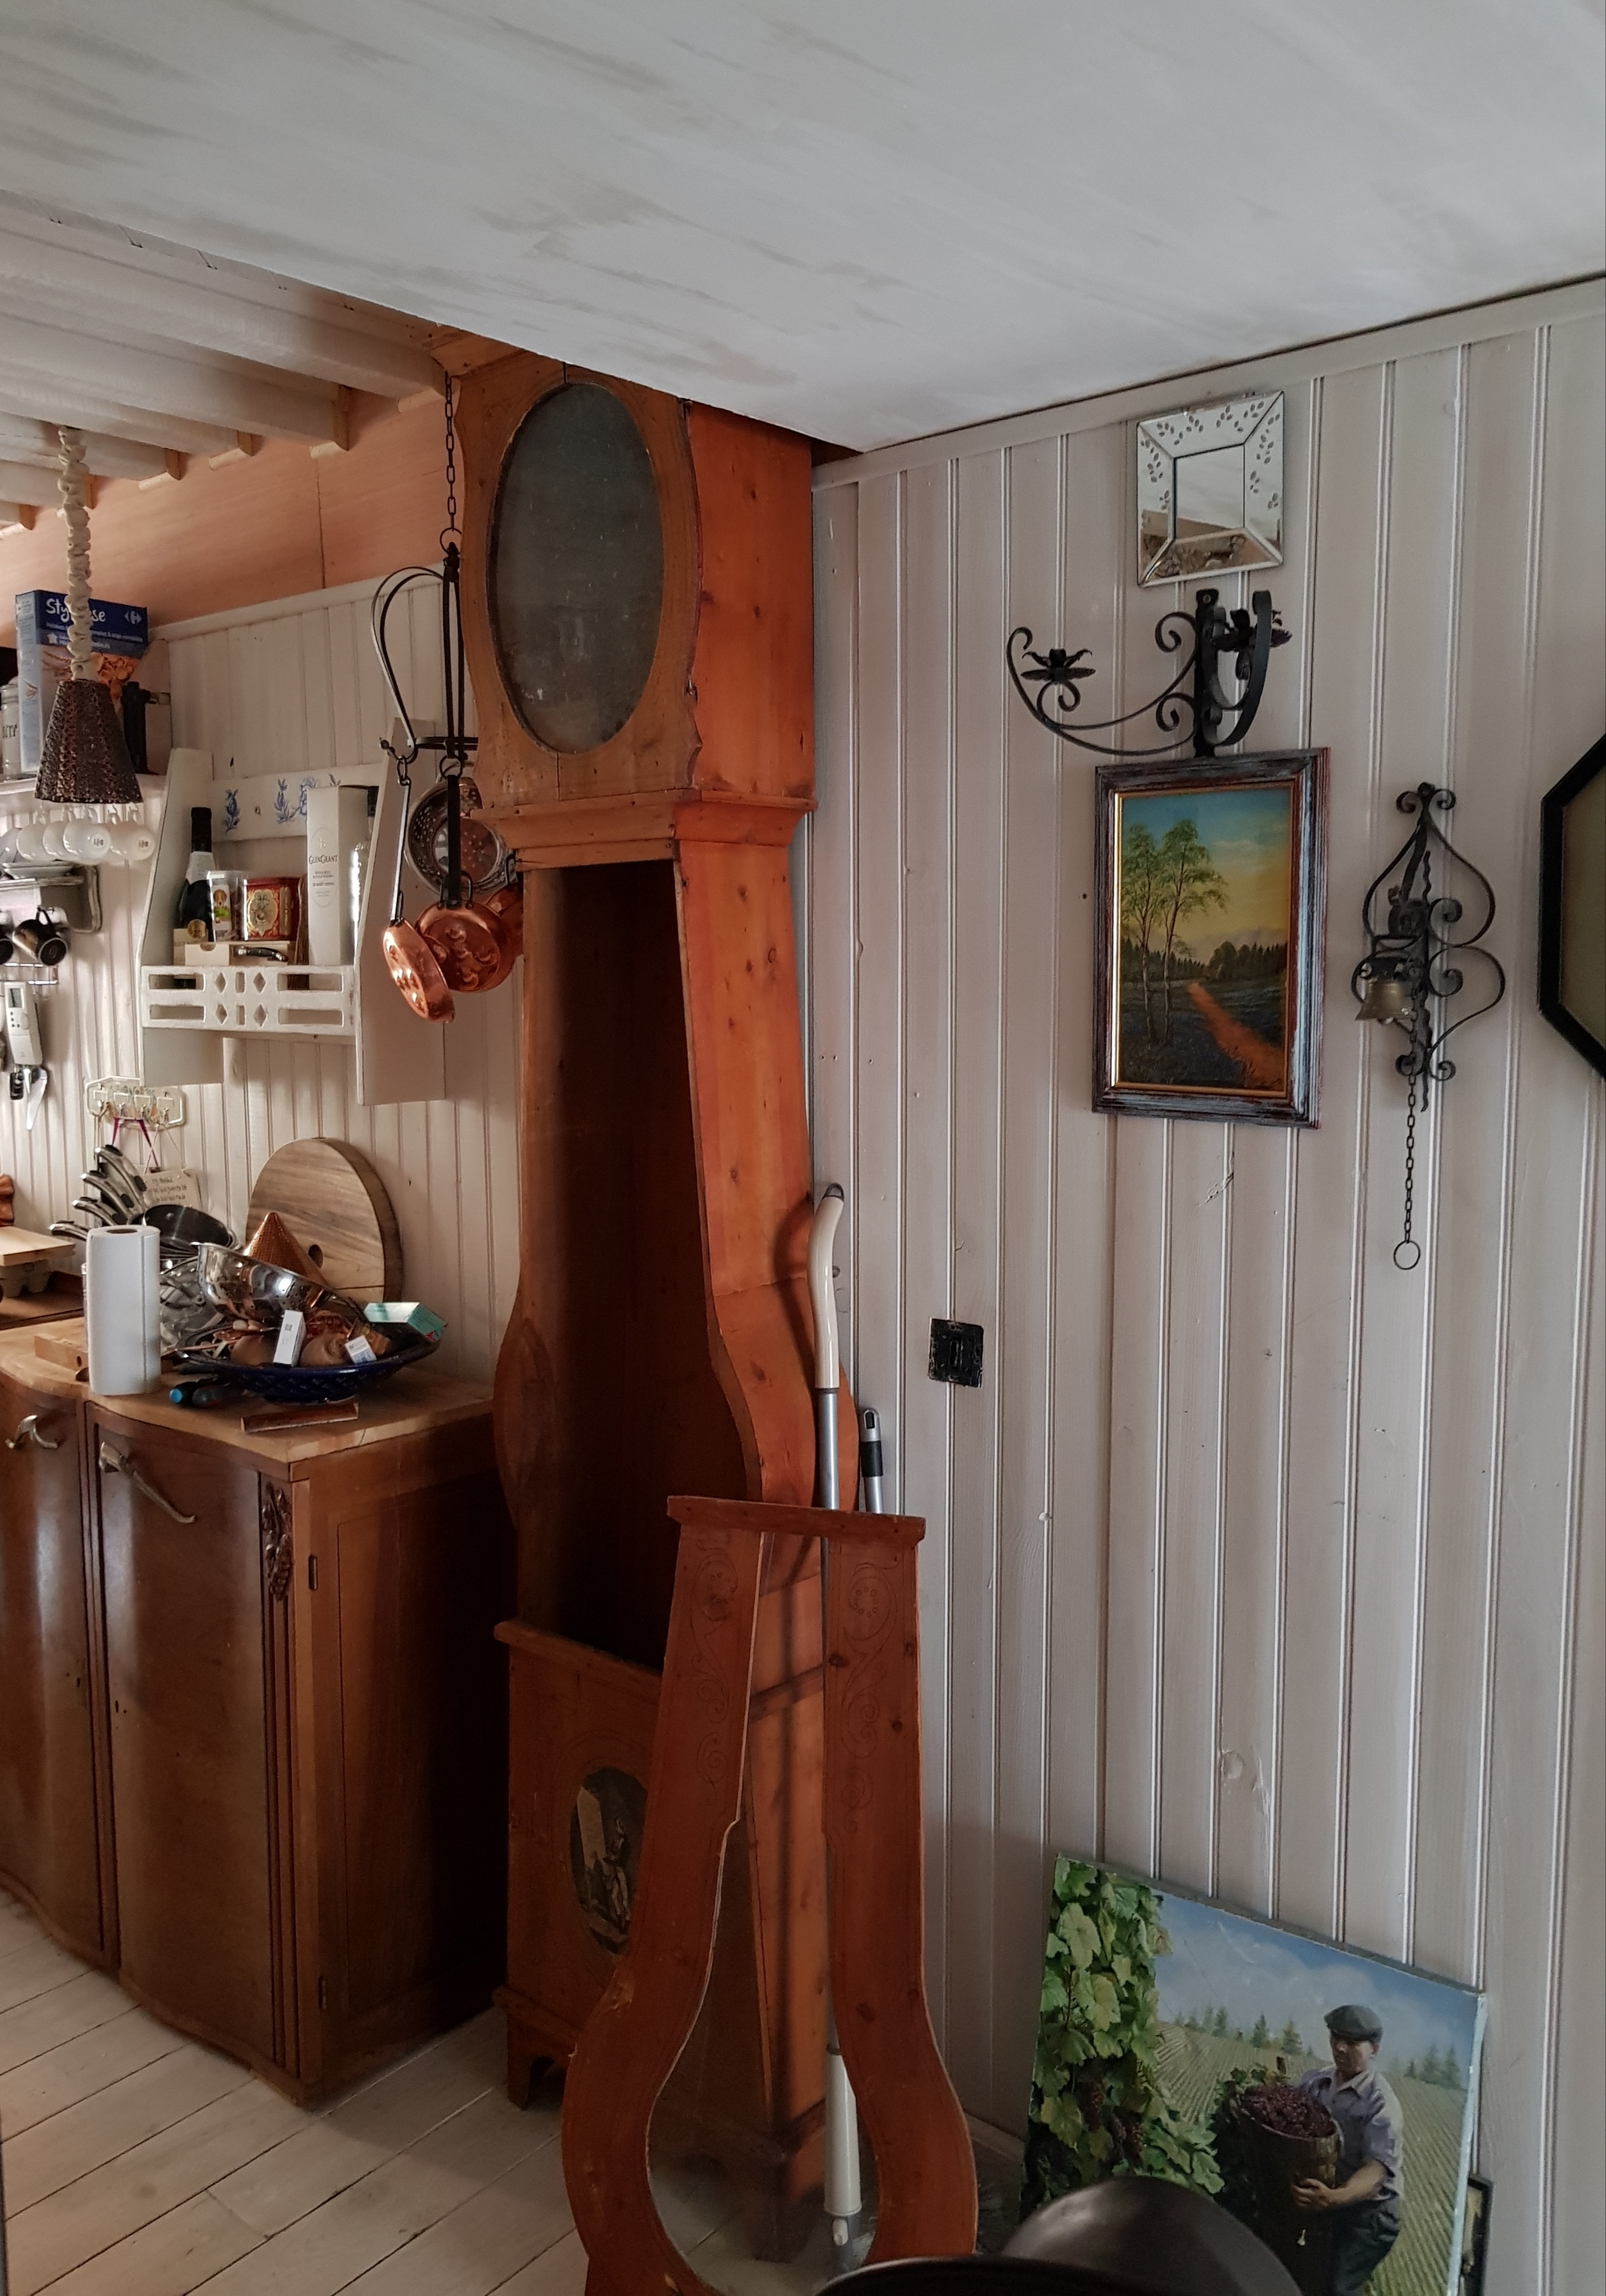
My Unfitted French Kitchen story continues on this, the Wall of Worry ( put that into search box for a laugh!) with the addition of this long case comtoise clock case
Like my dining table, hand made and unfinished, but you all know that the look and the speculative back story is why I give these random pieces house room.
I have a very specific plan for this as critical, but decorative, storage in here.
The clock will have to come off again so I can paint, but at least all fixing points are set now and it will be stable for the first time since we bought it for very, very silly money at the Troc in Carcassonne .
So here is Trev, up a ladder once more, panelling in new electric feeds and junction box.
He only has to cut the 1 cm plywood to fit around the differently shaped beams, all with different sized spaces between.
And find a way of fixing the panels down around the tangle of wires.
How hard can that be????


Terrifying here in the village.
I never thought we would have to barricade ourselves against floods in our street.
The river Aude is now 20 feet away from our door, with a strong possibility of water levels rising a further two-three metres today.
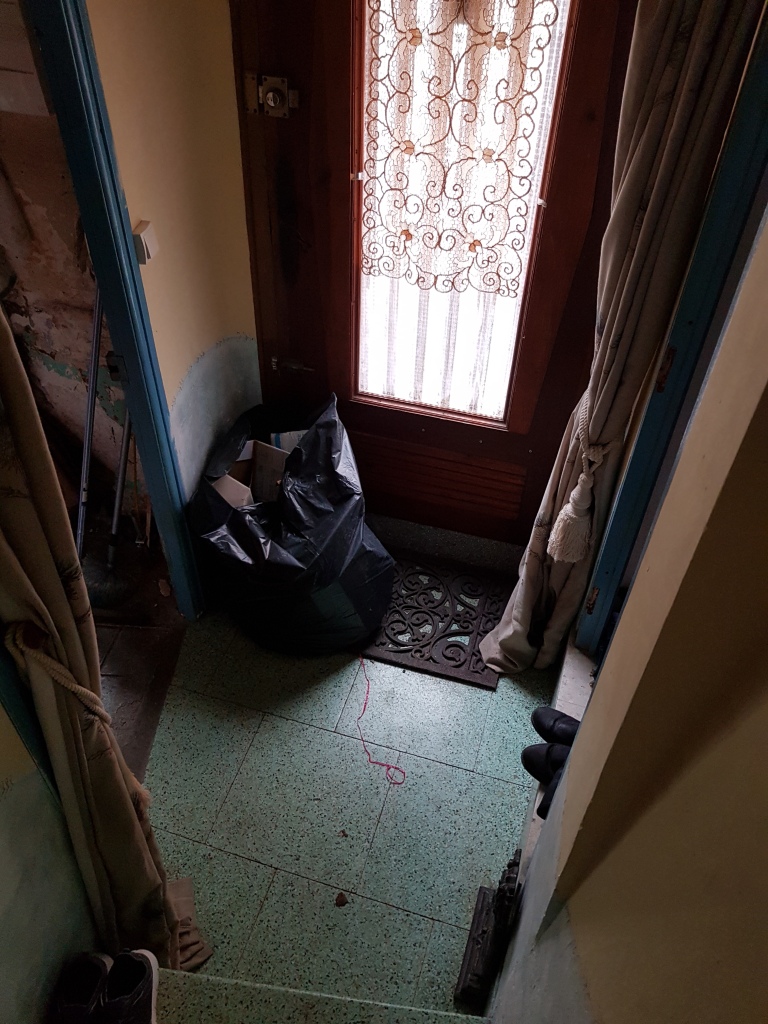
It has taken me over a decade, but I have now resolved my last issue with our hovel.
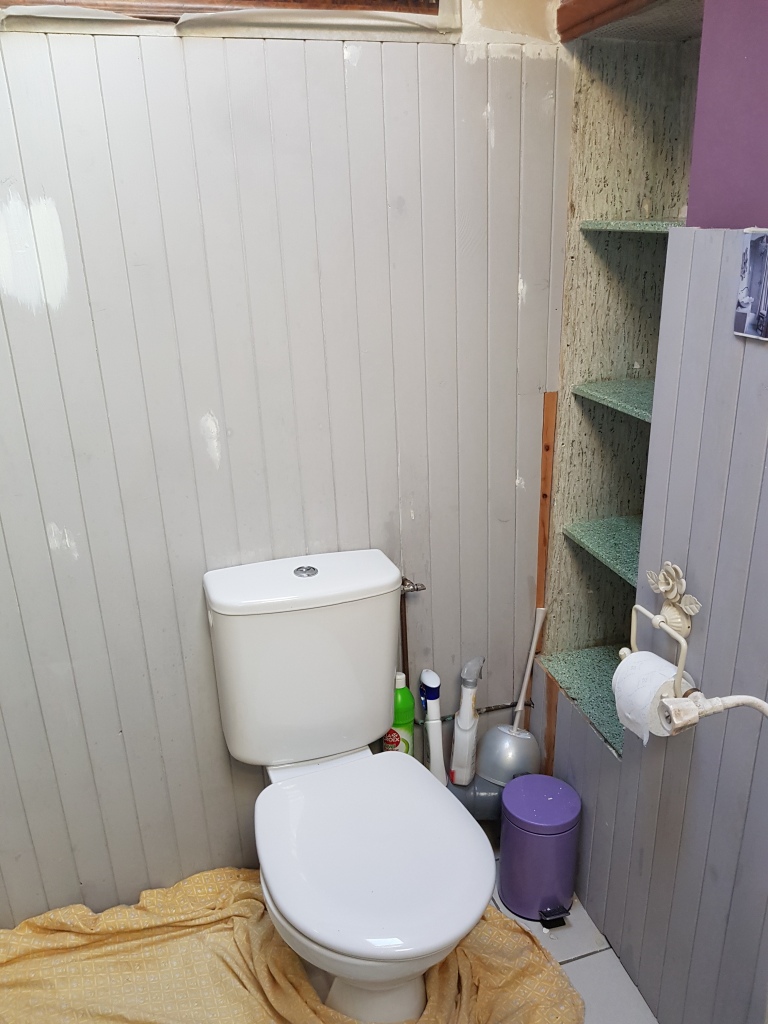
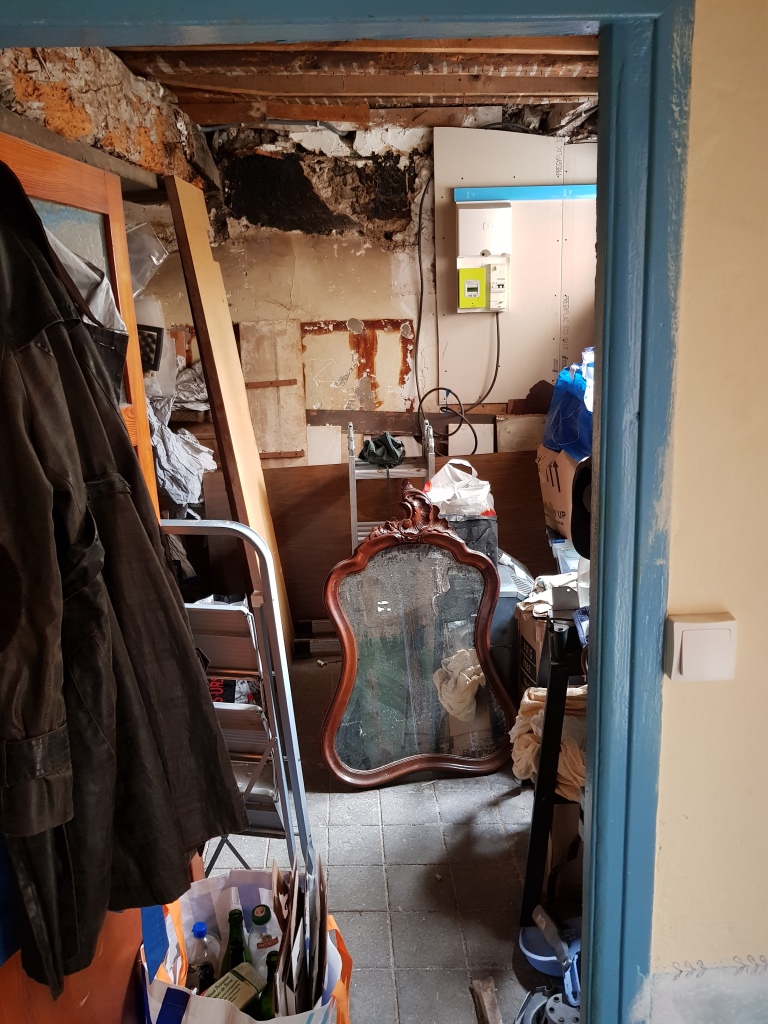
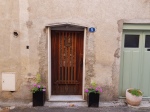
I have never been happy with our ridiculously tiny entrance hall, photo 1. If we had a cat, there would be no room to swing it anyway.
So, taking a position with your back to the middle front door (we have three entrances) looking right we have the workshop. With a wide doorway into it.
If we run a new wall across under the “Big Wormy Beam “(put this into search box on right and laugh) you can see in photo 2, top left, and put in a large window in that for natural daylight from the front of the house and a new door sharp left into the remaining space, Trev will have a workshop sized as photo 3.
Perfectly adequate.
And I get 8-9 square metres of new entrance hall/boot and dog lead and coat store/indoor log store.
So, Trev will build all this. Well, he will when he has fully absorbed my latest mad plan.
Then I have to decorate and buy another vintage light fitting, some decorative doors to cover the new electric meters, a bench seat to sit on whilst we put on our dog-walking boots……. What a shame , I am forced to do MORE shopping for more old stuff to fill this unexpected new space.
So, why didn’t we think of this before?
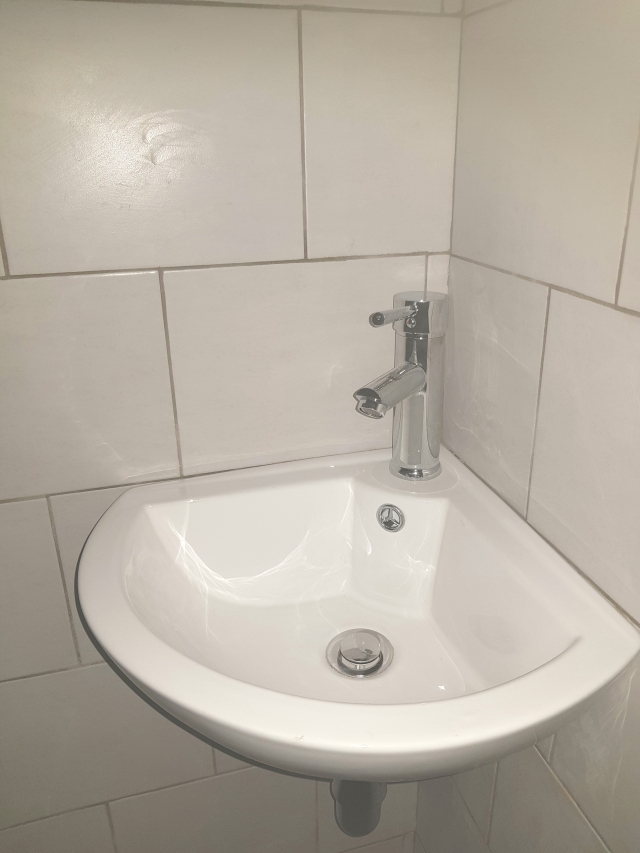
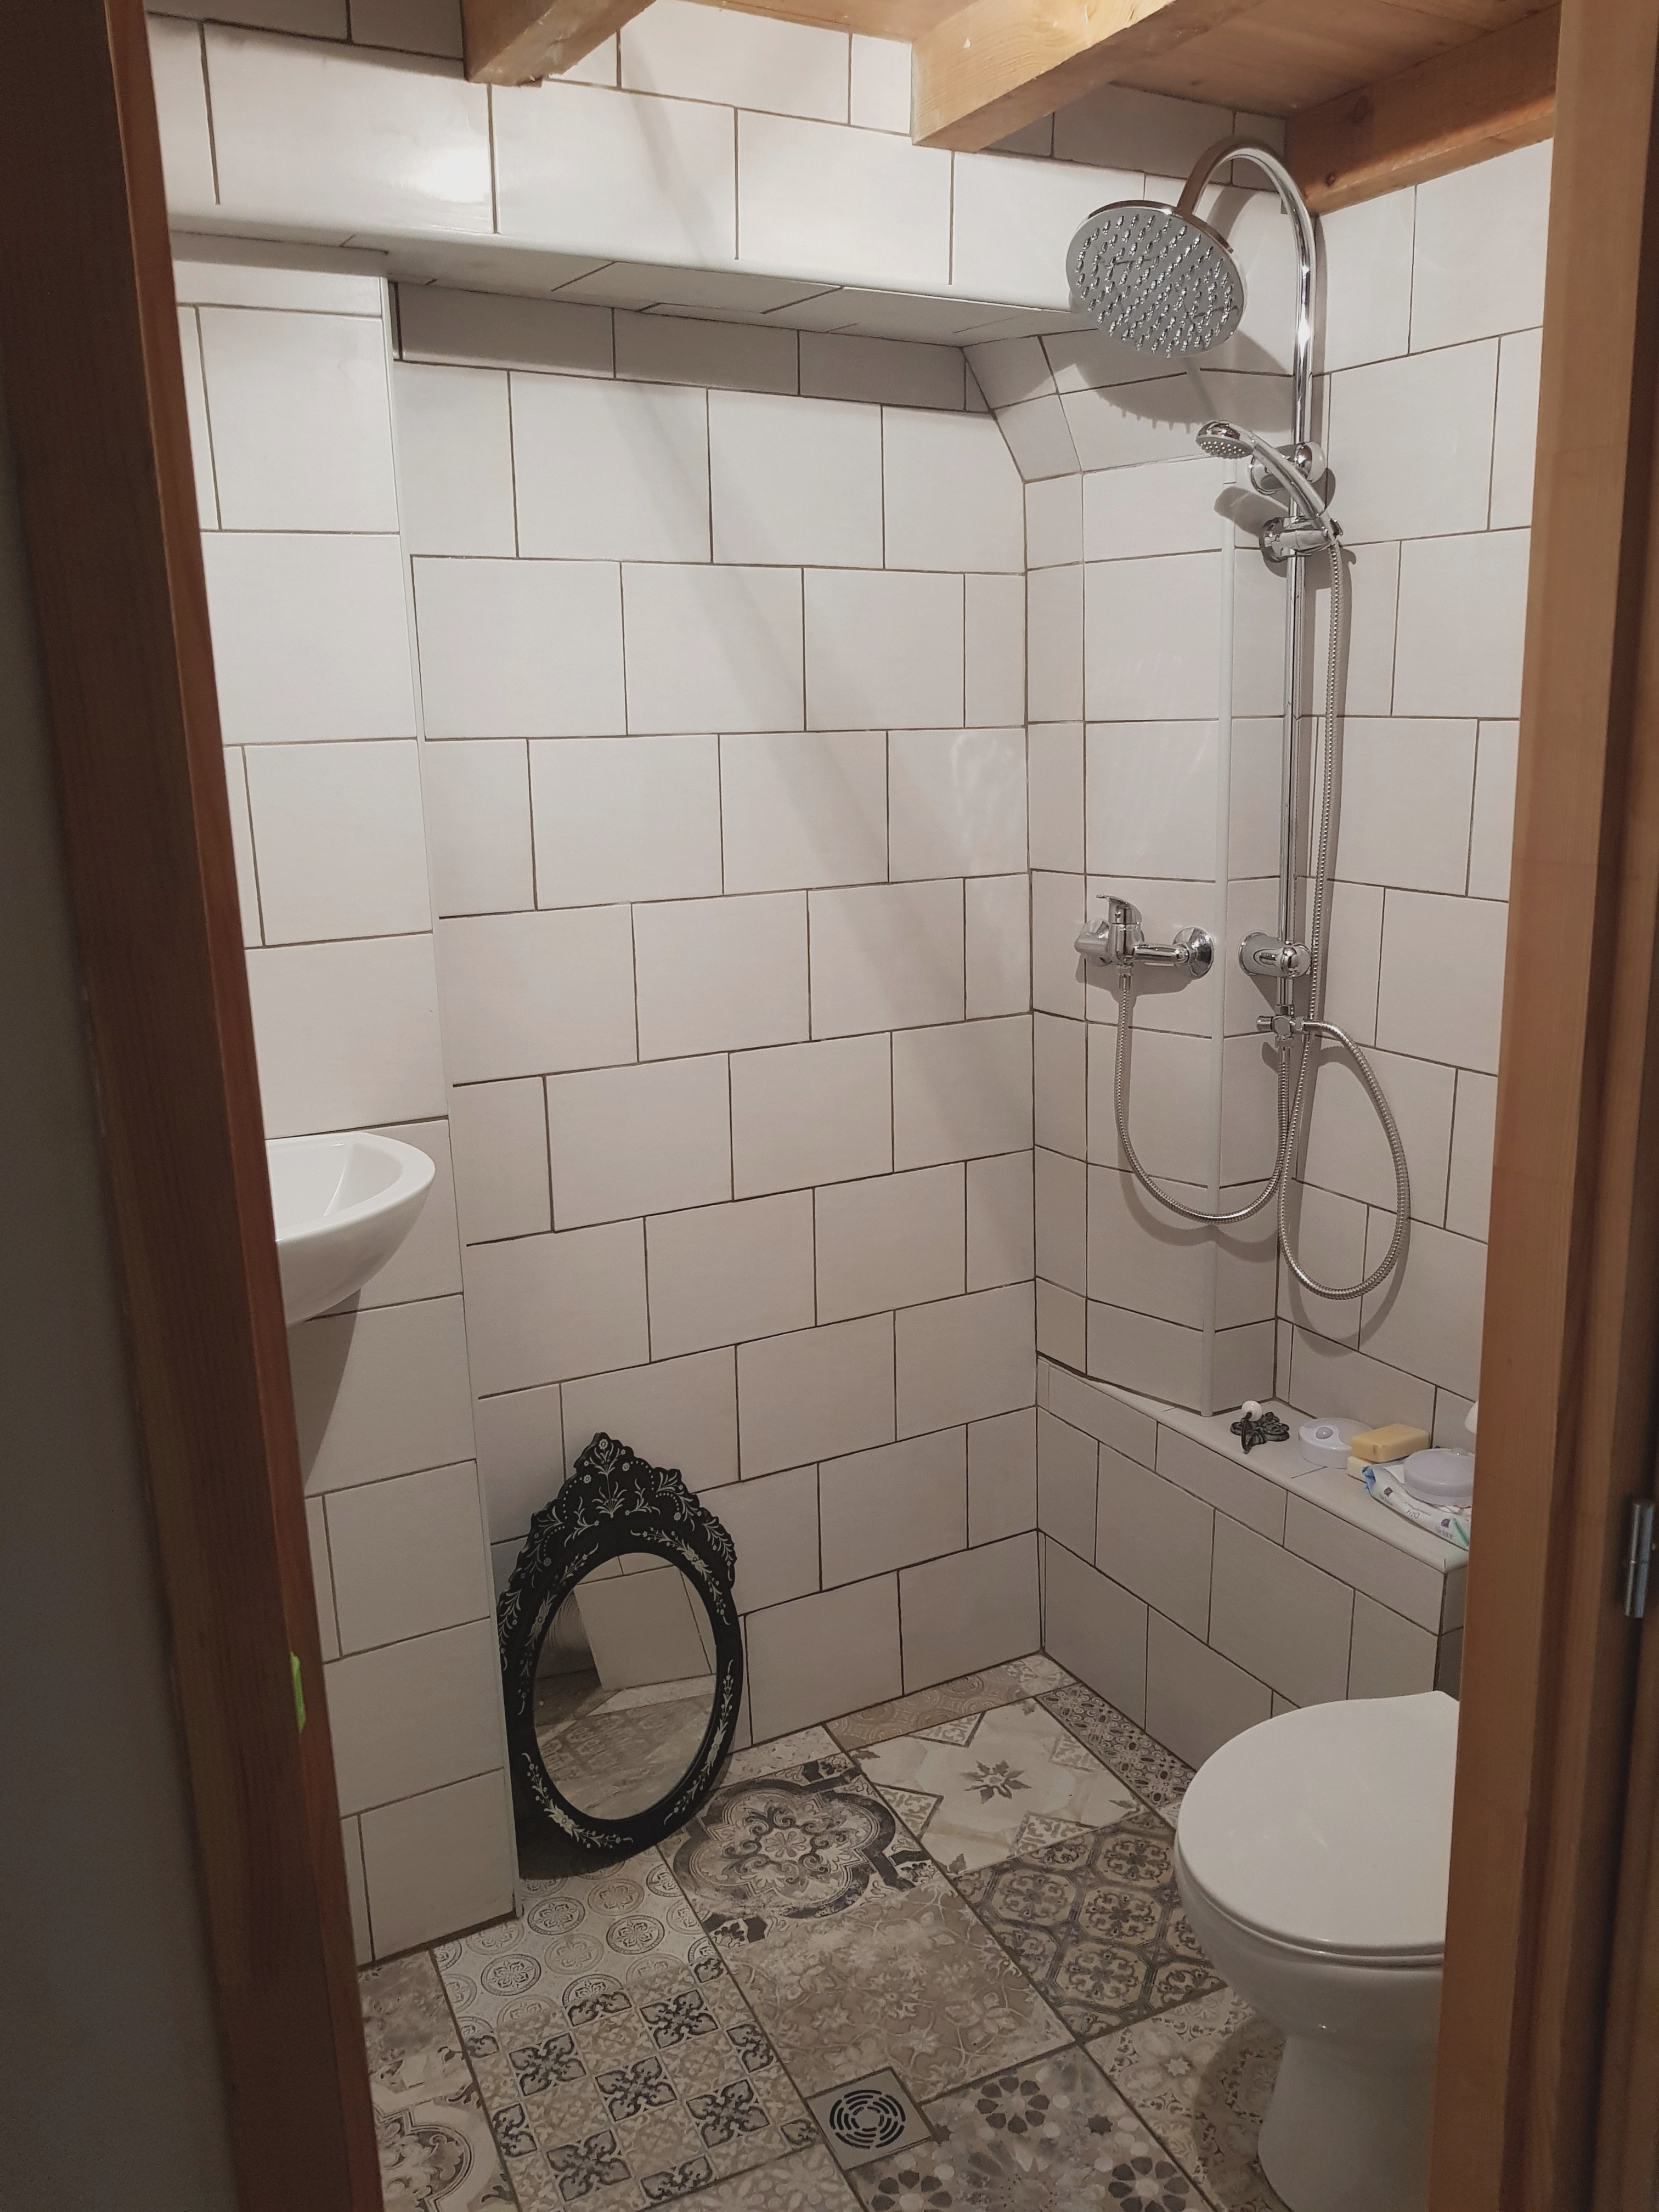
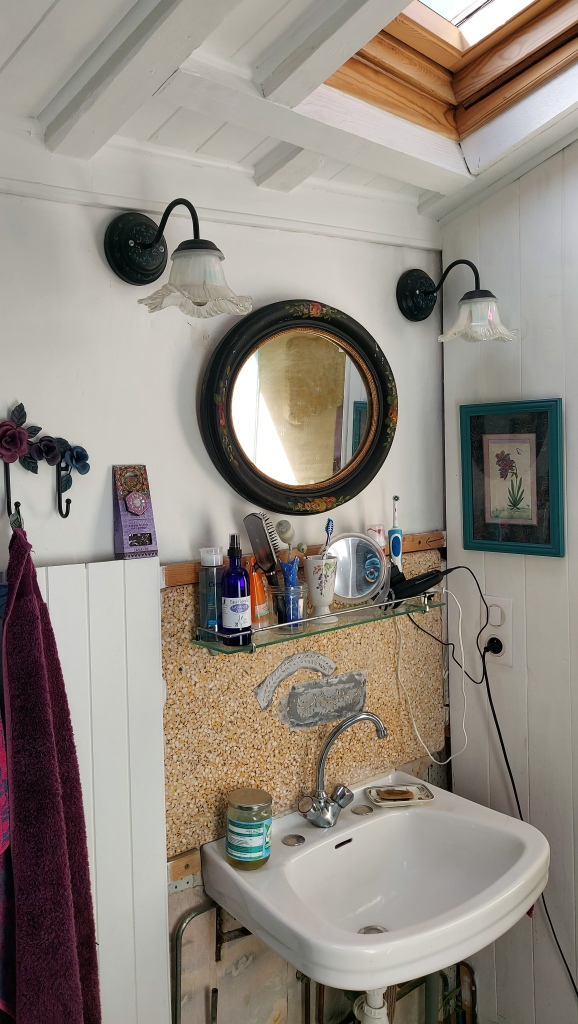
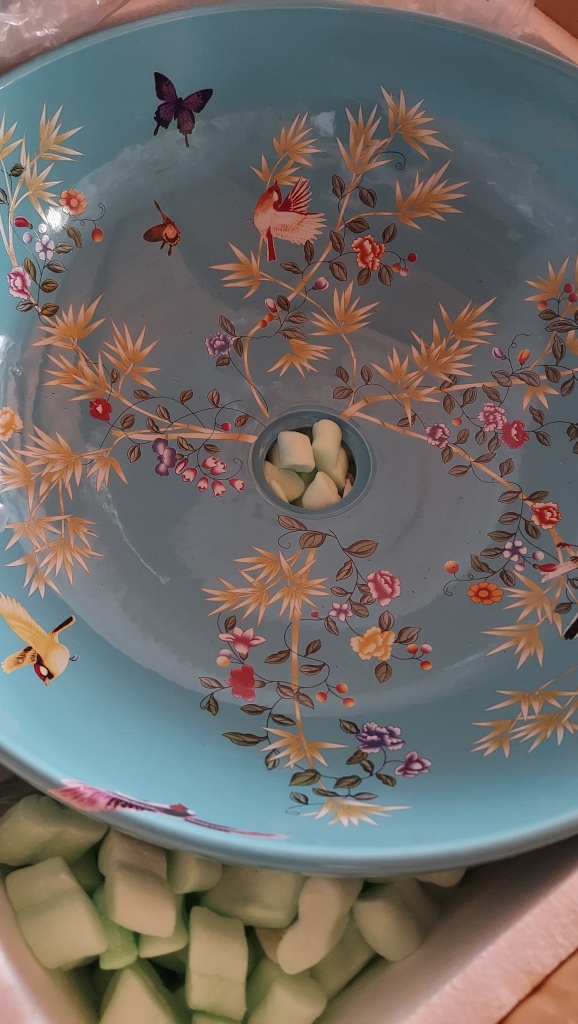
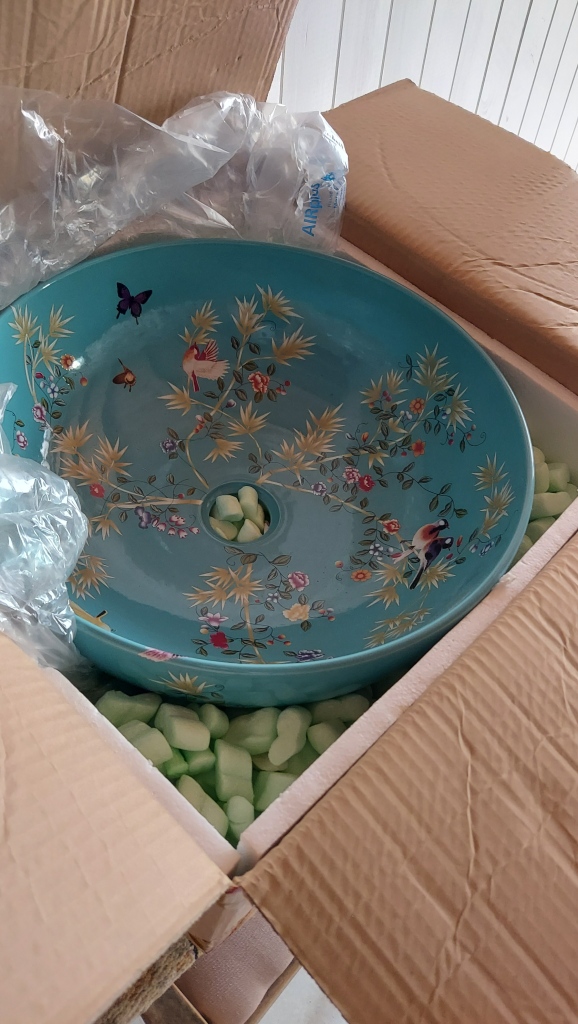
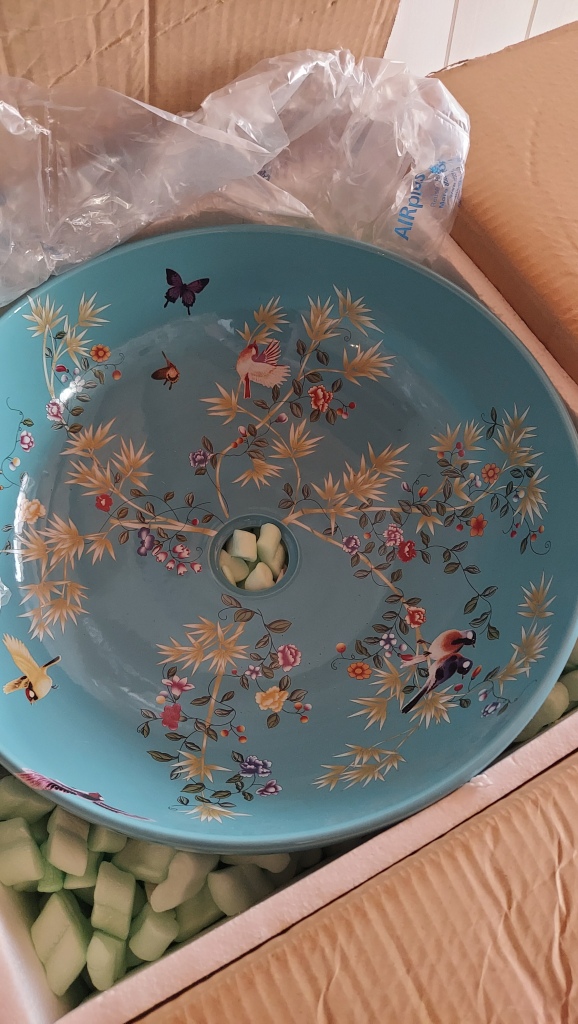
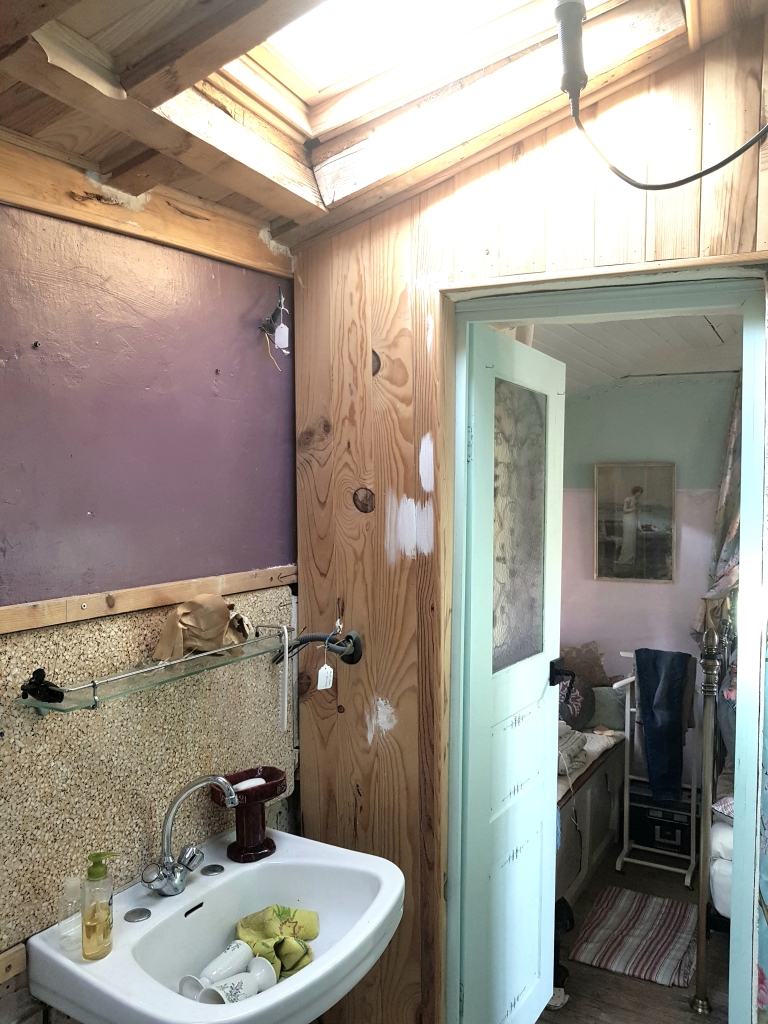
Stuck with minimal space for a basin, I was rather pleased with this very clean lined 30’s style corner lavabo from Mr Bricolage .
The guys were less pleased with the fact that facilitating it’s release from the mould during the manufacturing process meant that the angle at the back was NOT 90 degrees; further, the bracket supplied did not permit stable fitting. So, new brackets had to be made.
Happy with how it looks in the space. Simple tap works well.
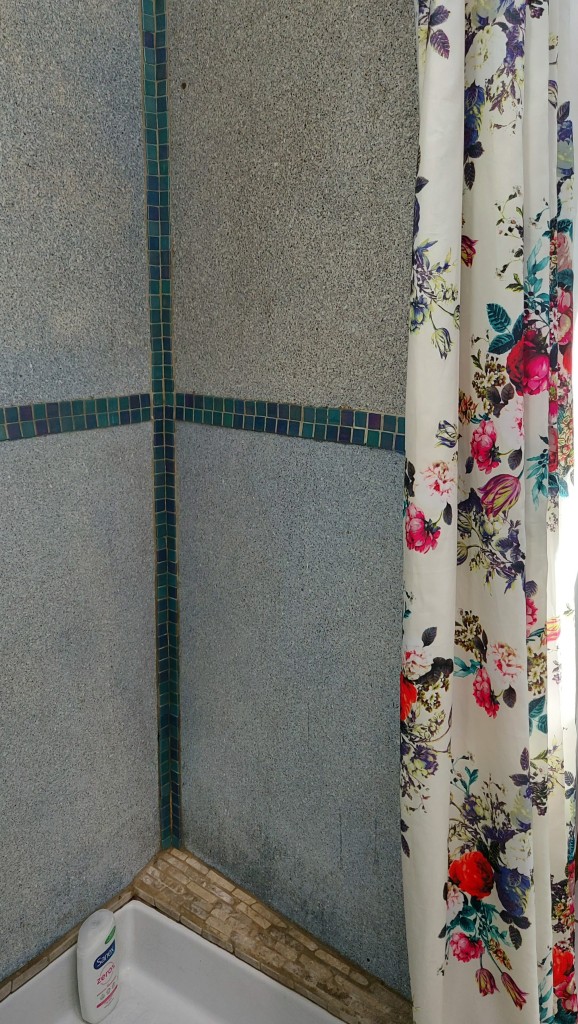
The grout is taking ages to dry and lighten. Lack of ventilation maybe…
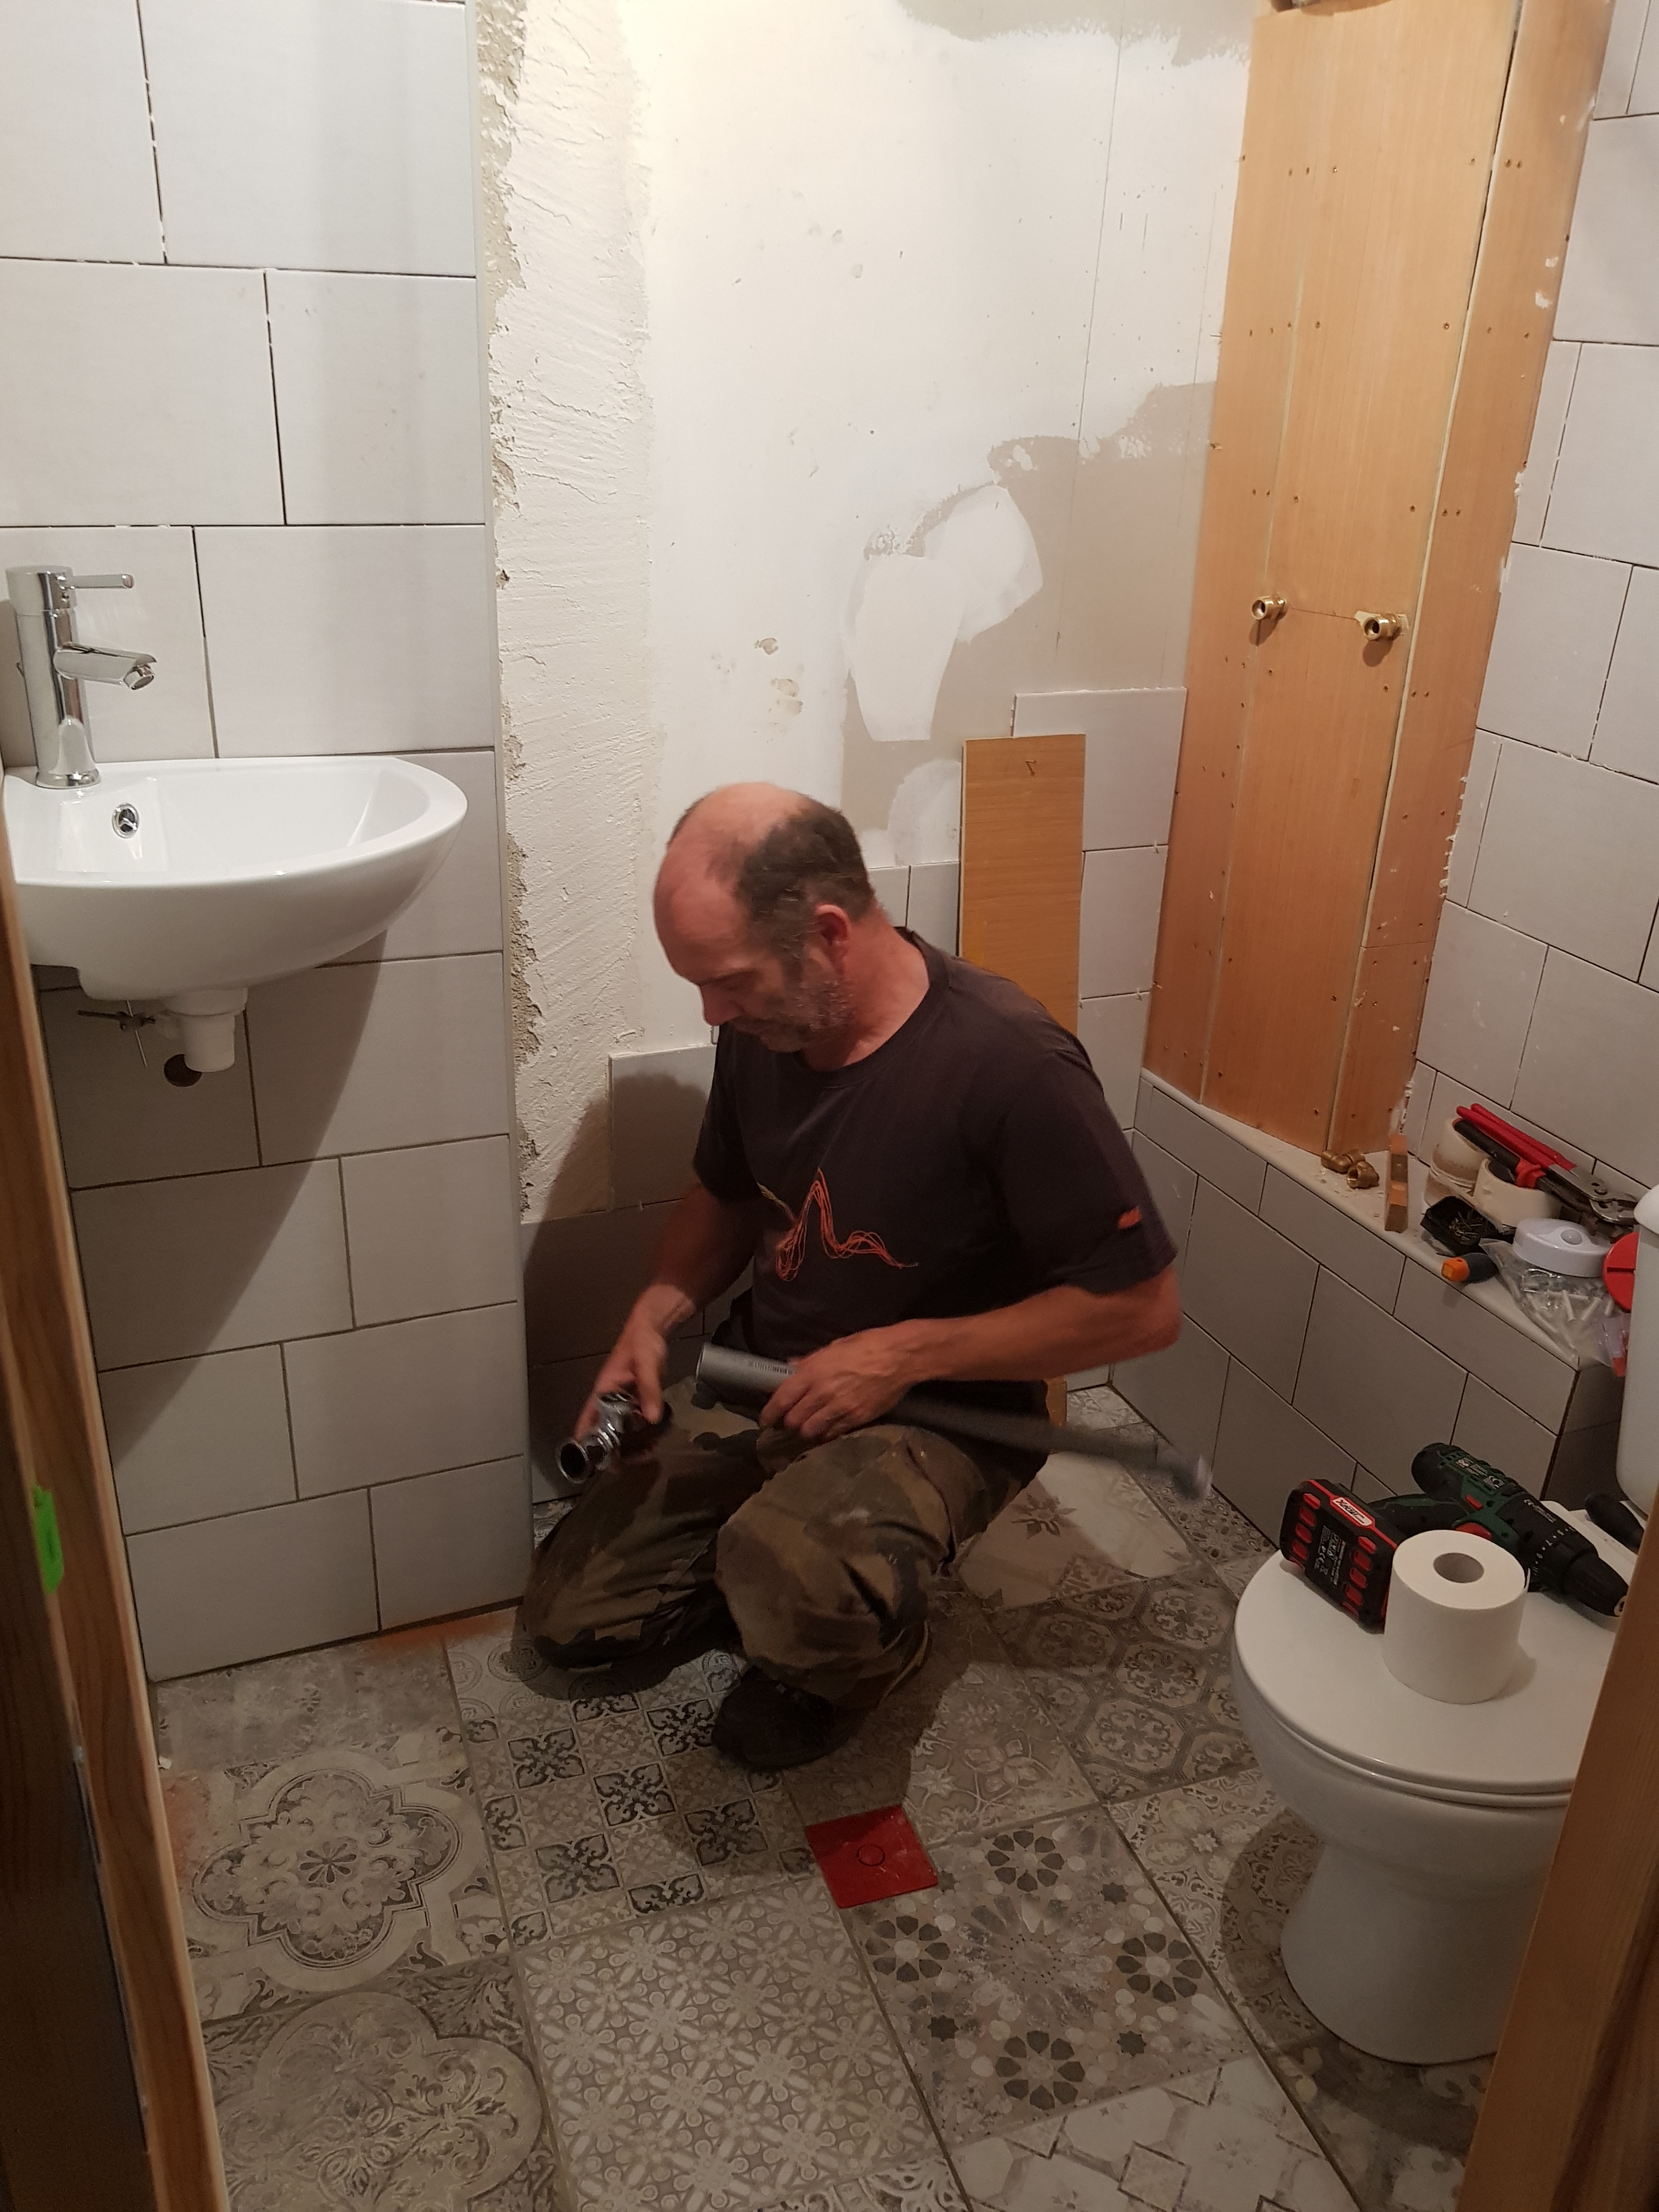
Fitting my waterfall shower is giving the guys multiple headaches and minor tantrums on Trev’s part.
Back on the ground floor wet room project again.
We had a slightly anxious night waiting for the floor grout to go off, not only because it did not look anything like the carefully chosen grey shade on the packet but, also, we had one tile right by the shower drain that was rocking slightly.
Obviously an air pocket in the adhesive, but Justin was so careful to get the floor perfect, not least when there has to be a teeny slope off in order to drain the shower.
Grout has dried the correct shade and applying a looser mix to flow under the problem tile has fixed it.
All stable and looking good now
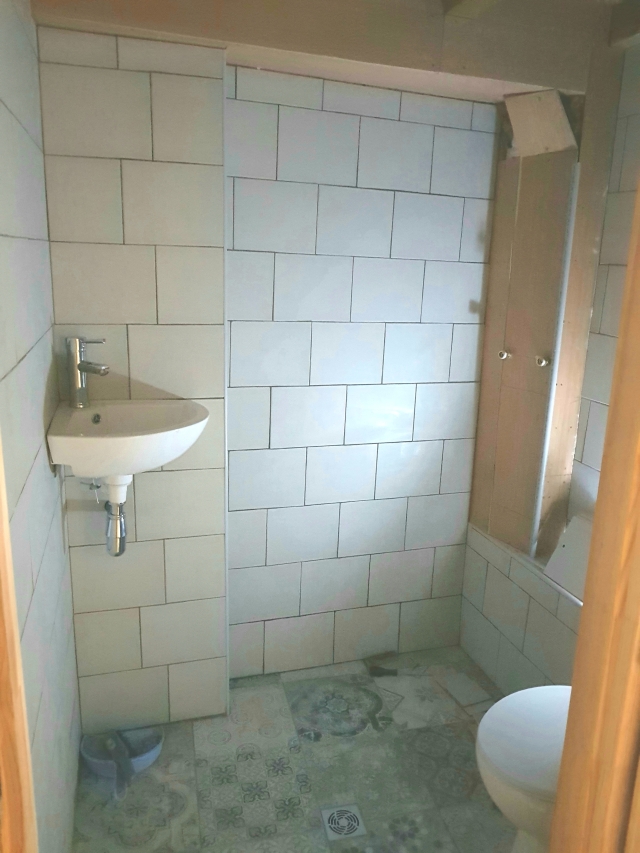
So, we have tanking fabric smoothed and bonded to walls, the drains and floor tiles are in, but not grouted.
One and a half walls tiled and a functional toilet. Boxing in for corner basin and shower assembly started.
12 years of assorted accumulated project materials mostly cleared out of cave so we could get a bed in there.
Floor tiles M. Bricolage
Plain pale, pearly grey, very slightly irregular wall tiles from Brico-Depot


All this achieved by Trev and Justin, who worked until almost midnight two days in a row so my poorly son-in-law would have his own private space.
The following day Justin messaged me to say he would be over to fit the basin before the family arrived.
I said no, you two guys need a rest!
Work starts again in earnest next month.
Wednesday-Floor levels are being built up and we seem to be using a lot of this fibrous cement
Floor smoothed and skimmed with bed of cement, rubberised film with integral drain glued smooth, then more layers of the fibrous stuff to create appropriate drainage slope.
Boxing in of evacuation pipes ( marine ply) from shower room two floors up and connection to new toilet. Justin has put in what will be a tiled seat for the old and infirm to perch on in future years when we cannot drag ourselves up the stairs.
plastic water pipes crimped and finished with brass ring compression connectors
https://www.manomano.fr/p/bonde-turbosol-film-180×210-colle-1039749


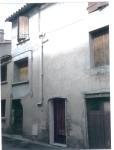
I now treat you to an image viewed many times before by long suffering followers; the front of our French house in 2006.
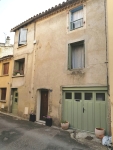
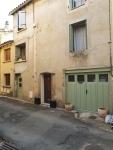
Although we still have some tidying up work to do and the walls to paint, it is much improved from the original.
At least we no longer have the random pipework and loops of electric cable draped across the frontage.


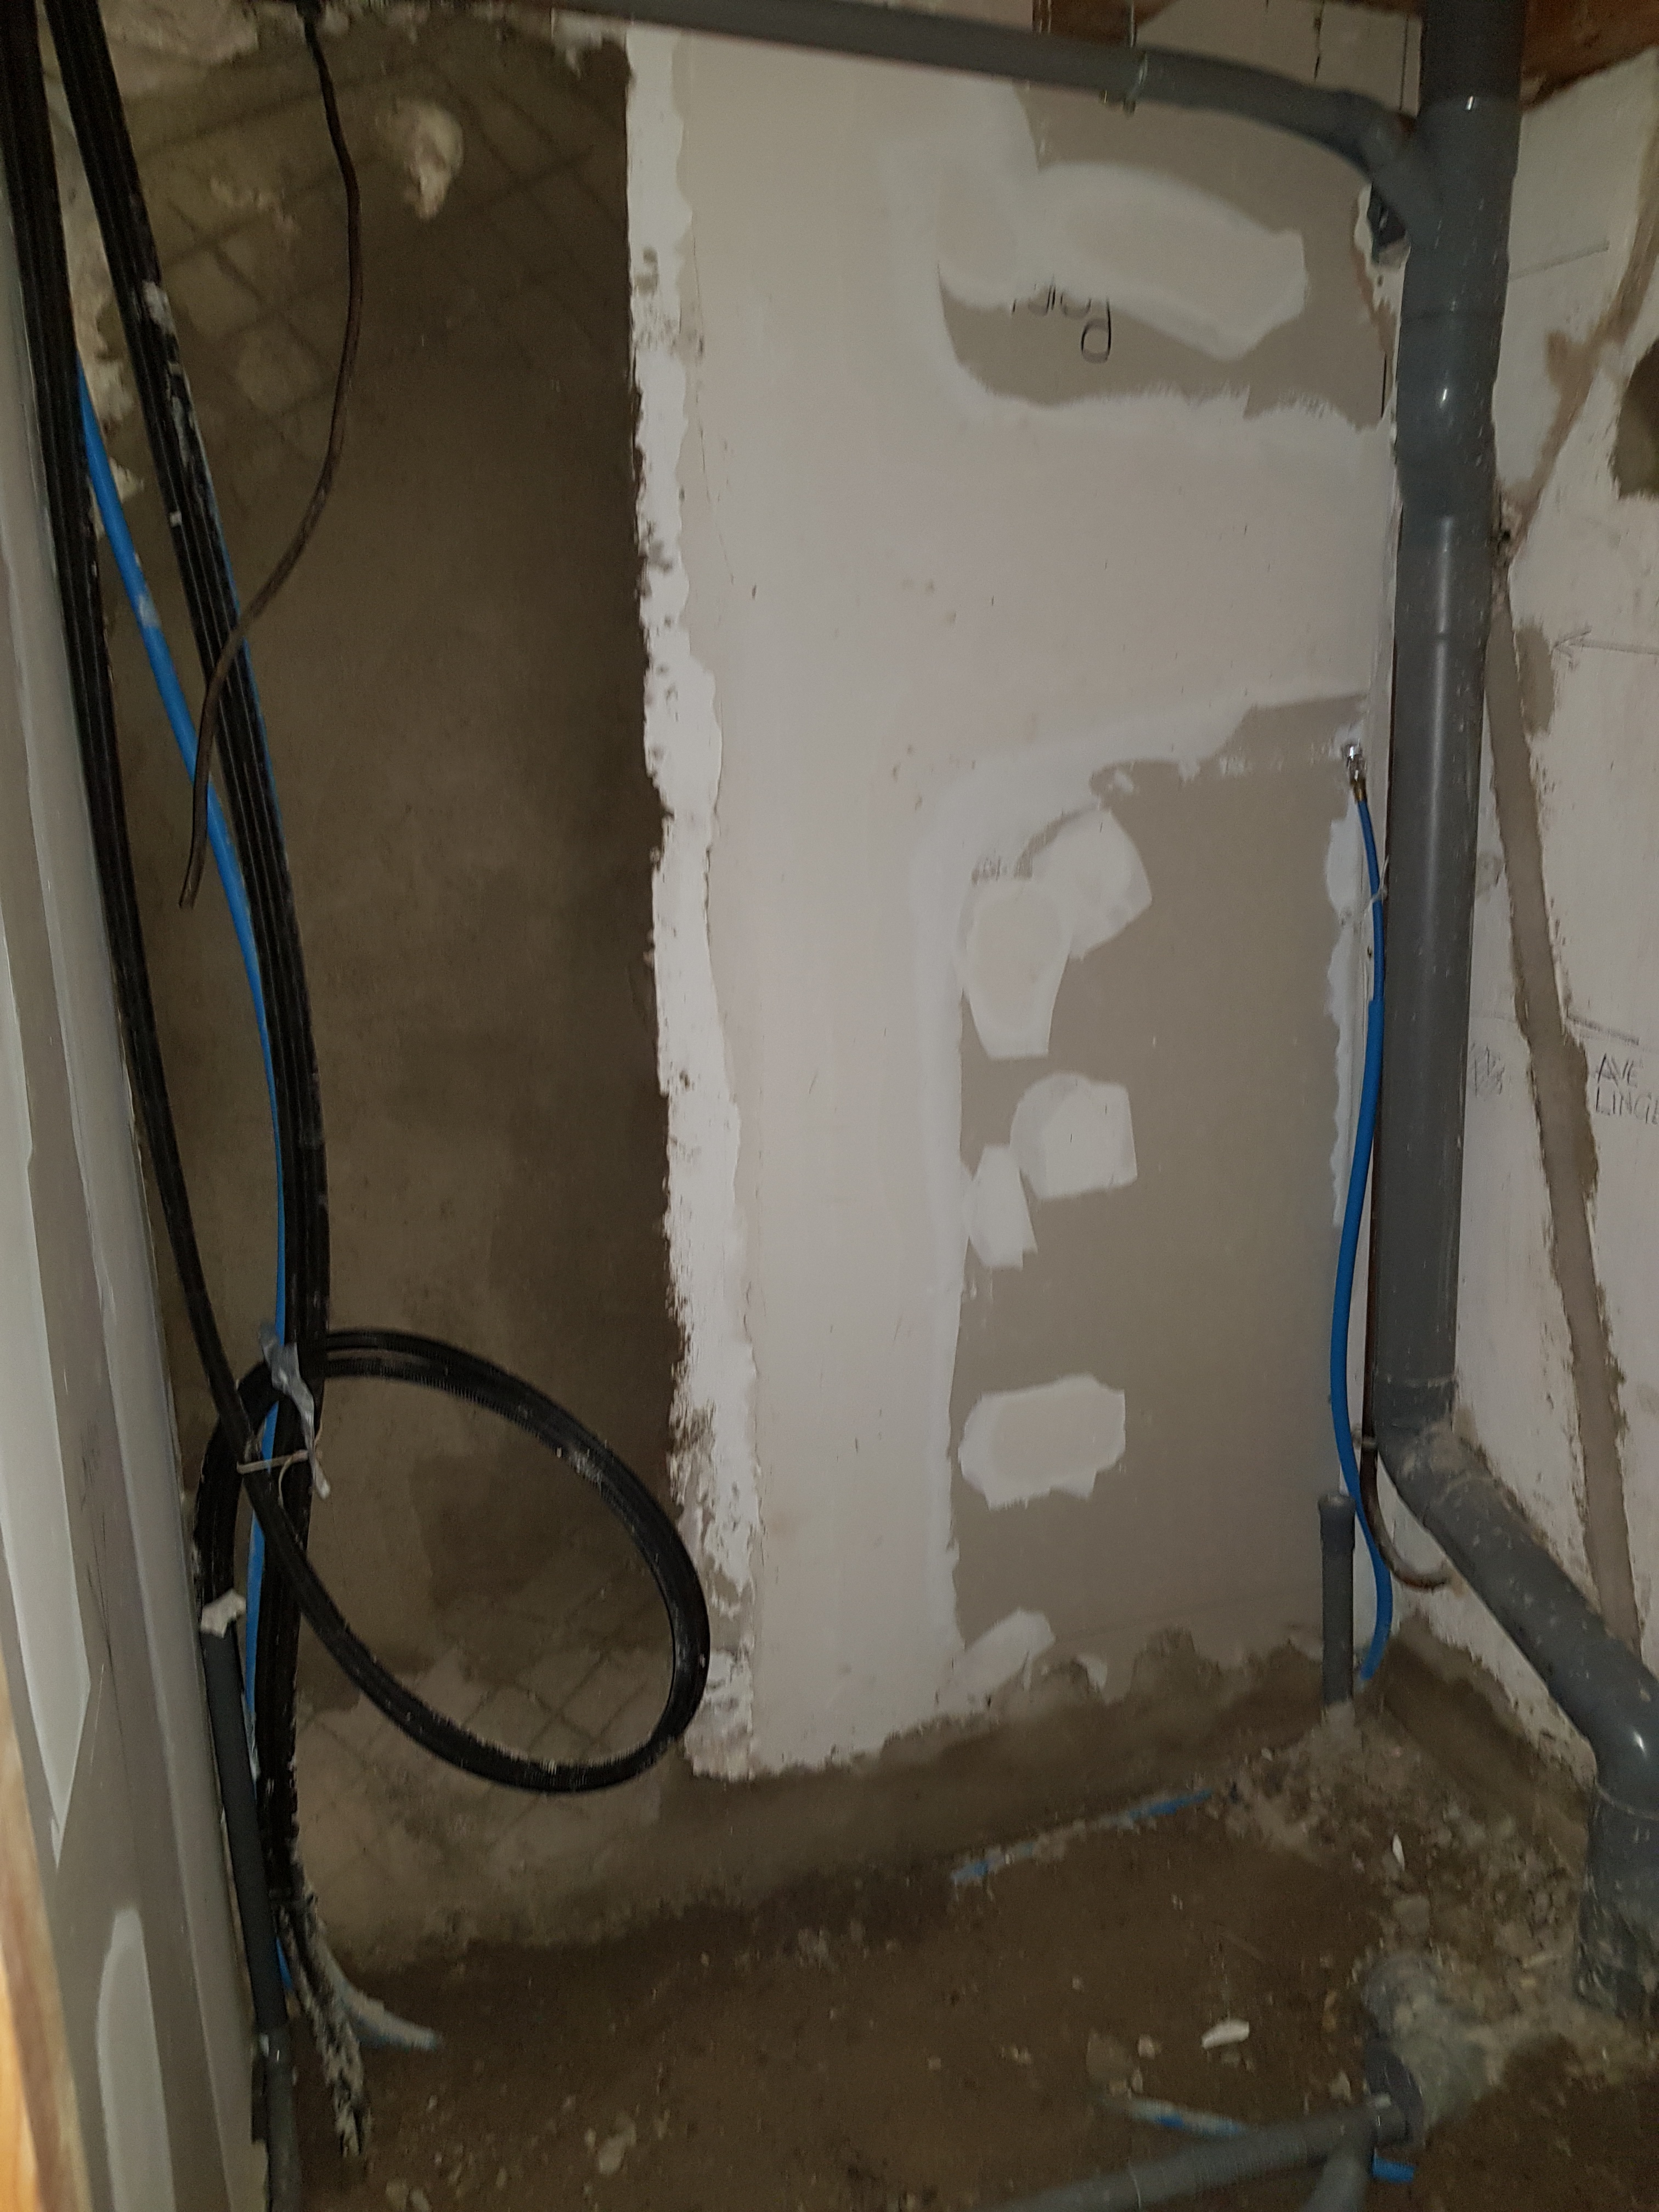
This is the smallest space in our French house.
I took a couple of photos, and, windowless, it really is dark in there; the further photos are flash – assisted. But you get the picture? The external shot shows the new plasterboard box on two walls, just to get some idea of the layout in context. The other two walls are, probably, 14th century stone and a bit of old plasterwork. Justin is working on getting these flat. You can’t tile lumps and bumps. This means building up thin layers of “screed” , because thick stuff will just fall out
1.59 x 1.36 metres in size (yes, you read that right) we have arrived by dint of much discussion (most of it internal dialogue on my part) to the only sensible solution for getting a toilet, wash basin and shower in the cave. So, it will be a wet room with toilet and basin, basically.
My family arrive in eight days…..two of them are using this “guest room”….. one of them actually needs this separate space due to medical issues!!!
The bath will sit in the cave itself. You really need the back story to this. Enter “cave” in the search box right there on the right of this page and gasp….
It does.
We will start with my new green high tech outdoor wood paint. Lighter and softer than it looks on my twilight photo.
Excellent stuff.
Stack of my roof tiles on neighbours ridge. Why? Are the French builders coming back?
Your guess is as good as mine.
My tubbed cherry tomatoes are happy.
The sky and moon are very pretty.
We have a fuzzy shot of thelizardwhocomesouteverynight.
Trev is playing Pink Floyd’s “dark side of the moon” for first time: he is not one of the trillions who bought it. He is not impressed.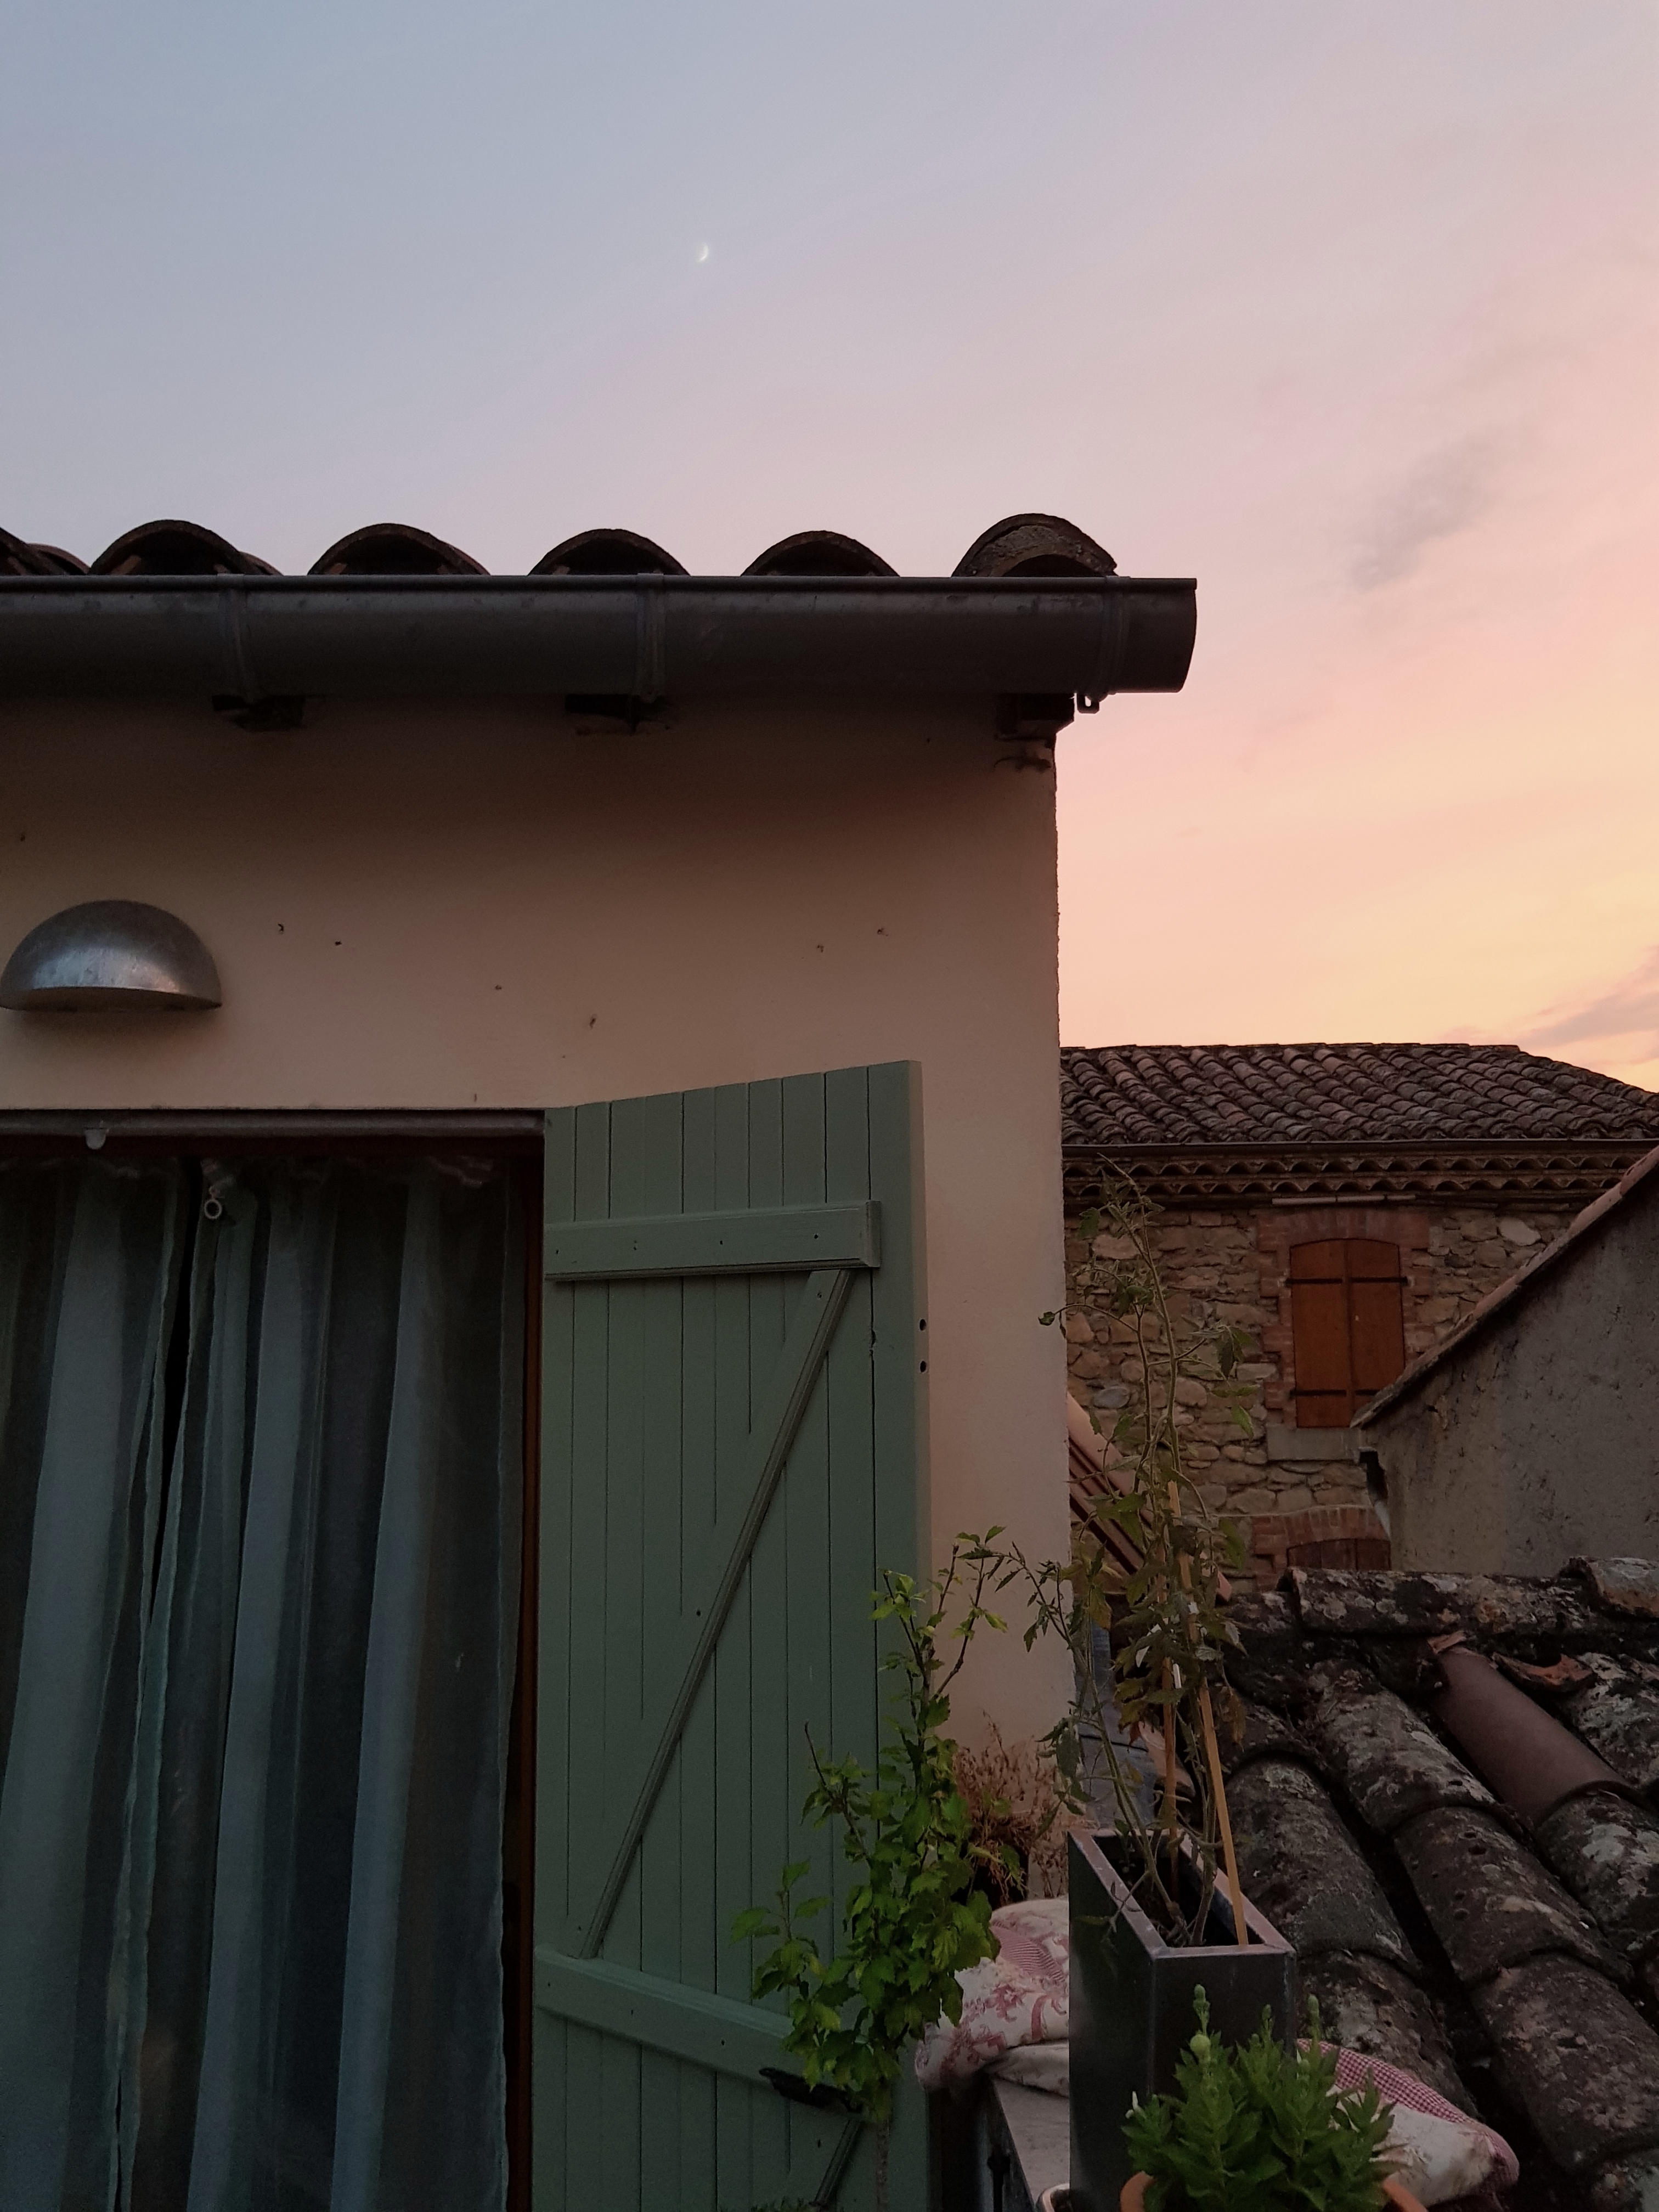
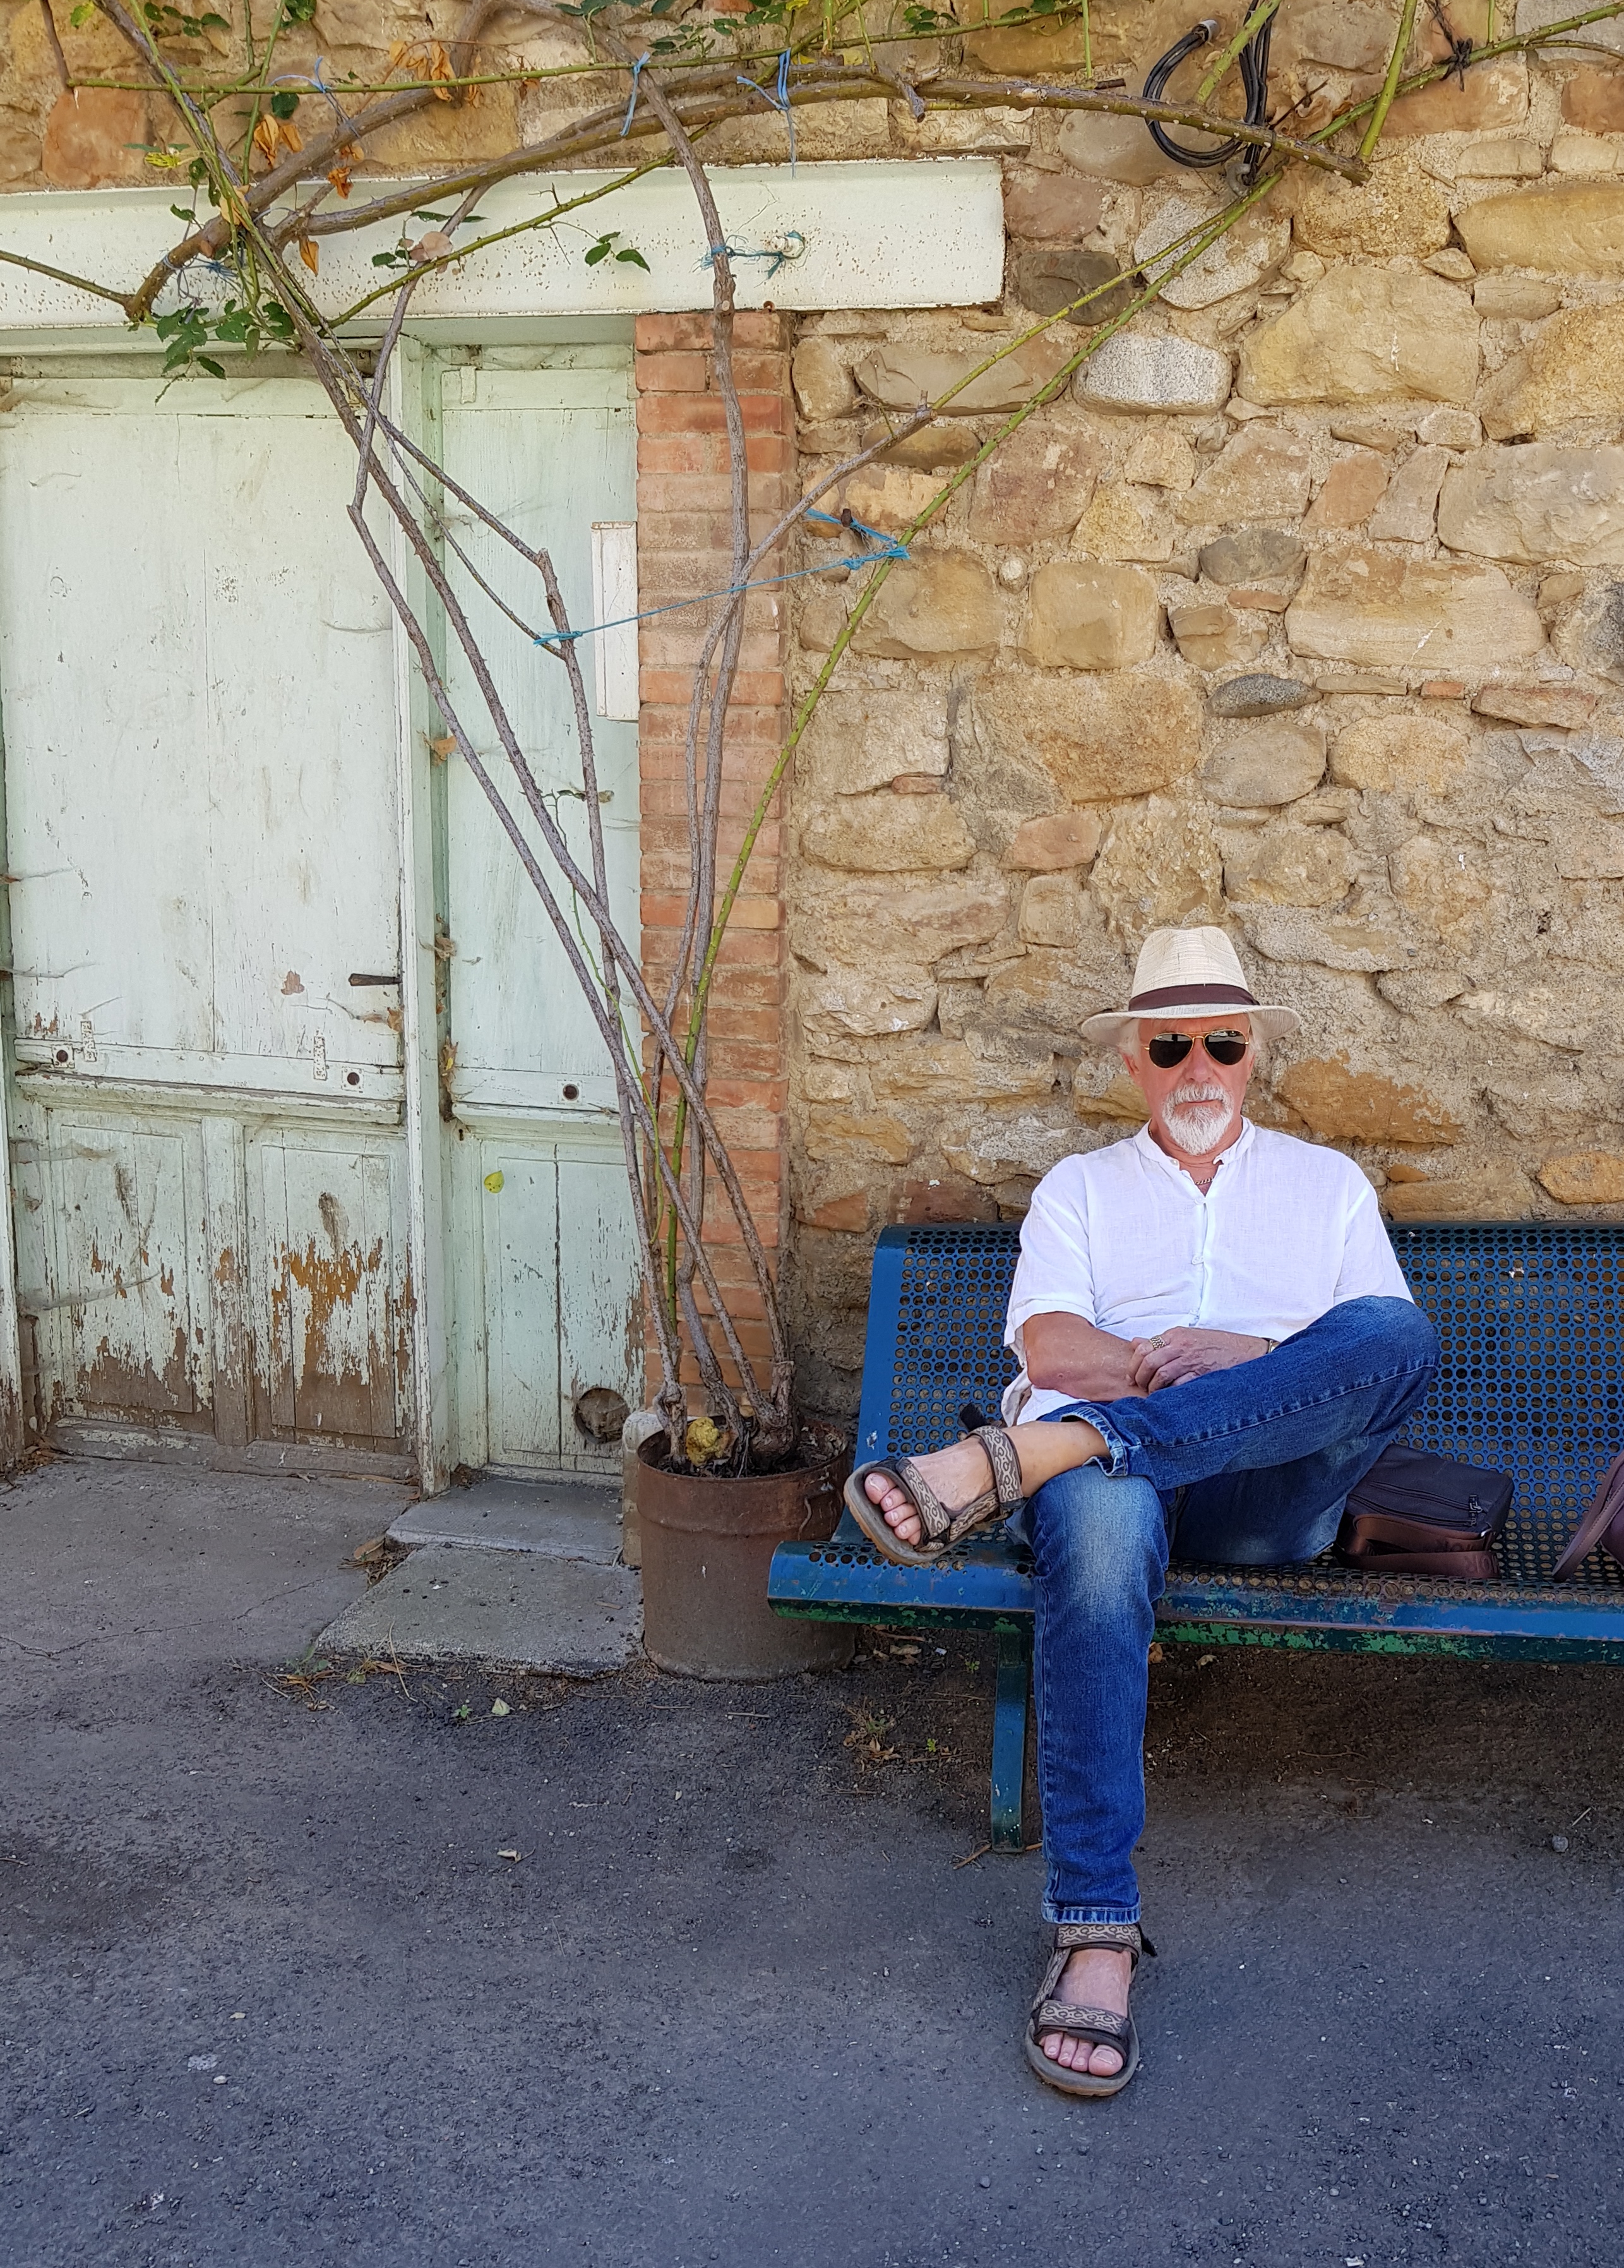
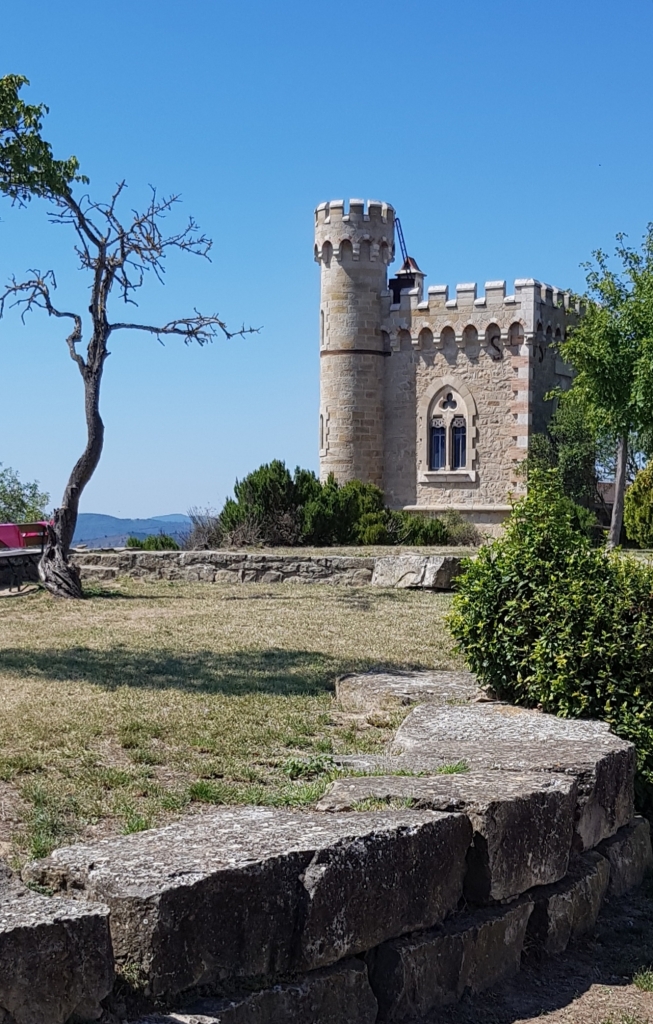
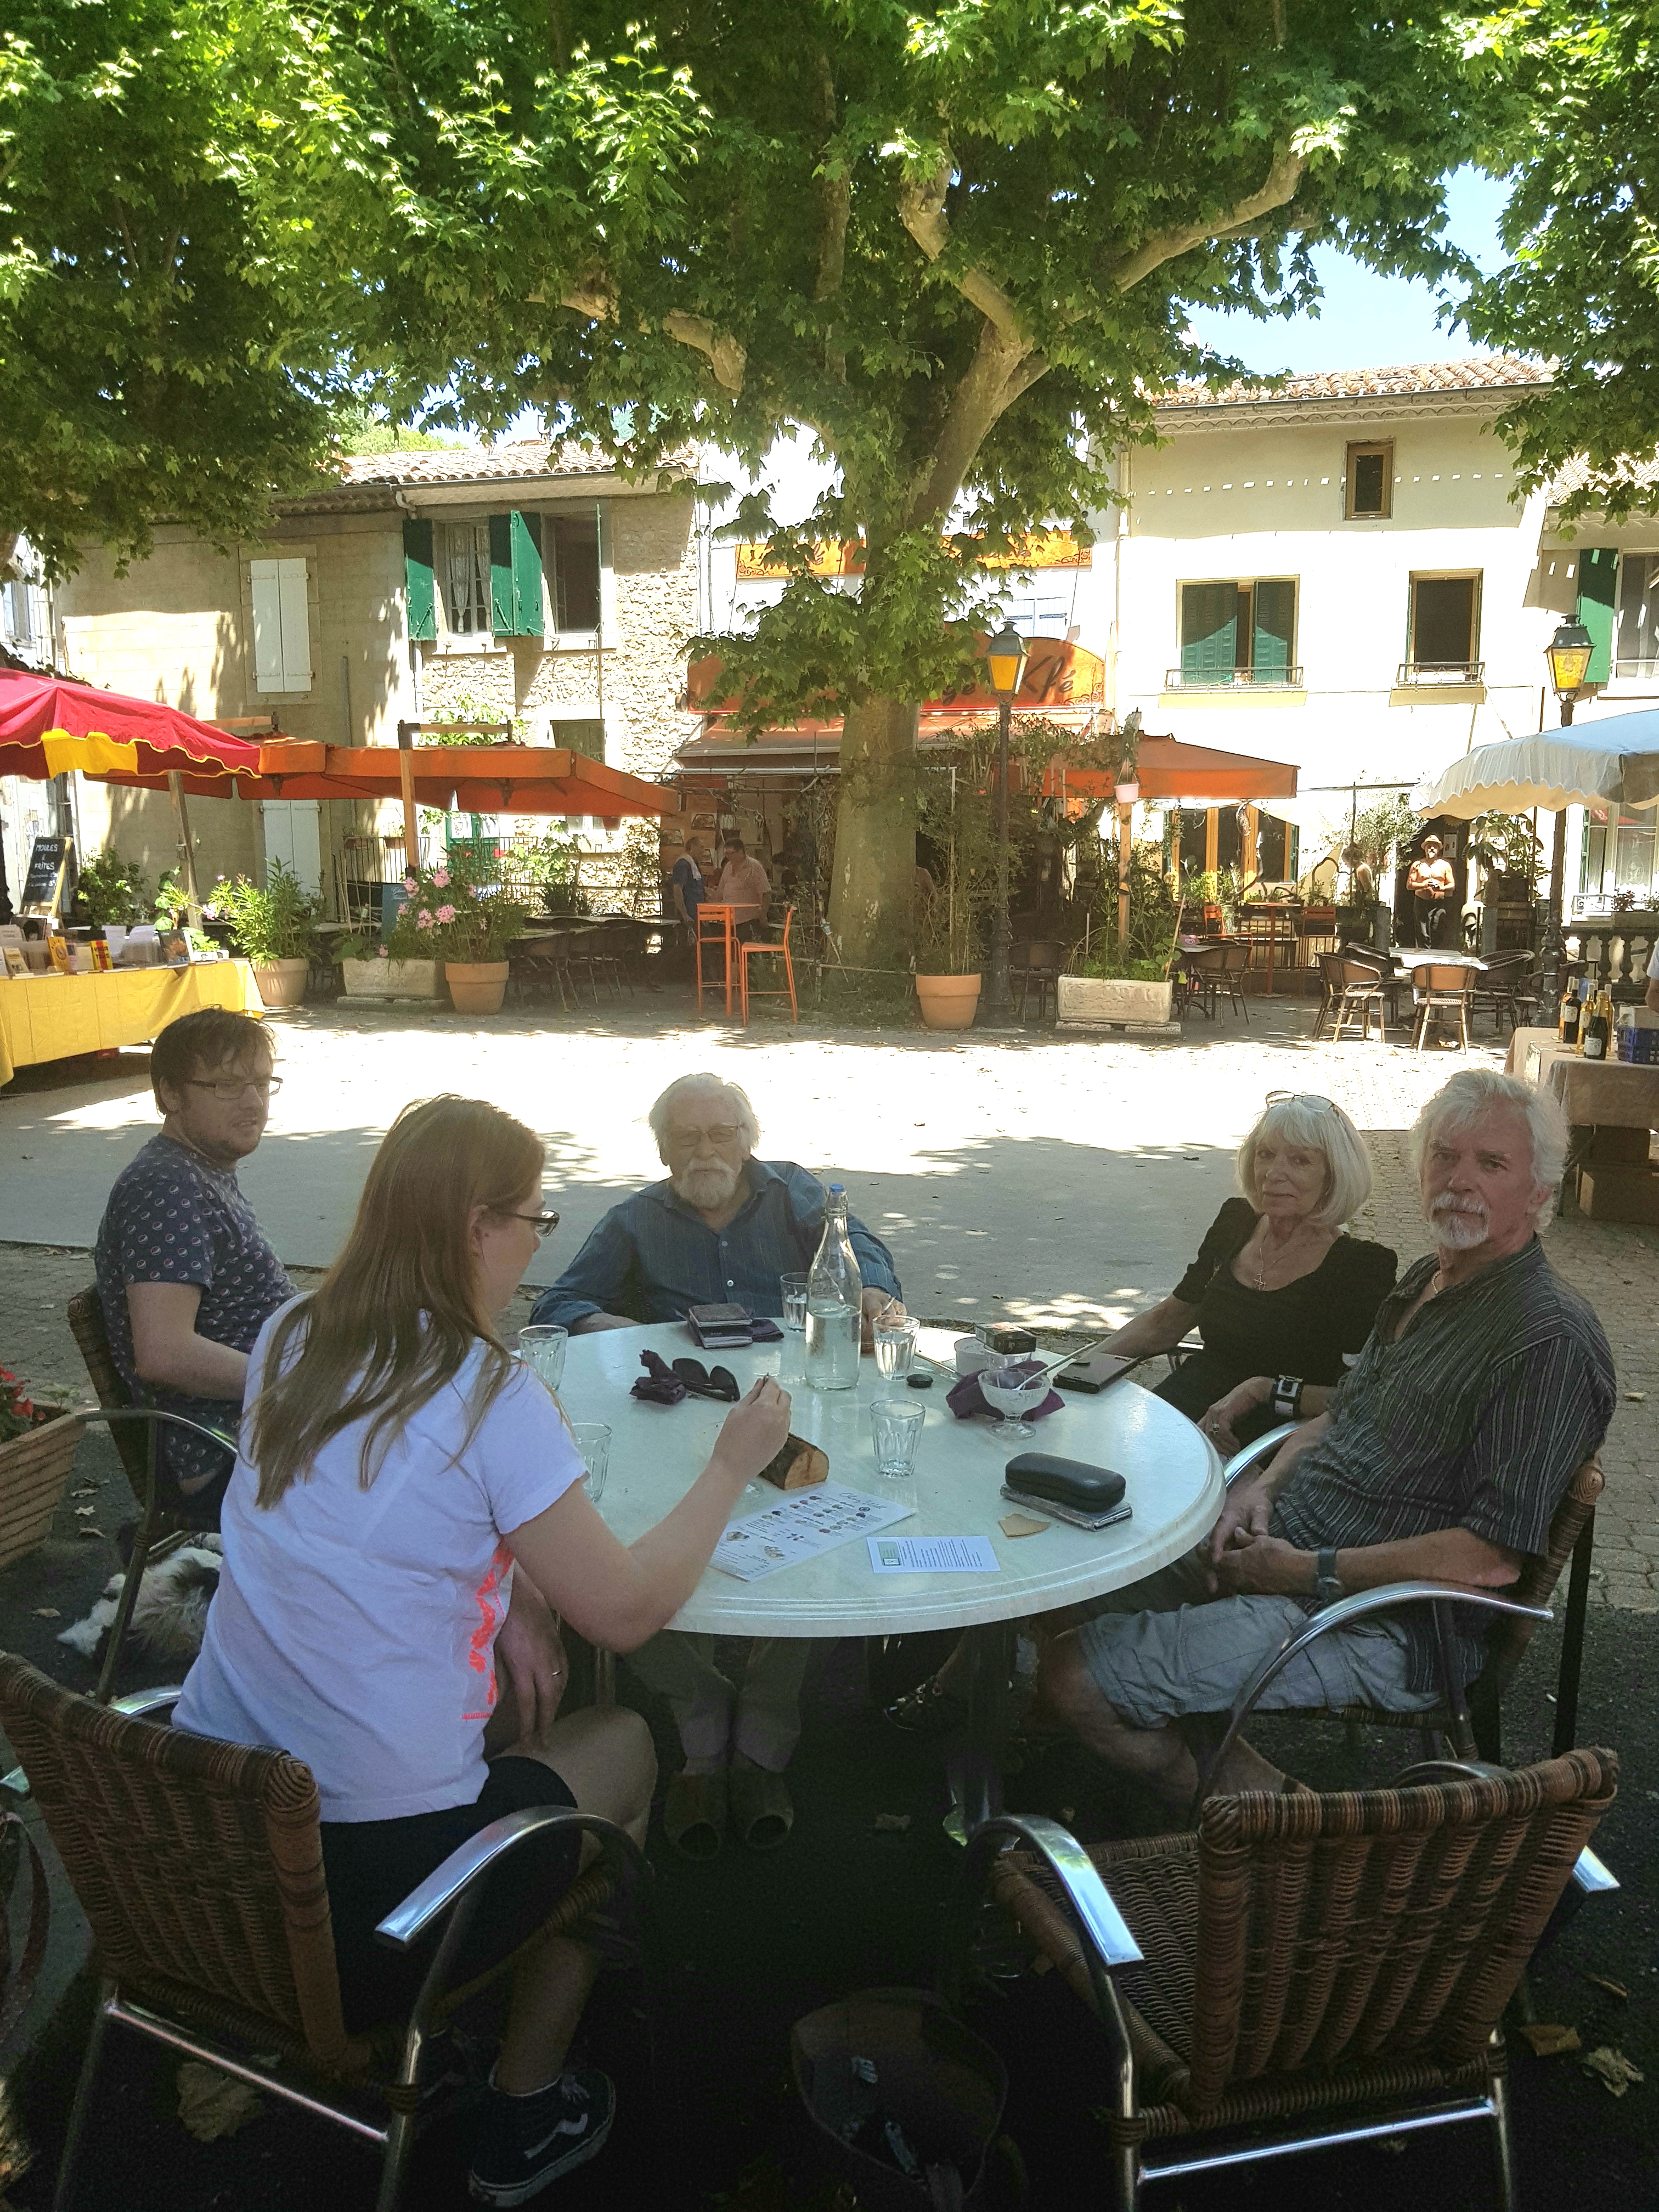
A lovely, if rather warm day at Rennes-les-Bains in Occitanie.
Our good friend Jeannie too, and “the kids” in wedding anniversary mode.
Privileged to have the company of the writer, Henry Lincoln, whose erudite and informed and very interesting tour of the graveyard here was particularly enjoyed by Dan. Bit of hero worship going on as far as my son is concerned.
Look up Henry, it’s too long a tale for this blog.
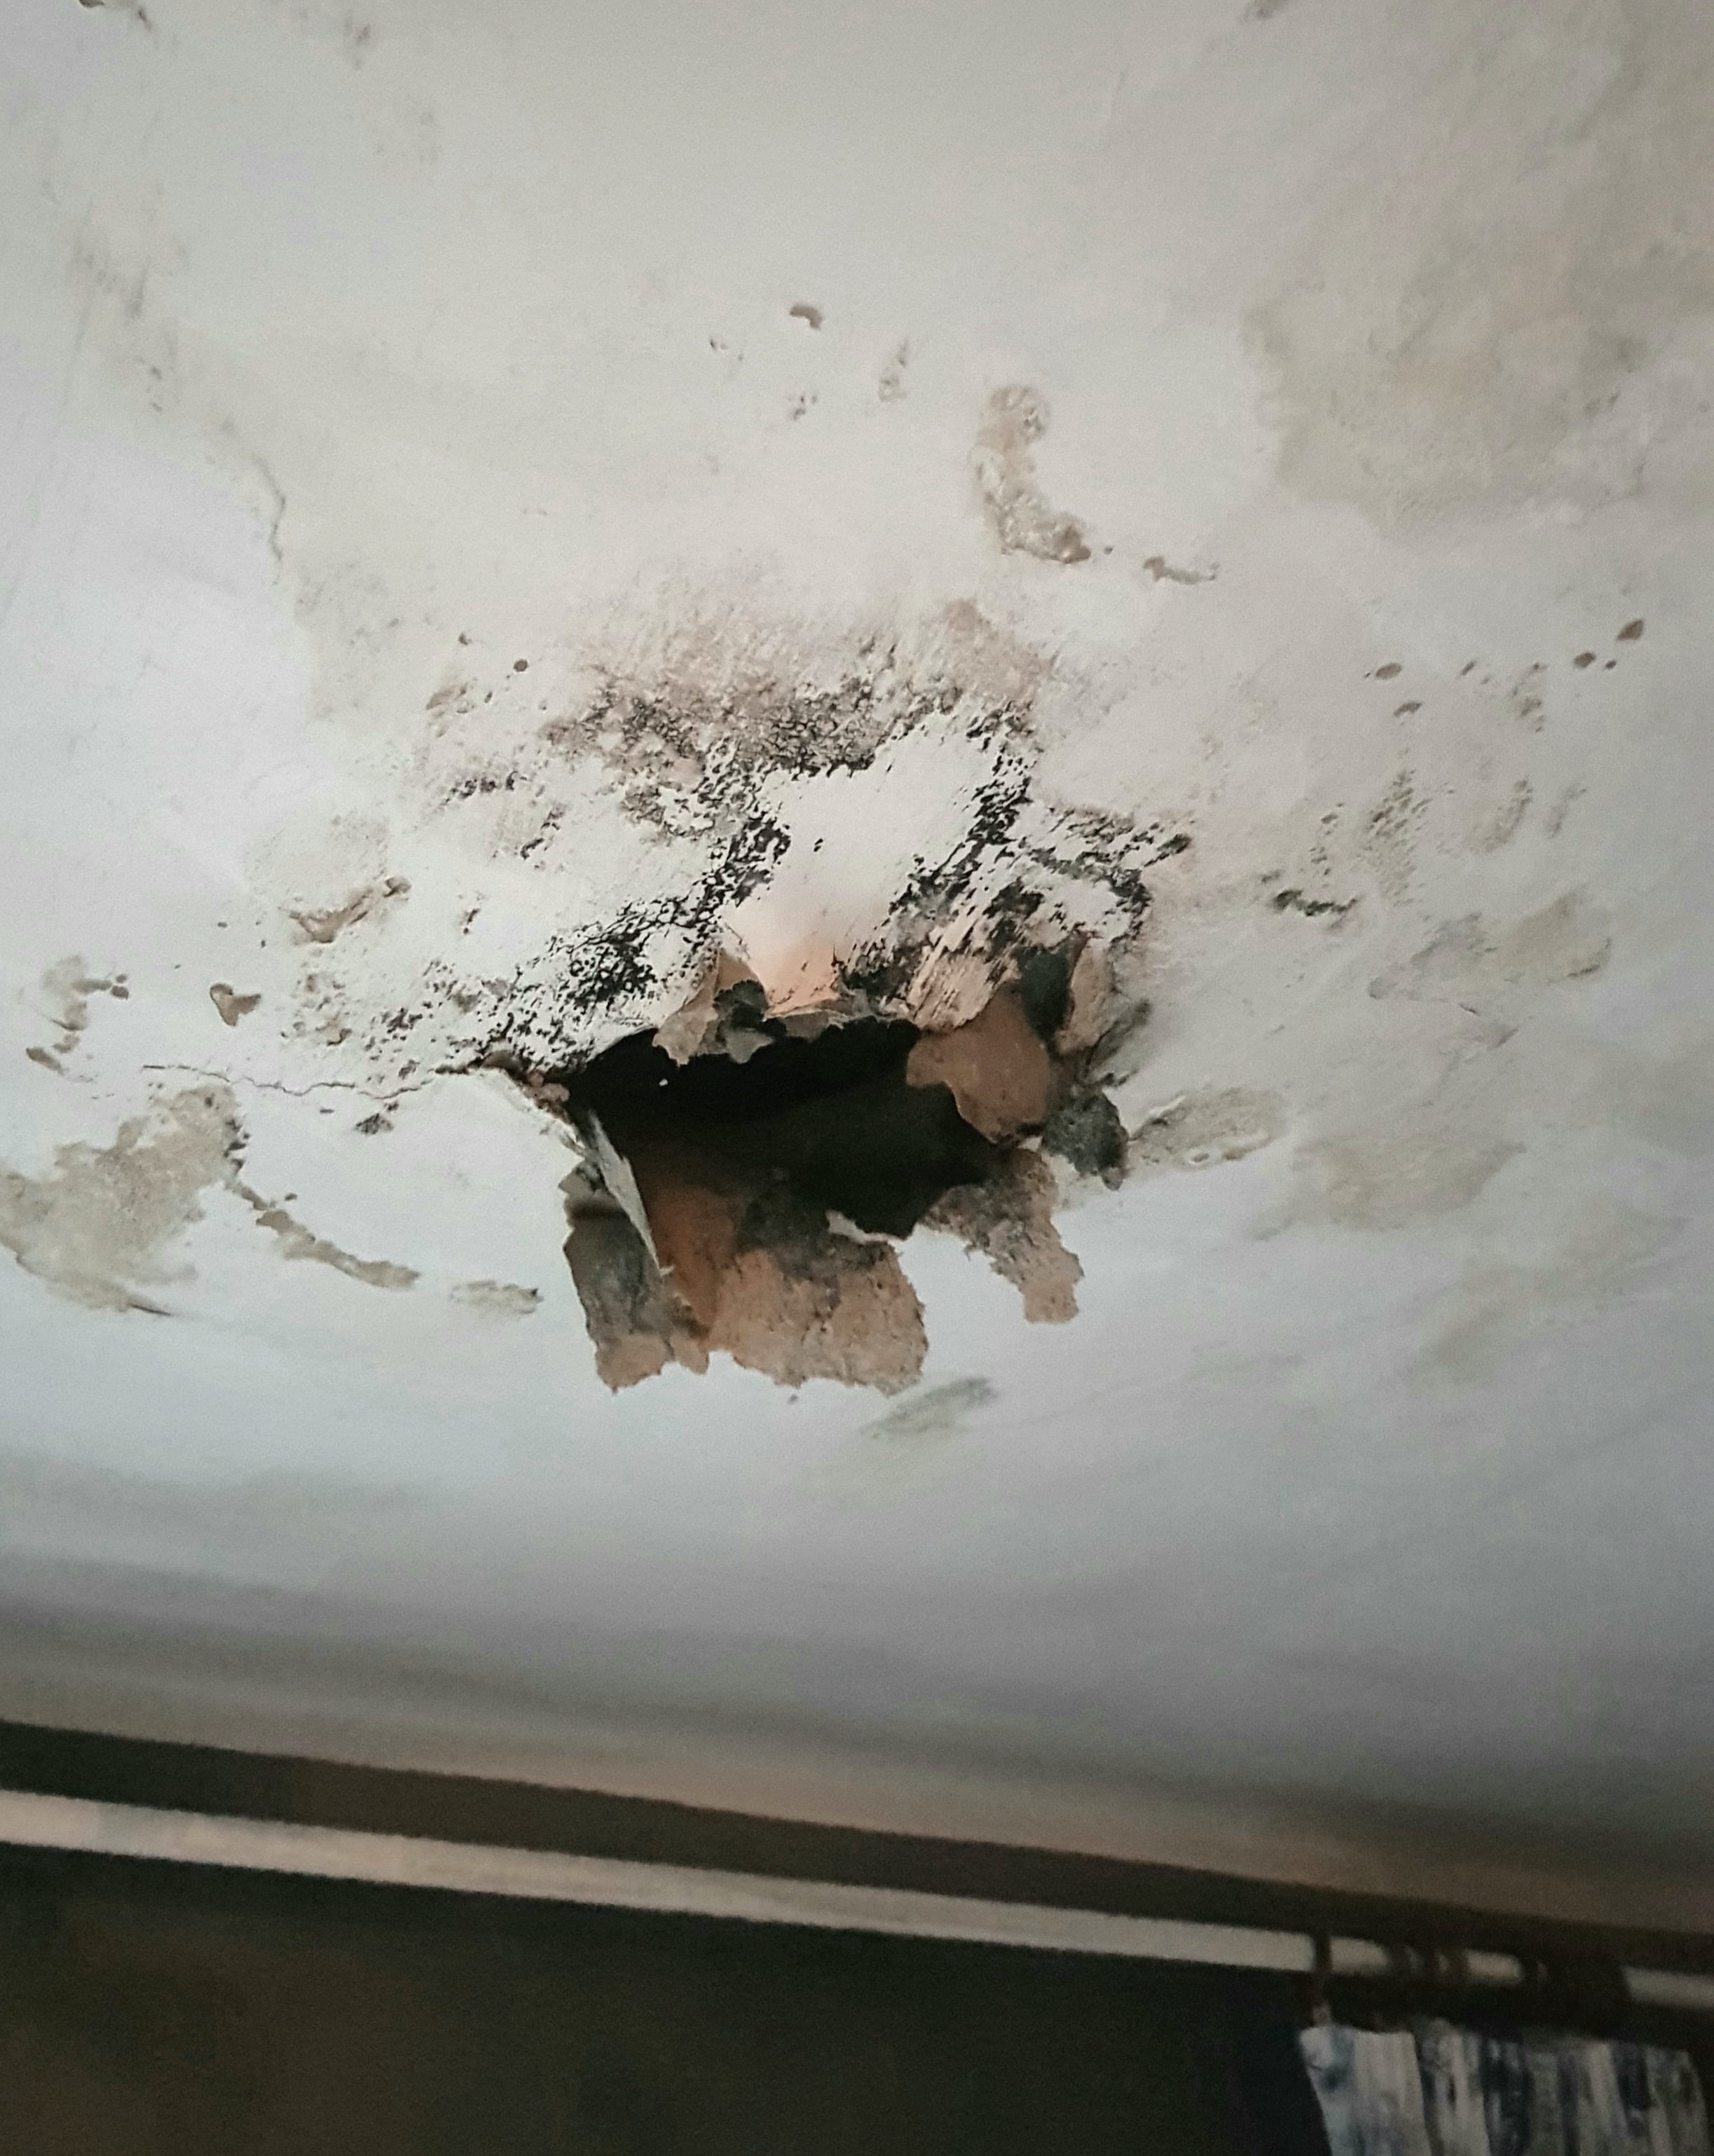
Leaks
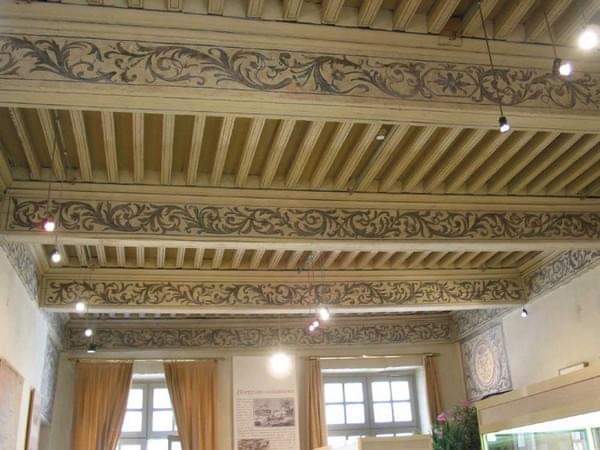
Do you recall a post from a couple of years ago when we arrived to find a mystery black spot on the dining room ceiling?
If you have been concentrating, you may recall that this is the ceiling directly under the terrace.
Well photo three is how it looks now.I have only waited two years for builder action. Or, at least, promised action.
Such a pretty shape, this ragged black hole, kind of like a passion flower ..

The house project has been allowed to drift.
This is due to a number of factors, not least a creative/business project that I started last September and a second project here in our village.  Also, Trevor’s blood thinning drugs had turned him into a permanently tired and grumpy (we call it drug rage around here) old man with a foggy brain who bled profusely from the slightest scratch!
Do not tell me these pernicious drugs do not have mental as well as physical effects.
Anyway, today is gloriously sunny so Bronte and I had great early walk by the river . All the delicate spring flowers are out and in full bloom. The lavender coloured one is a wild clematis that I have successfully taken a cutting from and which is now adorning the terrace.
I know that these wild flowers look better in situ, but I only ever take one or two from strong, proliferous plants and they look good Chez Nous too.
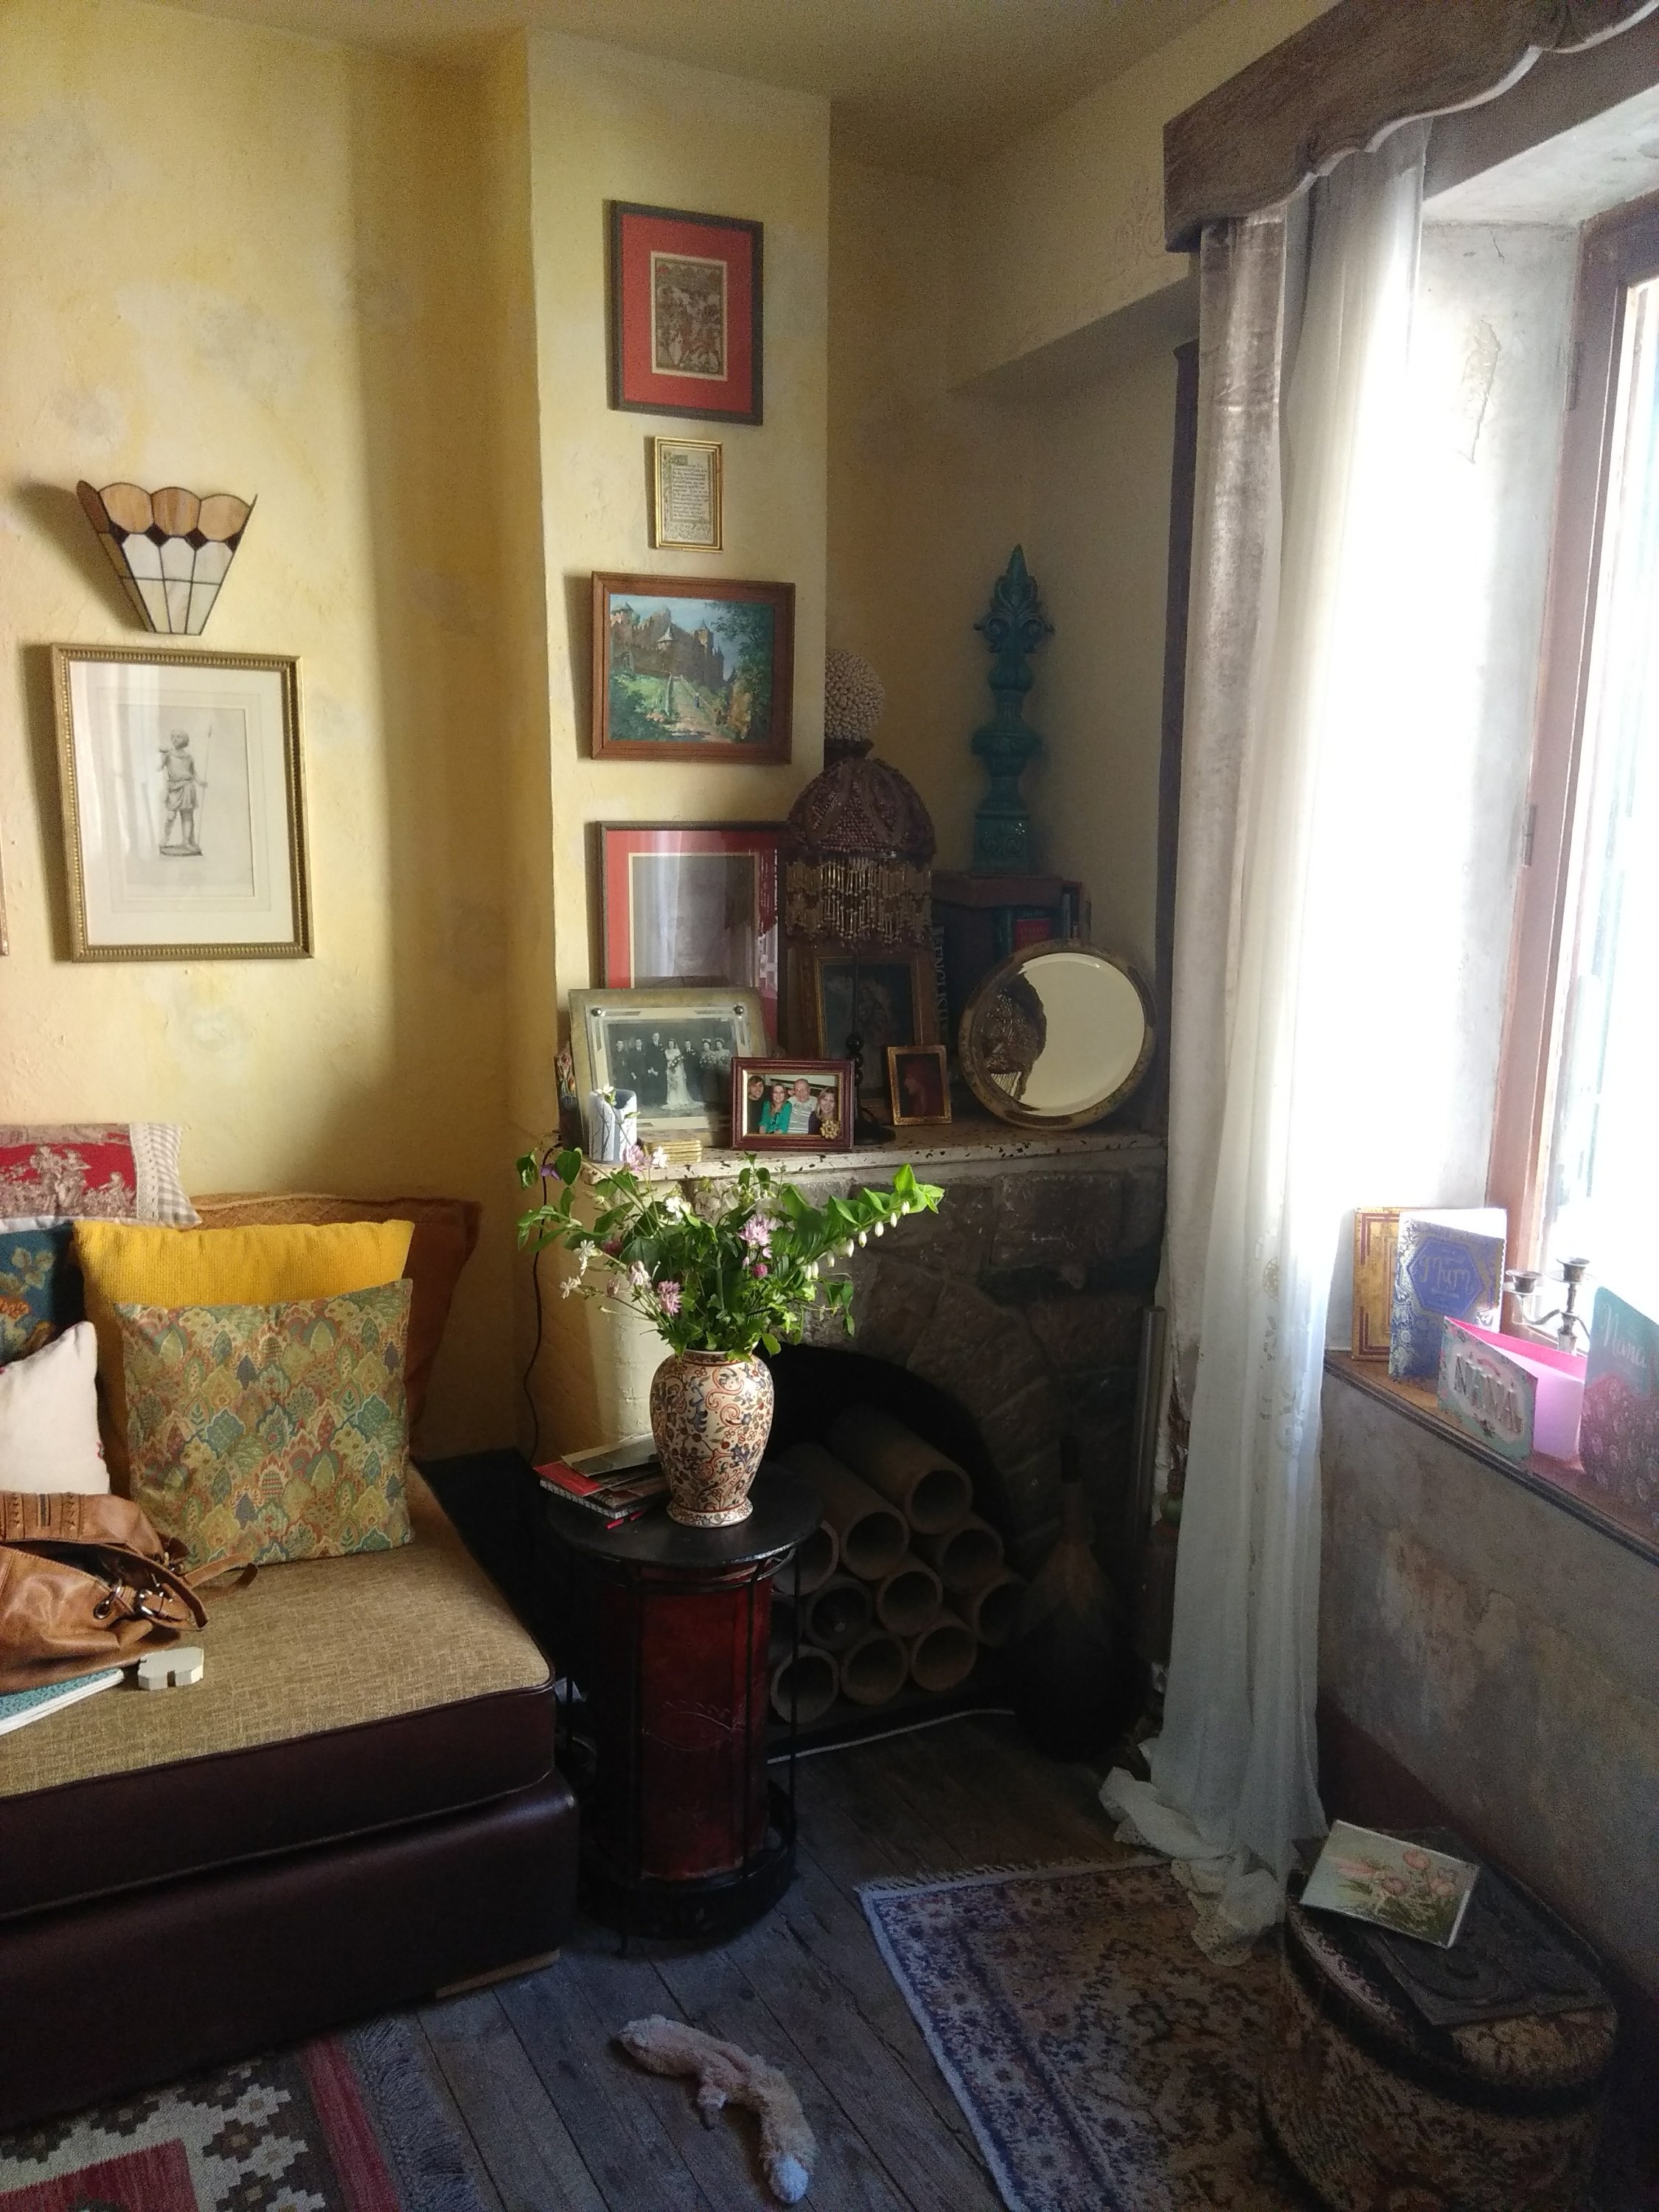 I noticed that these photos have a bit of a shrine vibe. Not intentional I assure you, and some of the family members above are still with us…………….
I have also noticed that one of the many toys that we have bought Bronte, none of which she wants to play with, has crept into frame.
This one has been christened “Road Kill Baby” as it is furry, completely flat and without substance.
She has indicated slight interest in this horrible looking creature , so we persist.
Right, back to work on the house now or I might go mad.
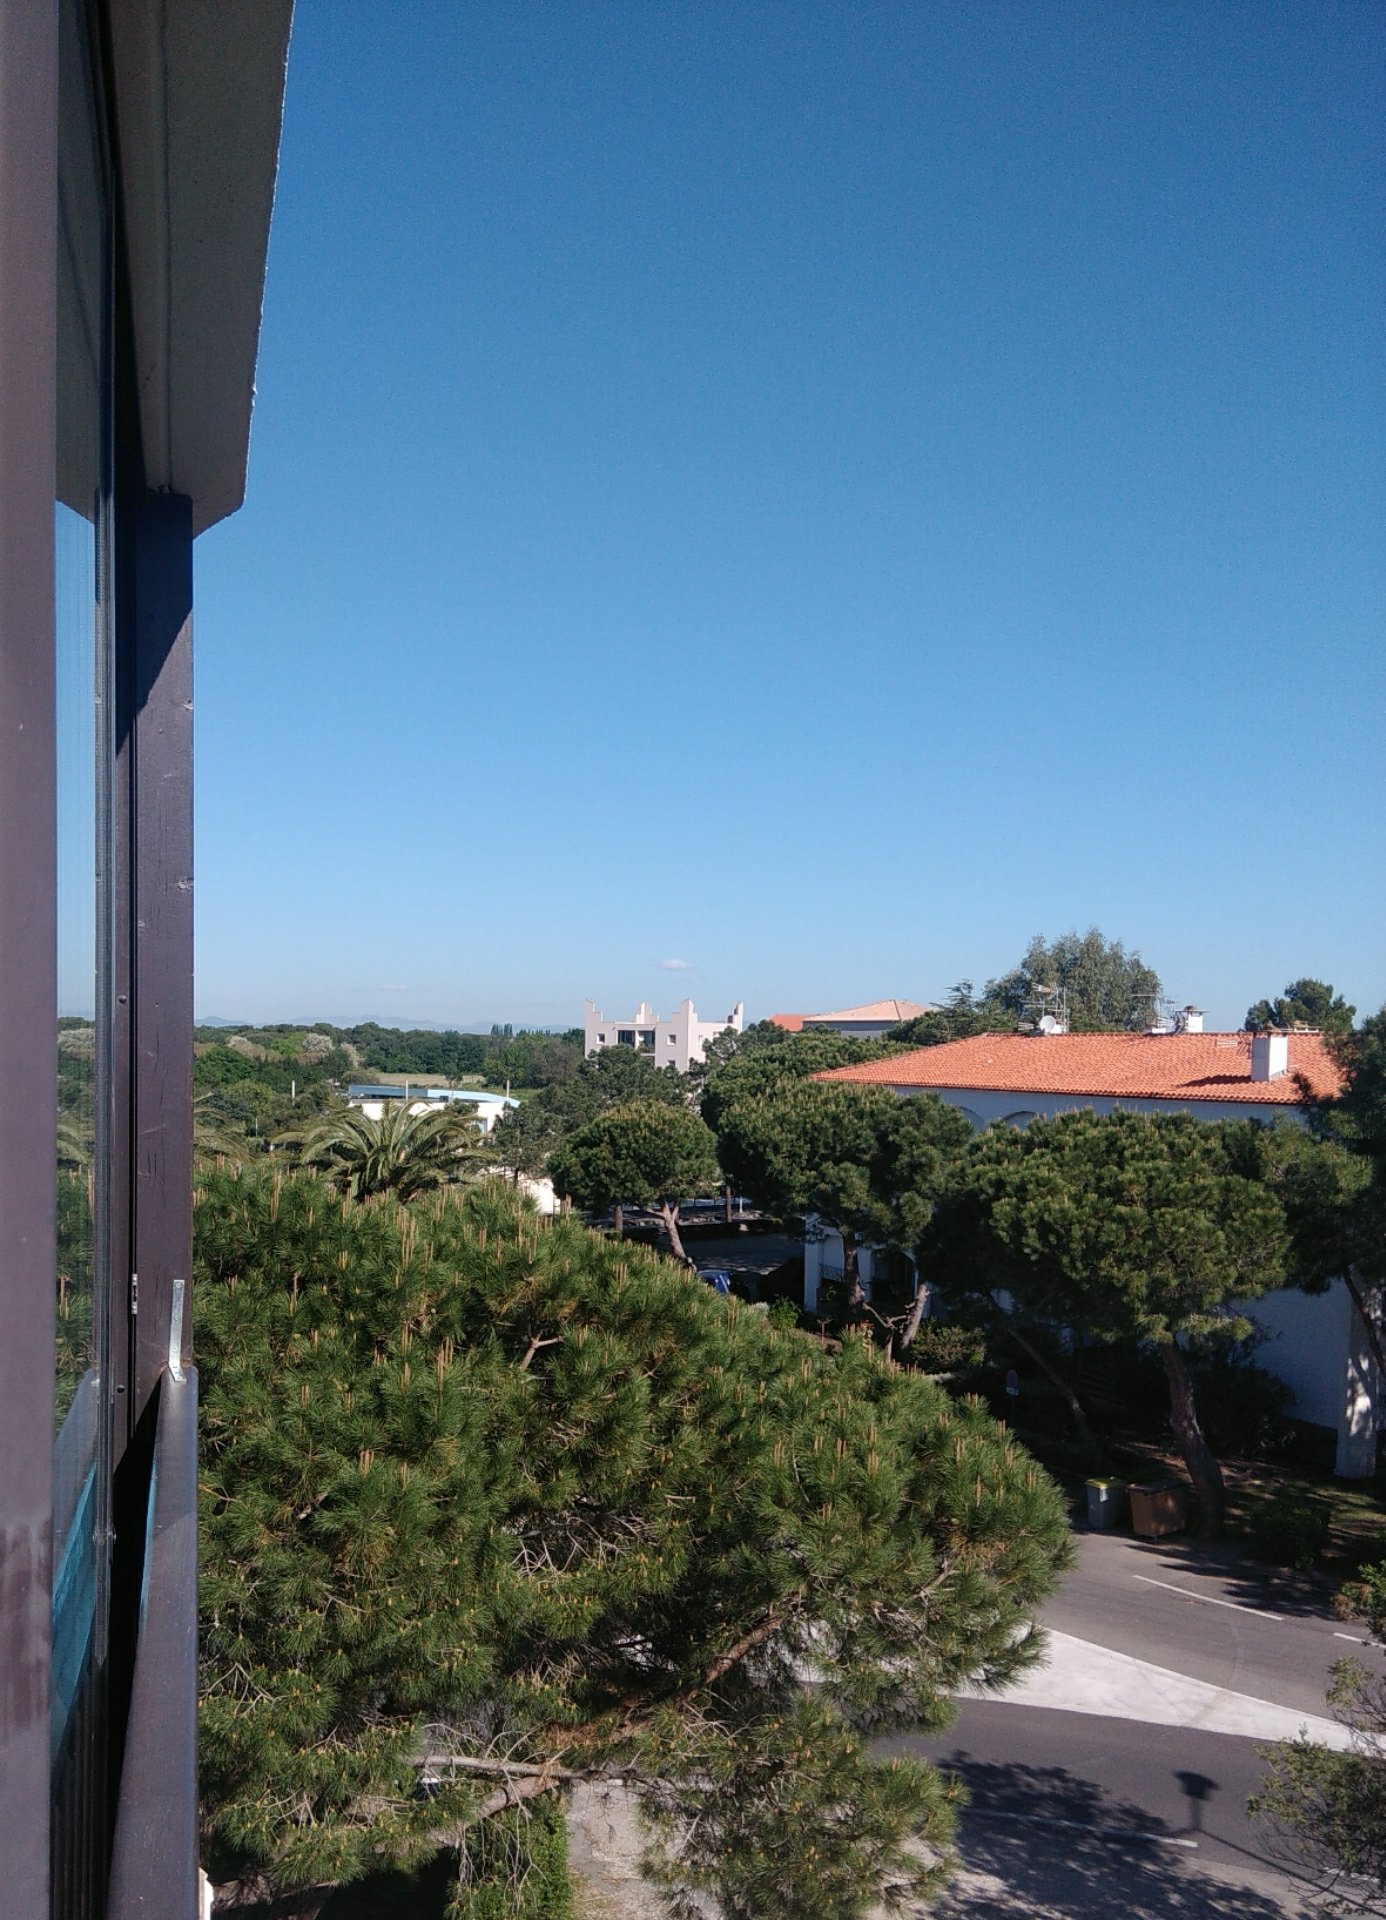
It’s a glorious morning in Argeles and the birds are singing like crazy in the trees outside.
Bronte and Trevor are eating porridge. I am on apartment snag-list patrol.
Long time followers will remember some of my previous rants about what guests do to holiday lets.
The latest? I spotted serious asymmetry to my long faux taffeta curtains in the living room. Up the ladder, I worked out that, at some point last season, someone climbed up and rehung the curtains with more hooks to one side than the other.
And over the curtain rail in one corner, a plastic tag.
And they’ve paid to stay in a nice apartment by the sea.
???